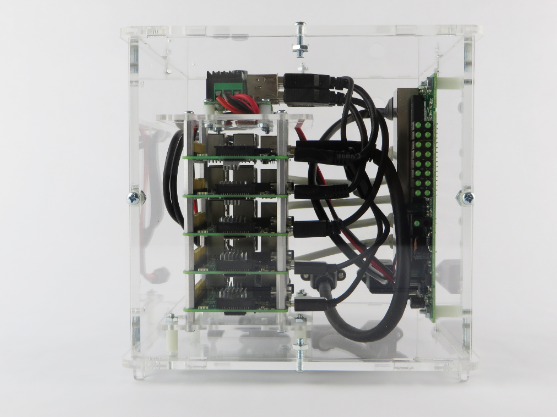
In this post, I'll walk you through the steps I followed when setting up a VNC Server (on my Raspberry Pi 3 PicoCluster's manager node running Raspbian Jessie) and a VNC Client (on my MacBook Pro running Elementary OS Freya in VirtualBox):

Install a VNC Server
Open a terminal session and connect to the PicoCluster's manager node:
ssh manager
Note: In a previous post, I setup a SSH configuration file to save key strokes and to make things much easier to remember.
Its always a good idea to check for updates so lets run the following commands:
sudo apt update
sudo apt upgrade
Now, we can install the RealVNC Server:
sudo apt install -y realvnc-vnc-server
Run the following command to create a virtual desktop on the Raspberry Pi:
vncserver
You should see output like:
VNC(R) Server 5.3.2 (RasPi) (r22607) ARMv6 (Oct 4 2016 11:26:16)
Copyright (C) 2002-2016 RealVNC Ltd.
....
Log file is /home/picocluster/.vnc/pc0:1.log
New desktop is pc0:1 (192.168.1.240:1)
Which includes the information we need (pc0:1) to connect to the VNC Server.
Install a VNC Client
You can download the RealVNC Viewer for your distribution (I'm using Elementary OS) from this page and install it by running the following command:
sudo dpkg -i VNC-Viewer-5.3.2-Linux-x64.deb
Now, launch the RealVNC Viewer and connect to the VNC Server:

And, you should see:
![]()
References:
- Raspberry Pi Foundation: Introducing Pixel
- RealVNC Docs: Using RealVNC 5.x on the Raspberry Pi
- RealVNC Docs: RealVNC (Older Versions) Download Page
