In this post, we’re going to take a look at how we can work with Sencha Touch and Ext JS when using Eclipse’s Integrated Development Environment (IDE).
We’ll follow these steps:
- Install the Sencha Plugin for Eclipse
- Import the Sencha Touch Type Library
- Test our new development environment
Prerequisites
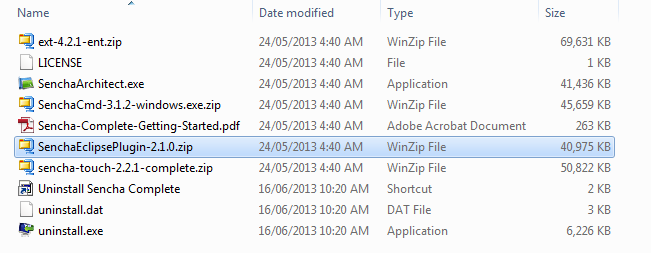
You will need a Java SDK (version 1.7 or later) and the Eclipse IDE for Java EE Developers (Indigo version 3.7.2 or later). I also downloaded Sencha Complete which includes the Sencha Plugin for Eclipse:
I started with a fresh install of Eclipse and followed these recommendations when updating “eclipse.ini”. I also found the following two flags very helpful: -Djava.net.preferIPv4Stack=true and -Declipse.p2.mirrors=false.
You should also disable any unnecessary start-up actions (e.g. Window -> Preferences, type “startup”, select “Startup and Shutdown”, and then deselect the options you don’t need) and validations (e.g. Window -> Preferences -> Validation, click “Disable All”, and then select only the options you need). You might also want to consider setting up a ram disk.
And don’t forget to add the Java SDK, Eclipse, your workspace and any other related folders to the white list in your anti-virus software.
Note: If you run into any issues when checking for updates or installing new software then you might need to disable your anti-virus software. (e.g. AVG’s Link Scanner, Identity Protection and Resident Shield).
1. Install the Sencha Plugin for Eclipse
The Sencha Plugin for Eclipse makes it easy to work with Sencha Touch and Ext JS when using Eclipse’s Integrated Development Environment (IDE). The plugin provides support for code completion and syntax highlighting.
Unzip the Sencha Plugin for Eclipse archive (SenchaEclipsePlugin-2.1.0.zip):
In Eclipse, choose Help -> Install New Software… and in the ”Work with” section, click the “Add…” button. The Add Repository dialog box will appear:
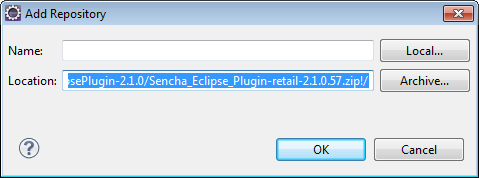
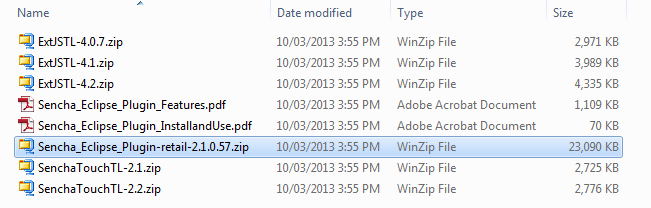
Click the “Archive…” button and select the archive that contains the plugin (Sencha_Eclipse_Plugin-retail-2.1.0.57.zip):
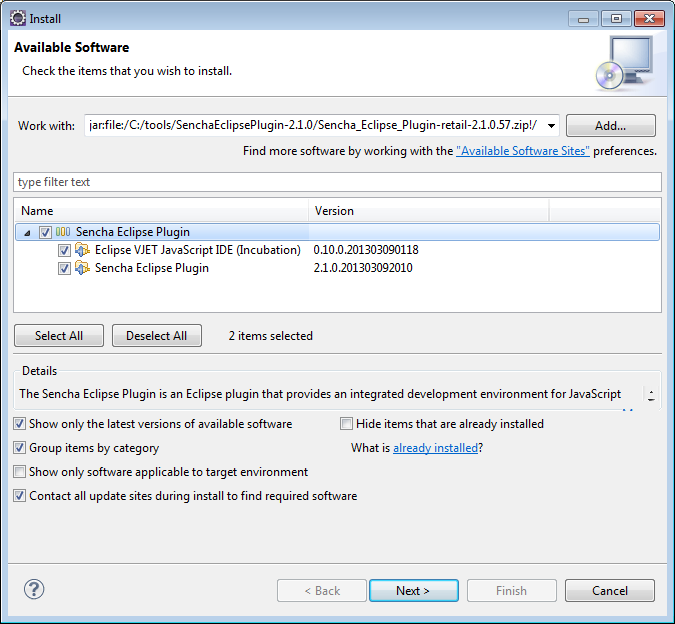
Select the Sencha Eclipse Plugin (Sencha Plugin for Eclipse) click Next and then follow the prompts. When the download has finished and the installation is complete make sure you restart Eclipse.
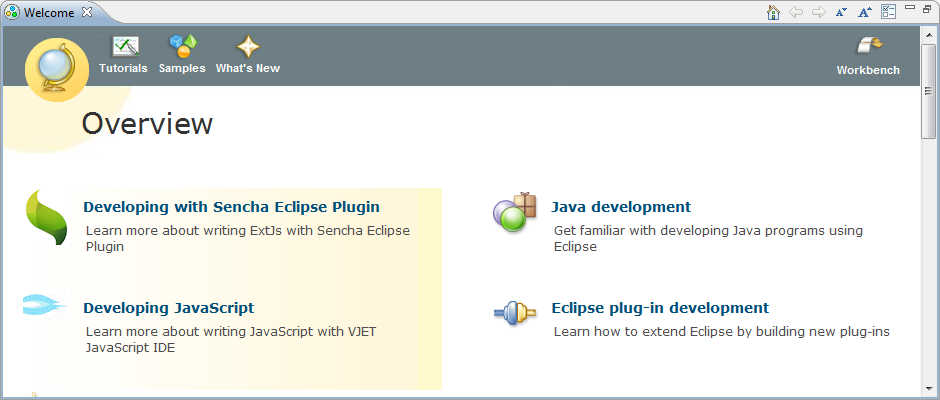
After Eclipse has restarted you should see two new links on the Welcome screen:
2. Import the Sencha Touch type library
The Sencha Touch type library contains meta data that enables plugin features like code completion and syntax highlighting.
In Eclipse, right-click in the Project Explorer and choose “Import -> Import…”:
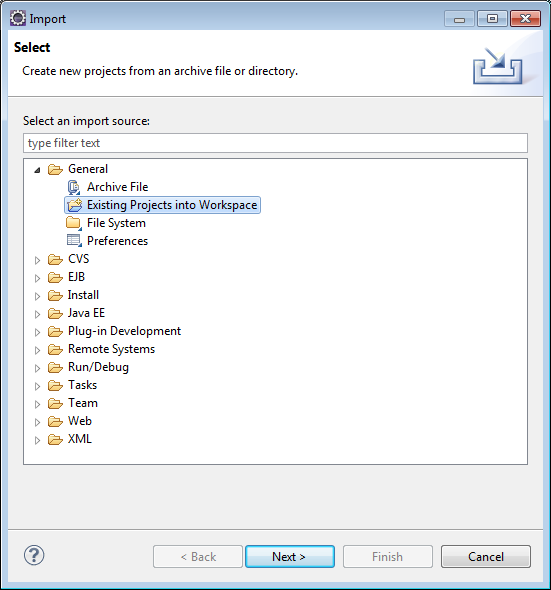
Then choose “General -> Existing Projects into Workspace” and click the Next button:
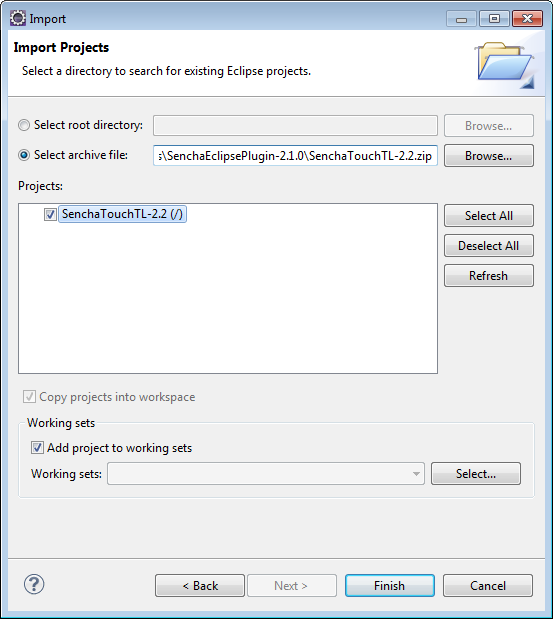
Choose the “Select archive file:” option and select the archive that contains the Sencha Touch type library (SenchaTouchTL-2.2.zip).
Check the “Add project to working sets” option and then click the Finish button. Eclipse will then import the project from the archive into the current workspace:
3. Import the Sencha Touch type library
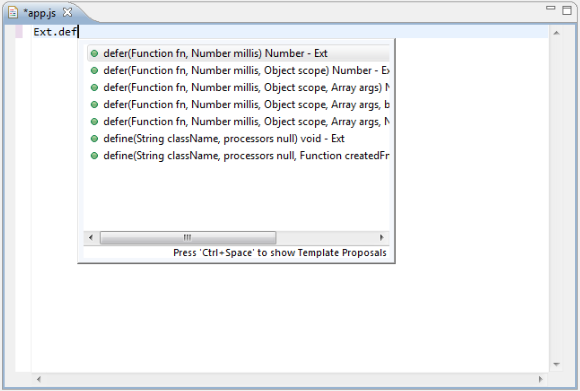
Now lets make sure that everything is OK by creating a new VJET project.
First, switch to the VJET JS perspective (“Window -> Open Perspective -> Other…) then right-click in the Script Explorer and choose “New -> VJET Project”:
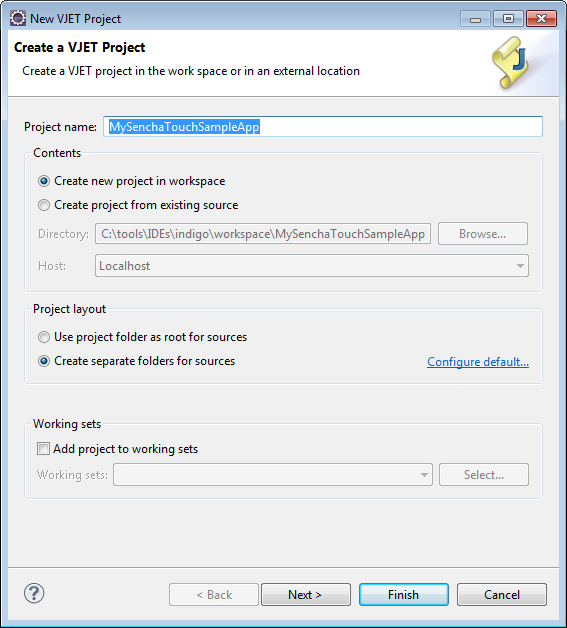
Enter a name for the new project and then click the Next button:
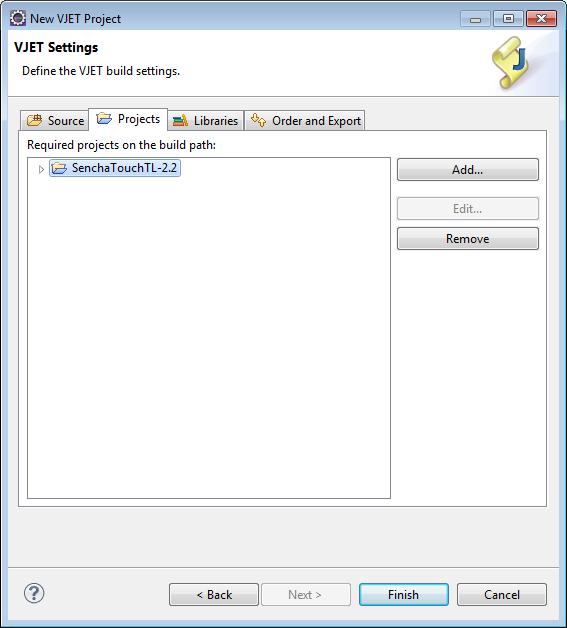
On the Projects tab add the Sencha Touch type library as a project dependency and then click the Finish button.
Create a new file in the src directory and your ready to go: