In this post, we’re going to look at how easy it is to extend GXT’s TriggerField class in order to create a new lookup field widget:

We’ll follow these steps:
- Do some research
- Take a look at some TriggerField-based widgets
- Create the new lookup field widget
1. Do some research
The Google Web Toolkit Wiki includes a discussion of cell-backed widgets and the Appearance pattern:
“Existing GWT Widgets construct a specific DOM structure to represent the widget, then apply specific style names to specific elements within the structure. This works fine for users who are satisfied with the default look and feel of the Widget, but it frustrates users who want to re-skin a widget in more than a trivial way.”
When Sencha launched GXT 3.0 they introduced a new way of rendering and styling a widget. This approach is based on the Appearance pattern.
Note: You can think of an Appearance as a class that controls the HTML structure and style of a widget.
2. Take a look at some TriggerField-based widgets
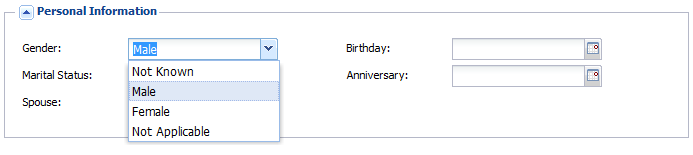
GXT 3.0 includes some widgets that are based on the TriggerField class. For example, the ComboBox widget:
and the DateField widget:
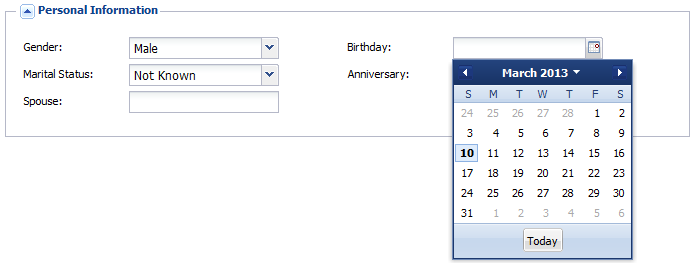
Now take some time and have a look at the com.sencha.gxt.widget.core.client.form.DateField, the com.sencha.gxt.cell.core.client.form.DateCell (the DateCellAppearance interface) and the com.sencha.gxt.theme.base.client.field.DateCellDefaultAppearance classes.
You might also like to take a look at the theme-specific ”replace-with” declarations in the com.sencha.gxt.theme.blue.Blue and com.sencha.gxt.theme.gray.Gray theme module definition files.
3. Create the new lookup field widget
Using the DateField as an example I created the following new classes:
- LookupField
- StringCell (and the StringCellAppearance interface)
- StringCellDefaultAppearance (which implements the StringCellAppearance interface)
And, four new ImageResource’s:
- lookupFieldArrow.png
- lookupFieldArrowClick.png
- lookupFieldArrowFocus.png
- lookupFieldArrowOver.png
Now all we need to do is add the LookupField (and a TriggerClickHandler) to a form:
...

LookupField parentCustomer = new LookupField();
parentCustomer.addTriggerClickHandler(new TriggerClickHandler() {
  @Override
  public void onTriggerClick(final TriggerClickEvent event) {
    Info.display("LookupField", "You clicked the lookup button.");
  }
});

getPanel().add(new FieldLabel(parentCustomer,
  I18nUtil.getConstant().parentCustomerLabel()),
new HtmlData("parentCustomer"));

...
Add the following “replace-with” declarations to our module definition file:
...

<replace-with class="com.gwtcx.extgwt.client.field.StringCellDefaultAppearance">
  <when-type-is class="com.gwtcx.extgwt.client.field.StringCell.StringCellAppearance"/>
</replace-with>

...
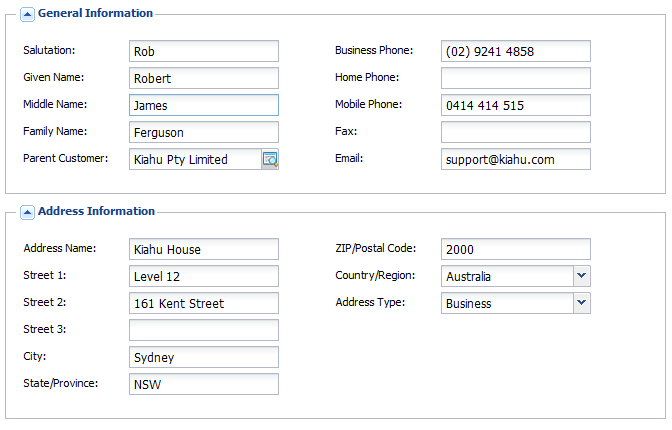
And, now we have a new TriggerField-based LookupField widget:

For our forms:
References:
- Ext GWT 3.0: Appearance Pattern Design Goals
- GWT: Cell-Backed Widgets Appearance Pattern