In this post, we'll register a domain and then create a new Digital Ocean droplet (DigitalOcean's name for a VPS deployment).
In subsequent posts, we'll perform some essential server hardening before installing Ghost, securing the Ghost admin interface and installing some free themes.
Register a domain
I'll use NameCheap because their inexpensive, provide a free DNS service and free email forwarding.
Create a droplet
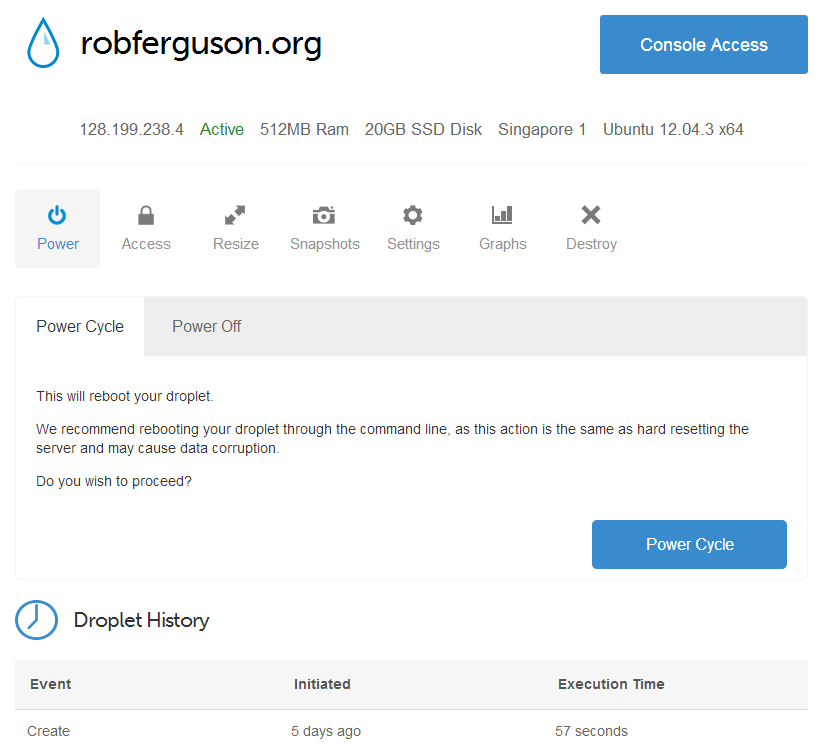
I have a DigitalOcean account so once I'm signed-in I can create a new droplet from the control panel:
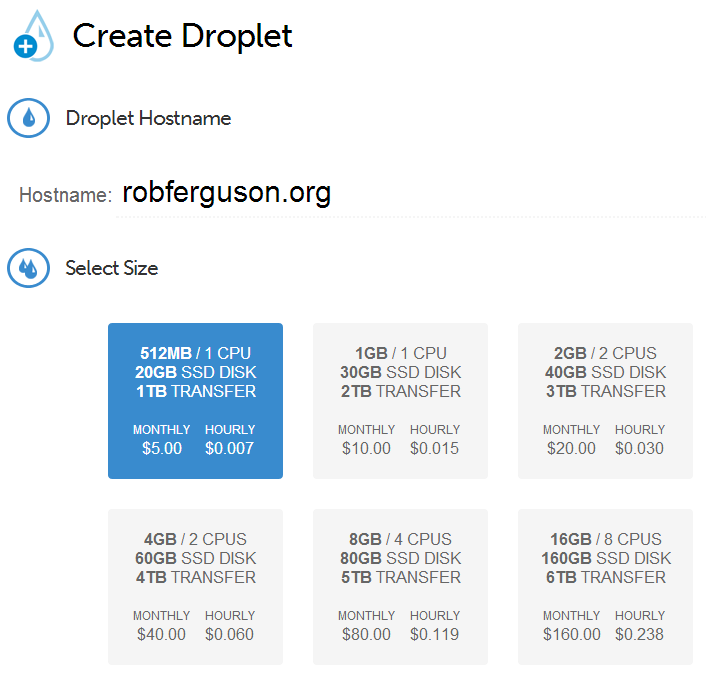
Click the "Create" button, enter your new domain name in the "Hostname" field and select the size you want (I chose the entry-level plan).
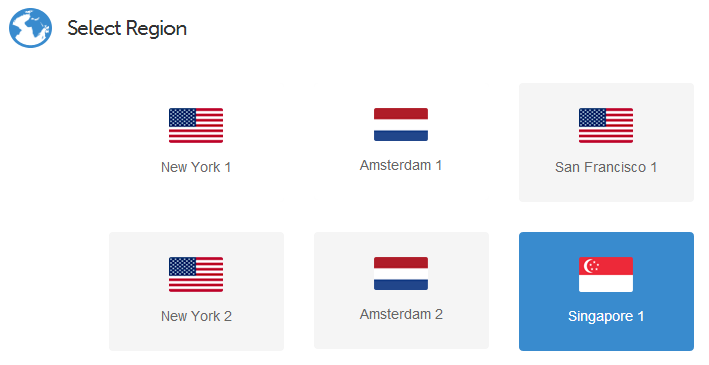
Select a region (I chose Singapore, because I'm based in Sydney).
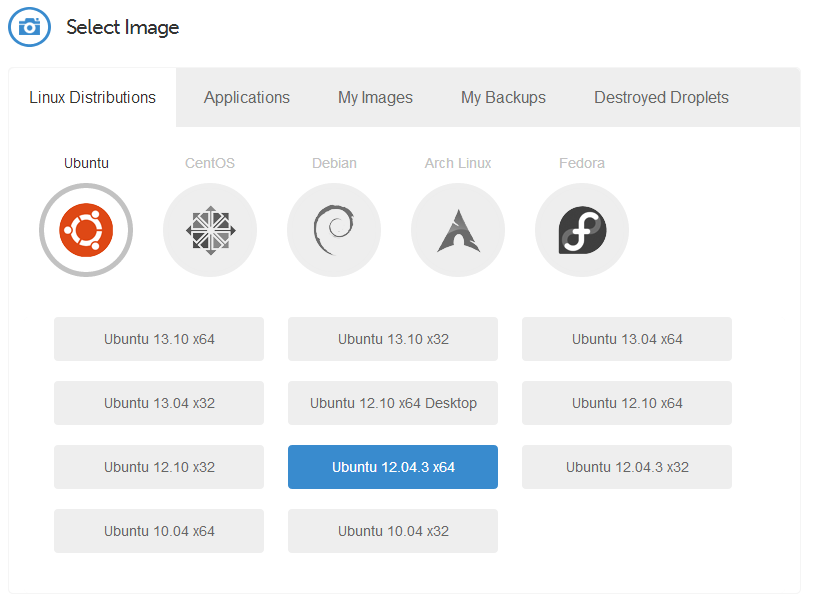
Select an image (I chose Ubuntu 12.04 LTS).
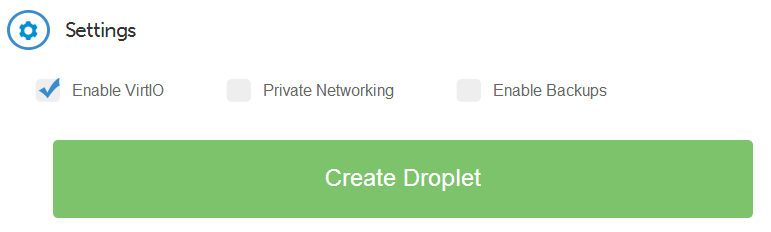
Leave "Enable VirtIO" checked and click the "Create Droplet" button.
After about 60 seconds (take a look at the Droplet History in the DigitalOcean Control Panel) you will have a new VPS deployment.
You will also receive a confirmation email from DigitalOcean containing the new droplet's IP Address and root password.
Configure DNS
Now we need to update NameCheap's DNS records so that they point to our new droplet. From the NameCheap dashboard, click on your domain name, choose "All Host Records" and enter the A Records for your domain:

We also want to take advantage of NameCheap's free email forwarding:

Leave the "Free Email Forwarding" setting enabled and click the "Save Changes" button.
Setup email forwarding
From the modify domain section of the NameCheap dashboard choose "Email Forwarding Setup" and enter the "user name" and the "forwarded to" details:

Then click the "Save Changes" button.
What's next
In the next post, we'll perform some essential server hardening before we install Ghost.
References:
- Y Combinator News DigitalOcean vs Linode