I'm working on a proof-of-concept whose primary focus is desktop devices.
I haven't worked with Angular Material before so here goes...
Getting Started
Step 1: Install the Angular CLI
To create the scaffolding for a new project I followed the steps in Angular's Getting Started guide.
I installed the Angular CLI globally using npm:
npm install -g @angular/cli
You can check the version by running the following command:
ng v
You should see output like:
Angular CLI: 7.0.3
Step 2: Create a workspace and an initial application
Angular 7 supports workspaces, a workspace contains the files for one or more projects. A project is the set of files that comprise an app, a library, or a suite of end-to-end (e2e) tests.
To create a new workspace and an initial App project:
ng new serendipity
The ng new command will prompt you for information about the features to include in the initial App project. For example:
Would you like to add Angular routing? Yes
Which stylesheet format would you like to use? SCSS
The Angular CLI will also install any required dependencies.
The directory structure and placeholders for your new App project:
├── /serendipity
    └── /e2e
    └── /node_modules
    └── /src
        └── /app
            ├── app.component.html
            ├── app.component.scss
            ├── app.component.spec.ts
            ├── app.component.ts
            ├── app.module.ts
            ├── app-routing.module.ts
        └── /assets
        └── /environments
            ├── environment.prod.ts
            ├── environment.ts
        ├── browserslist
        ├── favicon.ico
        ├── index.html
        ├── karma.conf.js
        ├── main.ts
        ├── polyfills.ts
        ├── styles.scss
        ├── test.ts
        ├── tsconfig.app.json
        ├── tsconfig.spec.json
        ├── tslint.json
    ├── .editorconfig
    ├── .gitignore
    ├── angular.json
    ├── package.json
    ├── package-lock.json
    ├── README.md
    ├── tsconfig.json
    ├── tslint.json
Step 3: Install Angular Material
To install Angular Material I followed the steps in Angular Material's Getting Started guide.
In the workspace folder (serendipity) I installed Angular Material using the ng add command:
cd serendipity
ng add @angular/material
The ng add command will update your project with the correct dependencies, perform configuration changes and execute some initialisation code.
For example, it will update your project's index.html:
...

<link href="https://fonts.googleapis.com/css?family=Roboto:300,400,500" rel="stylesheet">
<link href="https://fonts.googleapis.com/icon?family=Material+Icons" rel="stylesheet">

...
Step 4: Import the Angular Material component modules
I'm not sure which components I will require so I created a 'wrapper' module that imports (and exports) the complete set of Angular Material component modules:
import { NgModule } from '@angular/core';

import { LayoutModule } from '@angular/cdk/layout';

//
// Form Controls
//

import { MatAutocompleteModule } from '@angular/material/autocomplete';
import { MatCheckboxModule } from '@angular/material/checkbox';
import { MatDatepickerModule } from '@angular/material/datepicker';
import { MatFormFieldModule } from '@angular/material/form-field';
import { MatInputModule } from '@angular/material/input';
import { MatRadioModule } from '@angular/material/radio';
import { MatSelectModule } from '@angular/material/select';
import { MatSliderModule } from '@angular/material/slider';
import { MatSlideToggleModule } from '@angular/material/slide-toggle';

import { MatNativeDateModule } from '@angular/material';
// import { MatMomentDateModule } from '@angular/material-moment-adapter';


//
// Navigation
//

...

const modules: any[] = [

  LayoutModule,

  MatAutocompleteModule,
  MatCheckboxModule,
  MatDatepickerModule,
  MatFormFieldModule,
  MatInputModule,
  MatRadioModule,
  MatSelectModule,
  MatSliderModule,
  MatSlideToggleModule,

  MatNativeDateModule,
  // MatMomentDateModule,

  ...

];

@NgModule({
  imports: [ ...modules ],
  exports: [ ...modules ]
})
export class AngularMaterialModule {}
Note: Angular Material's datepicker was built to be date implementation agnostic. This means that it can be made to work with a variety of different date implementations. However, it also means that developers need to make sure to provide the appropriate pieces for the datepicker to work with their chosen implementation.
Then (as per the Angular Style Guide) I created a Core module:
ng generate module core
And added AngularMaterialModule to the Core modules imports array:
import { NgModule, Optional, SkipSelf } from '@angular/core';
import { CommonModule } from '@angular/common';
import { HttpClient, HttpClientModule } from '@angular/common/http';
import { BrowserAnimationsModule } from '@angular/platform-browser/animations';
import { RouterModule } from '@angular/router';

import { environment } from '@env/environment';

...

import { MAT_DATE_LOCALE } from '@angular/material';
import { AngularMaterialModule } from '@app/shared/angular-material.module';

@NgModule({
  imports: [
    AngularMaterialModule,
    BrowserAnimationsModule,
    CommonModule,
    HttpClientModule,

    ...

    RouterModule
  ],
  declarations: [ ... ],
  providers: [
    { provide: MAT_DATE_LOCALE, useValue: environment.defaultLanguage }
  ],
  exports: [ ... ]
})
export class CoreModule {

  constructor(@Optional() @SkipSelf() parentModule: CoreModule,
              private translate: TranslateService,
              private logger: LoggerService) {

    this.logger.info('Core Module initialised');

    ...

    throwIfAlreadyLoaded(parentModule, 'CoreModule');
  }

}
Note: The MatIconModule requires the HttpClientModule (but we only want to import it once so we'll import it in the CoreModule).
Then I added CoreModule to the App modules imports array:
import { NgModule } from '@angular/core';
import { BrowserModule } from '@angular/platform-browser';

import { CoreModule } from './core/core.module';

@NgModule({
  imports: [
    BrowserModule,
    CoreModule
  ],
  declarations: [ AppComponent ],
  providers: [],
  bootstrap: [ AppComponent ]
})
export class AppModule {}
Step 5: Angular Material Starter Components
Angular Material also includes a set of starter components.
For example, you can use the Angular CLI to generate a starter component that includes a toolbar and a sidenav:
ng generate @angular/material:material-nav --name=nav
Step 6: Serve the application
Angular includes a server, so that you can easily build and serve your app locally.
To launch the server:
ng serve --open
You should see output like:

What's Next
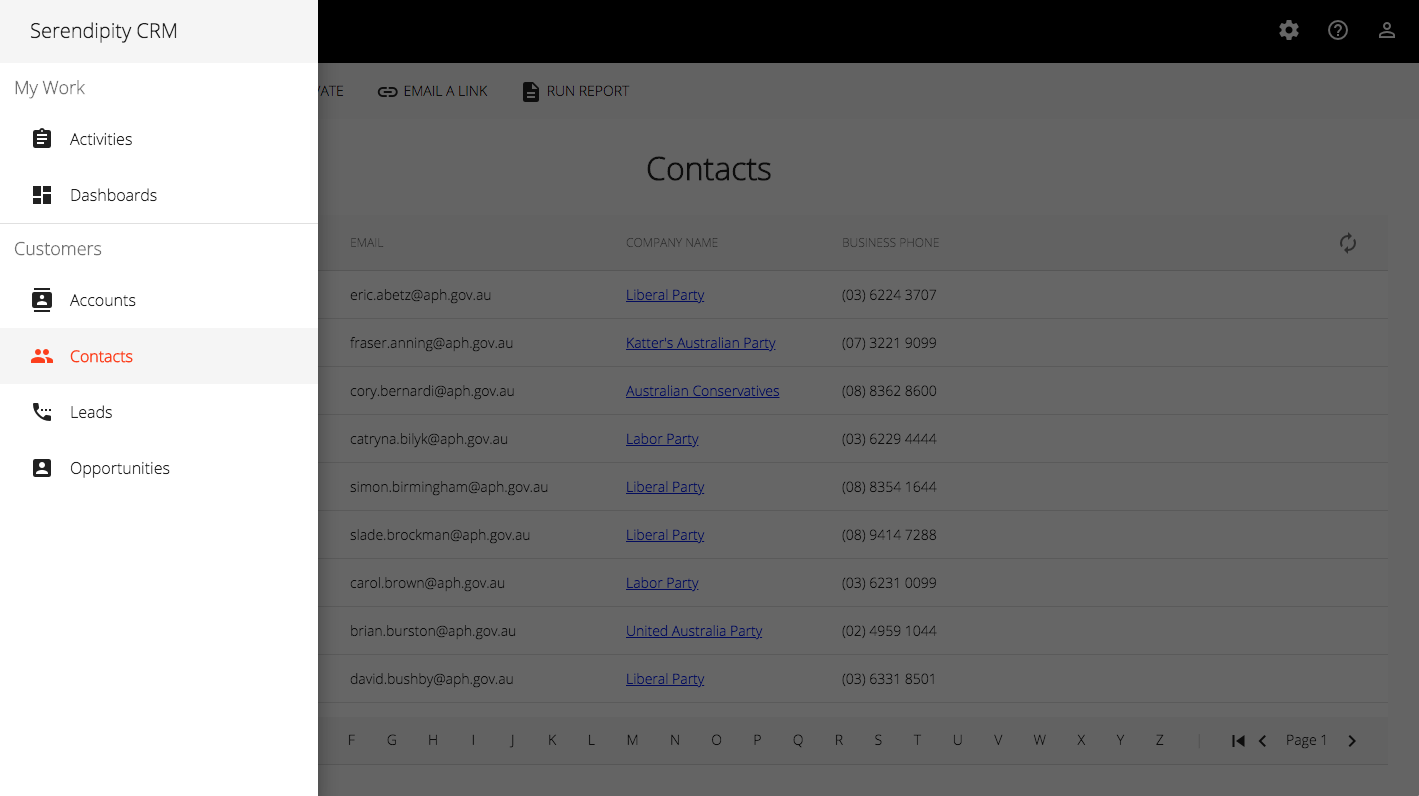
In the next post, I take a look at Angular Material's toolbar and sidenav components.
Demo:
- Firebase Hosting: Serendipity
Source Code:
- GitHub: Serendipity
References:
- angular.io: Angular - Getting Started
- material.angular.io: Angular Material - Getting Started
- date-fns: A modern JavaScript date utility library
- Kristina Hertmann: Multi-Language Date Formats with Angular Material