In previous posts, I wrote about Getting started with Keycloak and Angular, OpenID Connect and Keycloak.
In this post, I take a look at Keycloak's support for OAuth 2.0 scopes.
Requirements
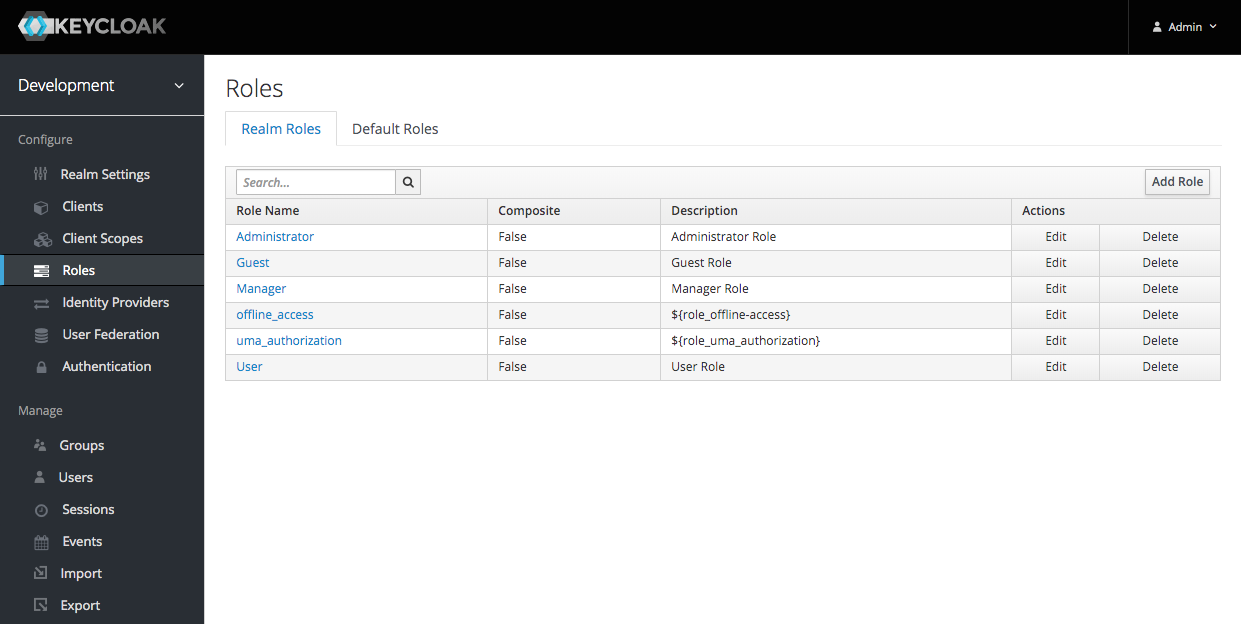
Serendipity has four roles:
- Guest
- User
- Manager
- Administrator
Serendipity's REST API uses scopes to protect resources, for example:
- individual:post
- individual:get
- individual:patch
- individual:delete
Roles
To create a new role in the development realm click 'Roles' in the sidemenu and then click the 'Add Role' button:
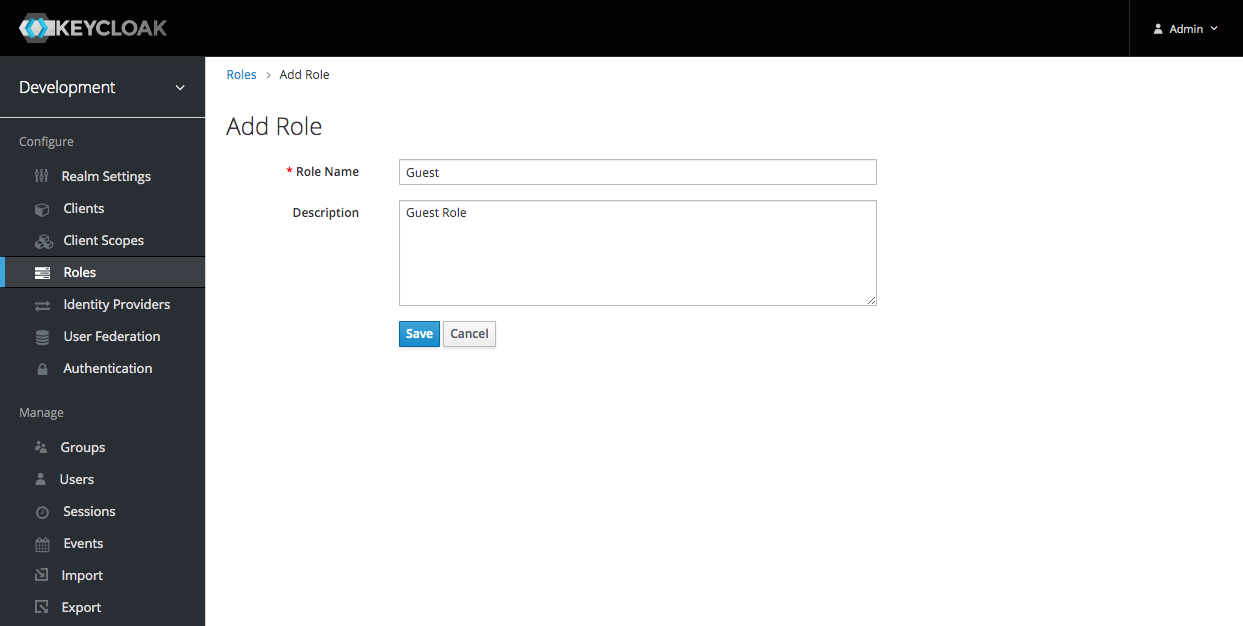
Enter a Role Name and then click the 'Save' button:
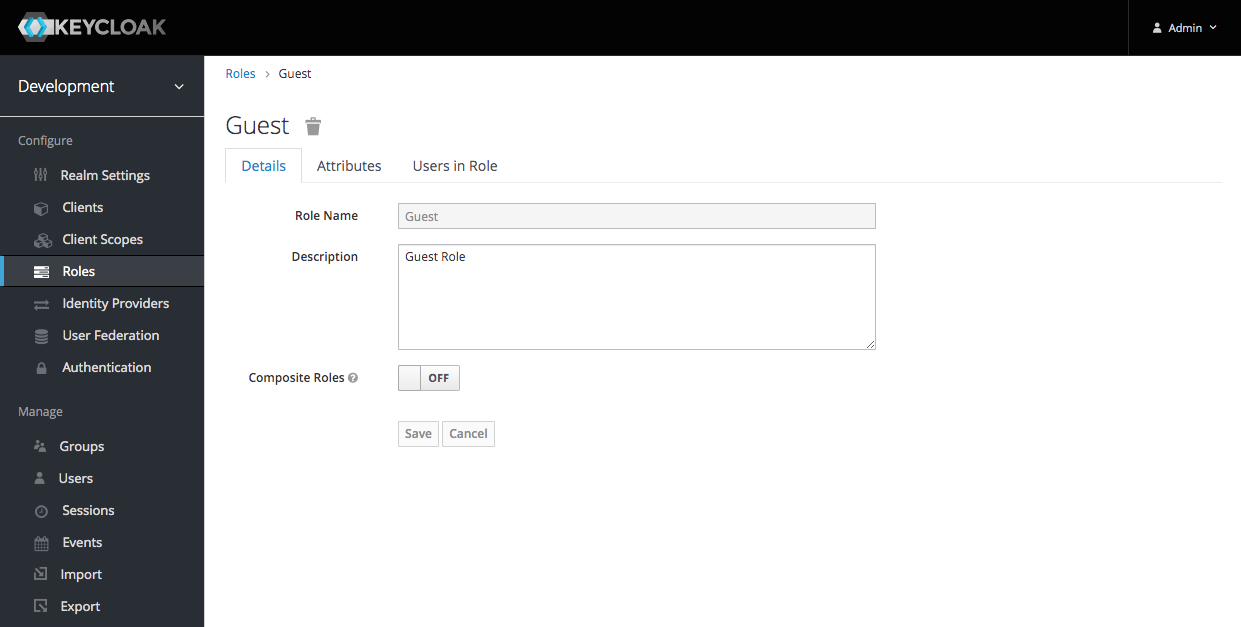
I created four roles:
Scopes
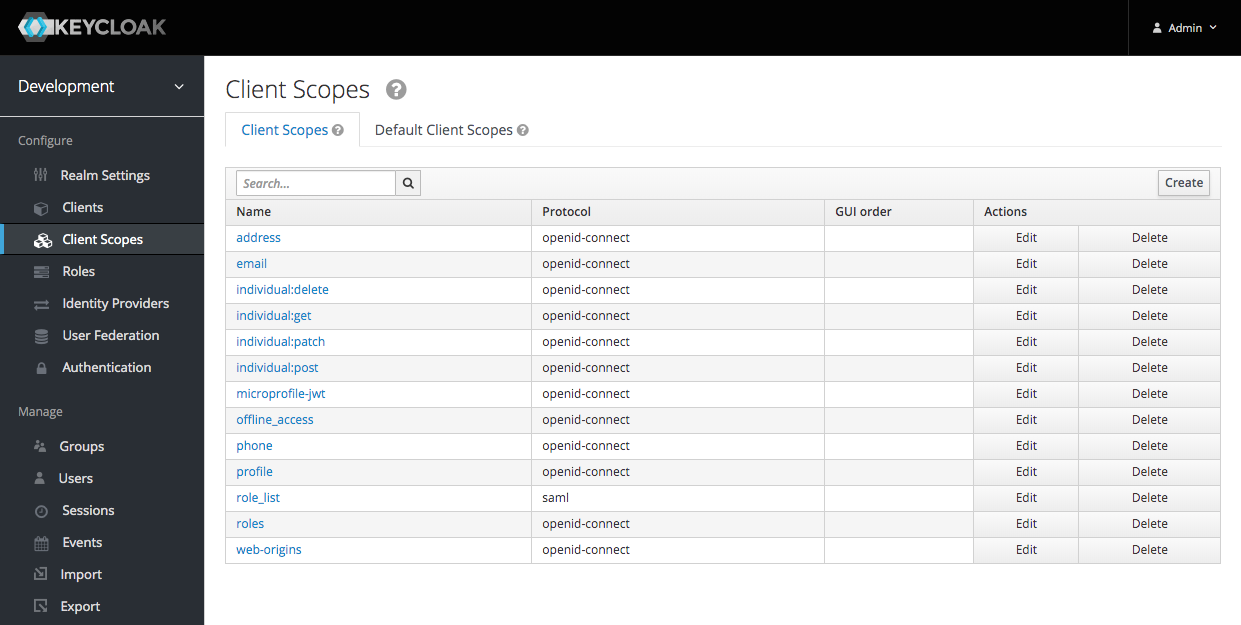
To create a new scope click 'Client Scopes' in the sidemenu and then click the 'Create' button:
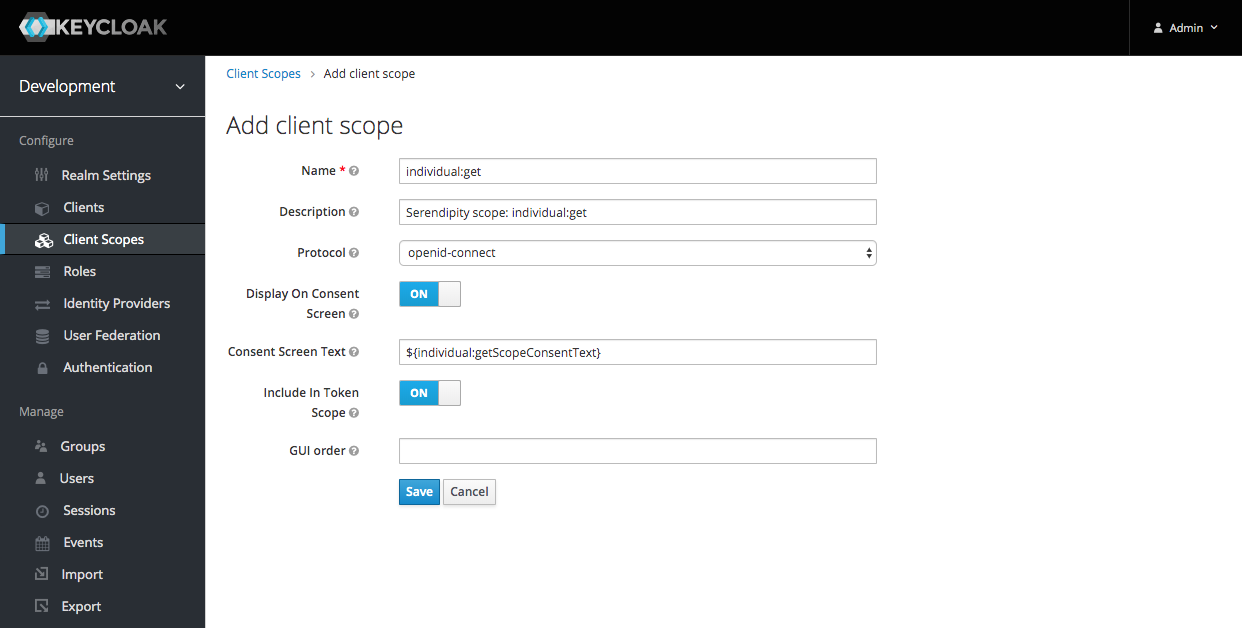
Enter a Name and then click the 'Save' button:
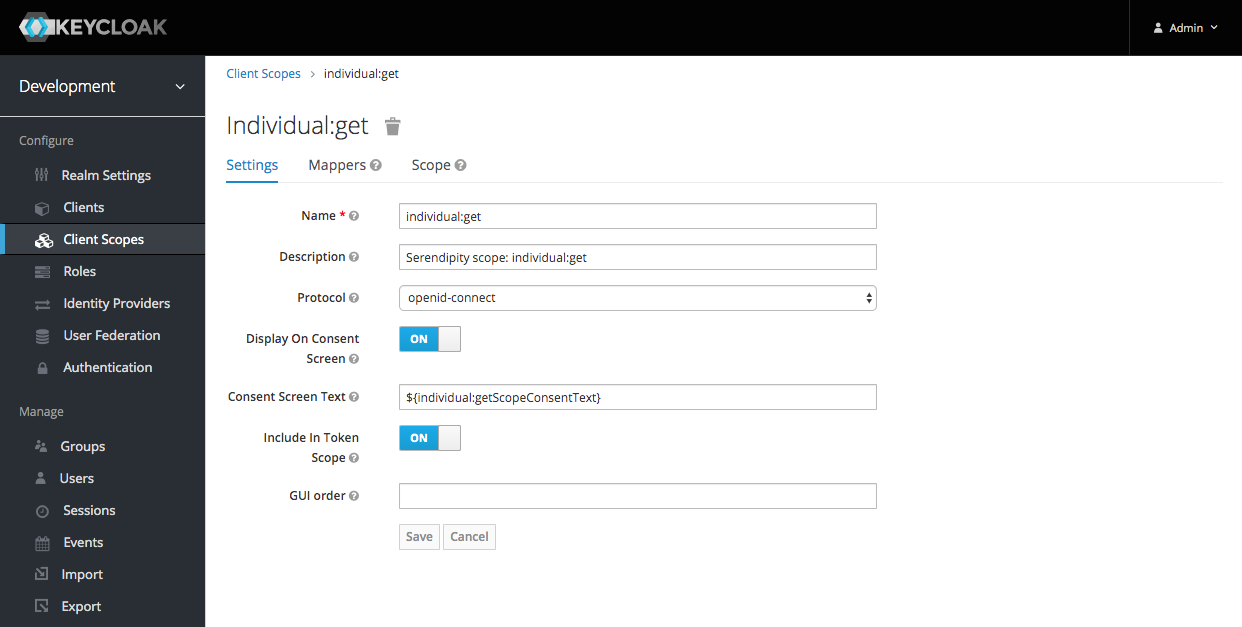
I created four scopes:

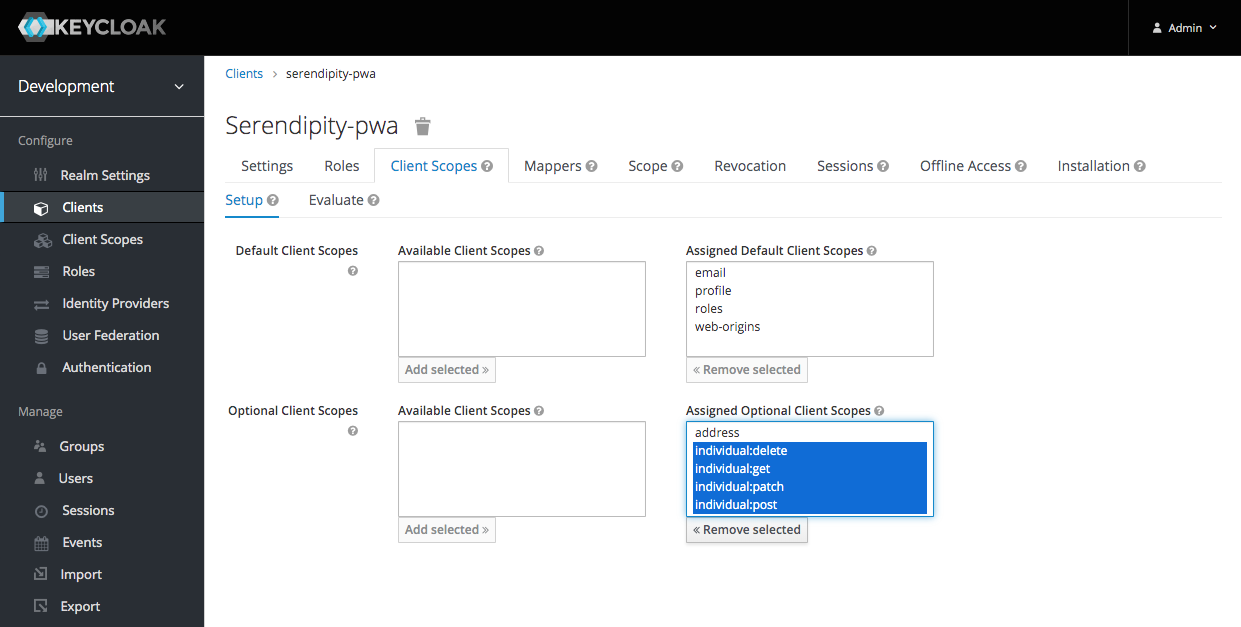
Link the Scope with the Client
I linked the scopes with the client:
Scope Permissions
I linked the individual:get scope with the Guest role and the User role:
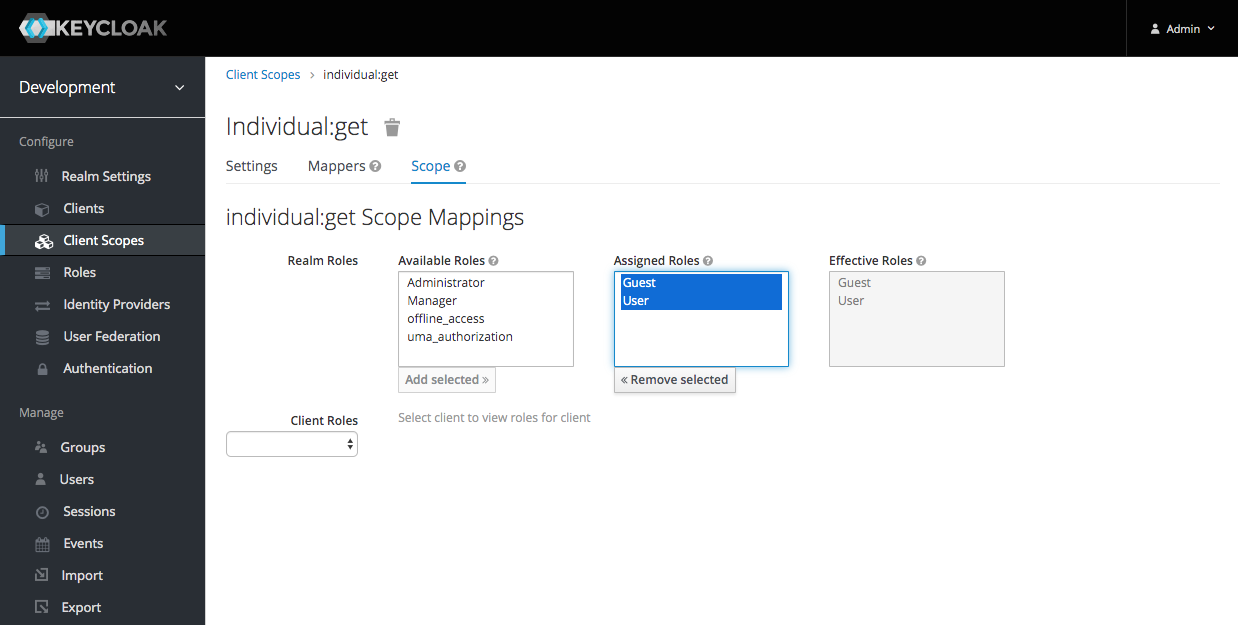
I also linked the individual:post and the individual:patch scopes with the User role.
I linked the individual:delete scope with the Manager role:

If the scope parameter contains the required scopes:
scope: 'openid profile email phone address offline_access individual:post individual:get individual:patch individual:delete'
And the user has the assigned roles:

Then the access token will contain the requested scopes:
{
  "jti": "7ffcbecf-294c-404b-b199-ff066c065e43",
  "exp": 1577743029,
  "nbf": 0,
  "iat": 1577742729,
  "iss": "http://localhost:10001/auth/realms/development",
  "aud": "account",
  "sub": "28bb3e03-835f-4b52-be72-d61fc4ddcb9c",
  "typ": "Bearer",
  "azp": "serendipity-pwa",
  "auth_time": 1577742728,
  "session_state": "b7f63e8b-6e2b-41d3-95f1-e6e9022b82cb",
  "acr": "1",
  "allowed-origins": [
    "*"
  ],
  "realm_access": {
    "roles": [
      "User",
      "Manager"
    ]
  },
  "scope": "openid individual:patch offline_access email phone address individual:post profile individual:get individual:delete",
  "email_verified": true,
  "address": {},
  "name": "Rob Ferguson",
  "preferred_username": "rob.ferguson@robferguson.org",
  "given_name": "Rob",
  "family_name": "Ferguson",
  "email": "rob.ferguson@robferguson.org"
}
A HttpInterceptor can be used to add the token to your Authorization header:
import { Injectable } from '@angular/core';
import { HttpInterceptor, HttpHandler, HttpRequest } from '@angular/common/http';

import { AuthService } from 'auth';

import { LoggerService } from 'utils';

@Injectable()
export class AuthInterceptor implements HttpInterceptor {

  constructor(private authService: AuthService,
              private logger: LoggerService) {
  }

  intercept(req: HttpRequest<any>, next: HttpHandler) {

    const accessToken = this.authService.getAccessToken();

    if (accessToken) {

      const authReq = req.clone({ setHeaders: { Authorization: 'Bearer ' + accessToken } });
      return next.handle(authReq);
    }

    return next.handle(req);
  }

}
What's Next
In the next post, I'll walk you through the steps I followed to get Keycloak to work with Flowable and OpenLDAP.