In this post, I'll walk you through the steps I followed to add ng-bootstrap to an Angular 4 project created using the Angular CLI.
Prerequisites
- Node.js (and npm)
- TypeScript
- Angular CLI
To install Node.js (and npm):
curl -sL https://deb.nodesource.com/setup_6.x | sudo -E bash
sudo apt-get install -y nodejs
To install TypeScript:
sudo npm install -g typescript
To install the Angular CLI:
sudo npm install -g @angular/cli
ng new
The Angular CLI makes it easy to create scaffolding for new applications, open a terminal session and run the following command:
ng new angular-ng-bootstrap
You should see output like:
installing ng
  create .editorconfig
  create README.md
  create src/app/app.component.css
  create src/app/app.component.html
  create src/app/app.component.spec.ts
  create src/app/app.component.ts
  create src/app/app.module.ts
  create src/assets/.gitkeep
  create src/environments/environment.prod.ts
  create src/environments/environment.ts
  create src/favicon.ico
  create src/index.html
  create src/main.ts
  create src/polyfills.ts
  create src/styles.css
  create src/test.ts
  create src/tsconfig.app.json
  create src/tsconfig.spec.json
  create src/typings.d.ts
  create .angular-cli.json
  create e2e/app.e2e-spec.ts
  create e2e/app.po.ts
  create e2e/tsconfig.e2e.json
  create .gitignore
  create karma.conf.js
  create package.json
  create protractor.conf.js
  create tsconfig.json
  create tslint.json
Successfully initialized git.
Installing packages for tooling via yarn.
Installed packages for tooling via yarn.
Project 'angular-ng-bootstrap' successfully created.
Now, we can navigate to the angular-ng-bootstrap directory:
cd angular-ng-bootstrap
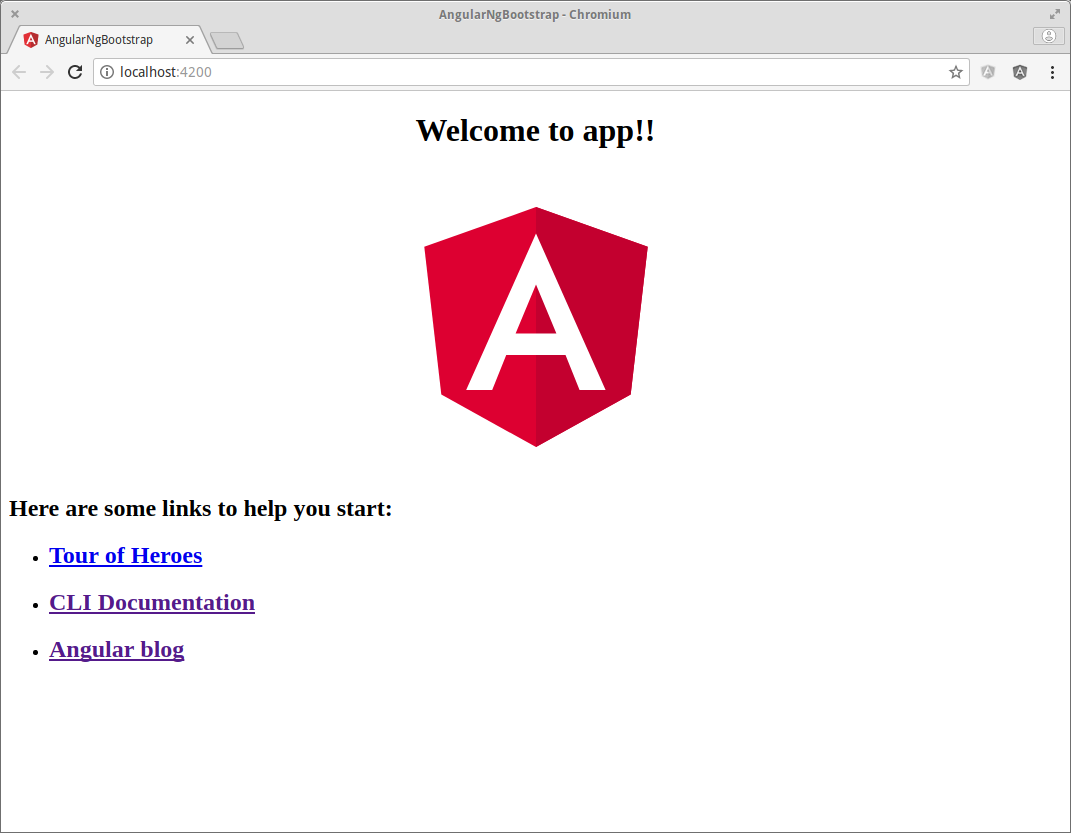
And, use the Angular CLI's built in HTTP server to run our new application:
ng serve
You should see output like:
** NG Live Development Server is listening on localhost:4200, open your browser on http://localhost:4200 **
Hash: 538bcbebc02886f58d24
Time: 9883ms
chunk    {0} polyfills.bundle.js, polyfills.bundle.js.map (polyfills) 184 kB {4} [initial] [rendered]
chunk    {1} main.bundle.js, main.bundle.js.map (main) 5.28 kB {3} [initial] [rendered]
chunk    {2} styles.bundle.js, styles.bundle.js.map (styles) 146 kB {4} [initial] [rendered]
chunk    {3} vendor.bundle.js, vendor.bundle.js.map (vendor) 2.19 MB [initial] [rendered]
chunk    {4} inline.bundle.js, inline.bundle.js.map (inline) 0 bytes [entry] [rendered]
webpack: Compiled successfully.
Open your browser and navigate to http://localhost:4200

ng-bootstrap
ng-bootstrap contains a set of native Angular components based on Bootstrap 4's markup and CSS.
Get Bootstrap 4
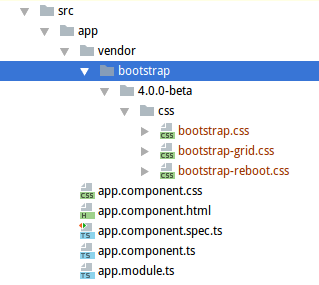
Head over to Bootstrap 4's download page and grap a copy of the ready-to-use compiled code:

styles.css
Update styles.css to import Bootstrap's CSS:
/* Bootstrap 4 CSS */
@import './app/vendor/bootstrap/4.0.0-beta/css/bootstrap.min.css';
Now, we're ready to install ng-bootstrap:
npm install --save @ng-bootstrap/ng-bootstrap
app.module.ts
Update app.module.ts to import ng-bootstrap and add it to the list of imports:
import { BrowserModule } from '@angular/platform-browser';
import { NgModule } from '@angular/core';

import { AppComponent } from './app.component';
import { NgbModule } from '@ng-bootstrap/ng-bootstrap';

@NgModule({
  declarations: [
    AppComponent
  ],
  imports: [
    BrowserModule,
    NgbModule.forRoot()
  ],
  providers: [],
  bootstrap: [AppComponent]
})
export class AppModule { }
ng-bootstrap demo
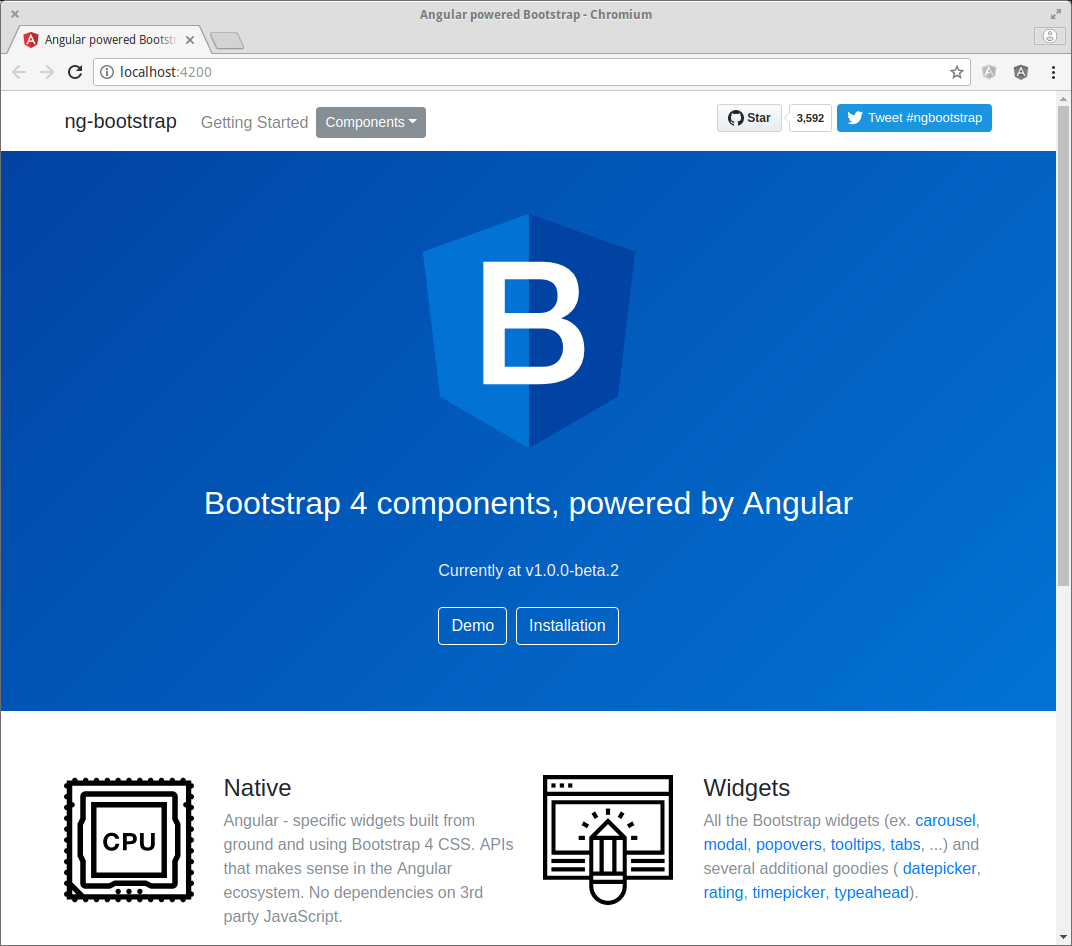
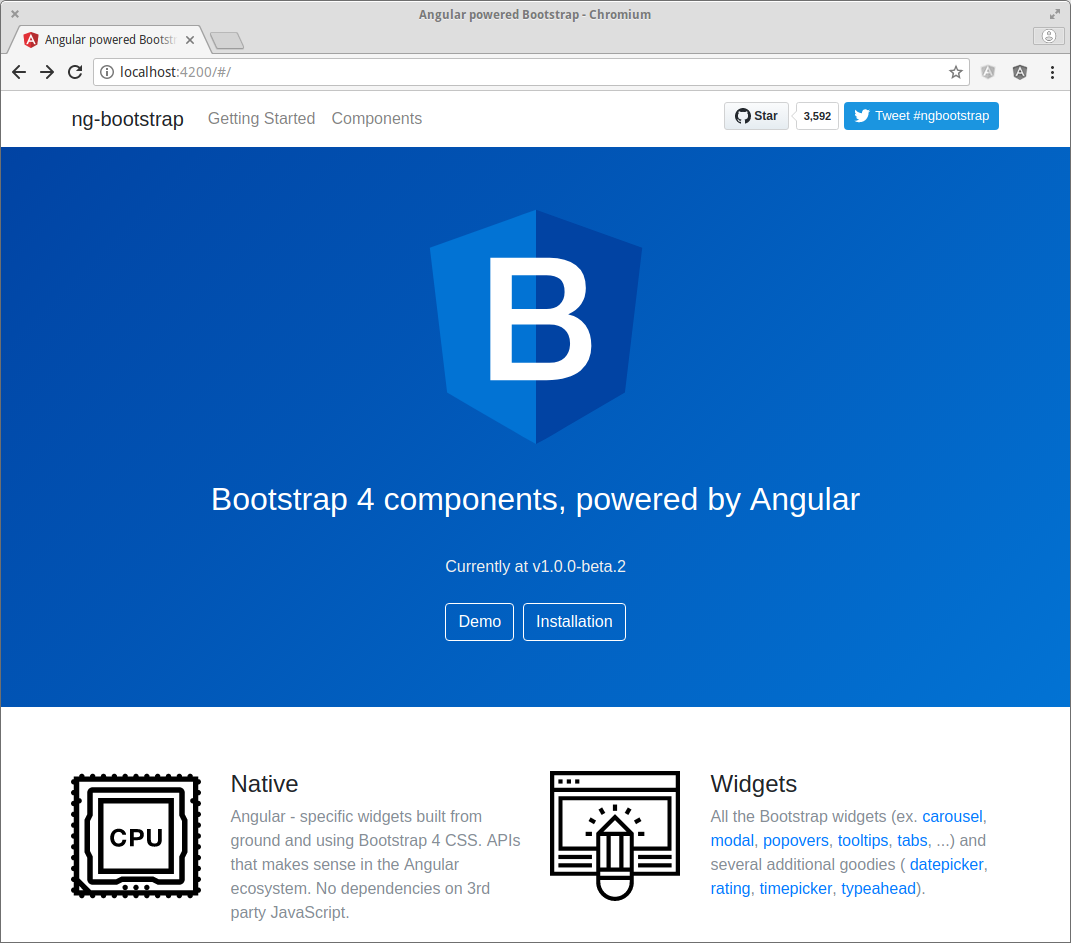
Now, we can use some sample code from the ng-bootstrap demo to check that everything is working as expected:

Source Code:
- GitHub: angular-ng-bootstrap
References:
- Get Bootstrap: Introduction
- Get Bootstrap: Download
- ng-bootstrap: Getting Started
- ng-bootstrap: Demo
- ng-bootstrap: Responsive Navbar
