
In this post, I'll walk you through the steps I followed to add the wijmo FlexSheet component to an Angular 4 project, created using the Angular CLI.
Prerequisites
- Node.js (and npm)
- TypeScript
- Angular CLI
- wijmo FlexSheet
Note: This post will walk you through the steps required to install Node.js (and npm), TypeScript and the Angular CLI. You can download an evaluation version of the wijmo FlexSheet component from the wijmo website.
Create a scaffold
The Angular CLI makes it easy to create scaffolding for new applications, open a terminal session and run the following command:
ng new angular-wijmo-flexsheet
You should see output like:
installing ng
  create .editorconfig
  create README.md
  create src/app/app.component.css
  create src/app/app.component.html
  create src/app/app.component.spec.ts
  create src/app/app.component.ts
  create src/app/app.module.ts
  create src/assets/.gitkeep
  create src/environments/environment.prod.ts
  create src/environments/environment.ts
  create src/favicon.ico
  create src/index.html
  create src/main.ts
  create src/polyfills.ts
  create src/styles.css
  create src/test.ts
  create src/tsconfig.app.json
  create src/tsconfig.spec.json
  create src/typings.d.ts
  create .angular-cli.json
  create e2e/app.e2e-spec.ts
  create e2e/app.po.ts
  create e2e/tsconfig.e2e.json
  create .gitignore
  create karma.conf.js
  create package.json
  create protractor.conf.js
  create tsconfig.json
  create tslint.json
Successfully initialized git.
Installing packages for tooling via yarn.
Installed packages for tooling via yarn.
Project 'angular-wijmo-flexsheet' successfully created.
Now we can navigate to the angular-wijmo-flexsheet directory:
cd angular-wijmo-flexsheet
And use the Angular CLI's built in HTTP server to run our new application:
ng serve
You should see output like:
** NG Live Development Server is listening on localhost:4200, open your browser on http://localhost:4200 **
Hash: 199231ac42f195f30ba5
Time: 10070ms
chunk    {0} polyfills.bundle.js, polyfills.bundle.js.map (polyfills) 184 kB {4} [initial] [rendered]
chunk    {1} main.bundle.js, main.bundle.js.map (main) 5.28 kB {3} [initial] [rendered]
chunk    {2} styles.bundle.js, styles.bundle.js.map (styles) 10.5 kB {4} [initial] [rendered]
chunk    {3} vendor.bundle.js, vendor.bundle.js.map (vendor) 2.19 MB [initial] [rendered]
chunk    {4} inline.bundle.js, inline.bundle.js.map (inline) 0 bytes [entry] [rendered]
webpack: Compiled successfully.
Open your browser and navigate to http://localhost:4200 and you should see output like:
wijmo FlexSheet
The wijmo FlexSheet download includes npm images of the Wijmo external modules in the /NpmImages folder. We can add wijmo to our project using npm:
npm install --save ~/downloads/wijmo-5-enterprise/NpmImages/wijmo-amd-min
Excel-like Worksheet
We can use the Angular CLI to create the scaffolding for a new component:
ng g component worksheet
You should see output like:
installing component
  create src/app/worksheet/worksheet.component.css
  create src/app/worksheet/worksheet.component.html
  create src/app/worksheet/worksheet.component.spec.ts
  create src/app/worksheet/worksheet.component.ts
  update src/app/app.module.ts
And a new module (for our new component):
ng g module worksheet
You should see output like:
installing module
  create src/app/worksheet/worksheet.module.ts
  WARNING Module is generated but not provided, it must be provided to be used
worksheet.component.html
Update worksheet.component.html as follows:
<wj-flex-sheet>
  <wj-sheet name="Sheet 1"></wj-sheet>
  <wj-sheet name="Sheet 2"></wj-sheet>
  <wj-sheet name="Sheet 3"></wj-sheet>
</wj-flex-sheet>
worksheet.module.ts
Update worksheet.module.ts as follows:
import { NgModule } from '@angular/core';
import { CommonModule } from '@angular/common';

import { WjGridSheetModule } from 'wijmo/wijmo.angular2.grid.sheet';

import { WorksheetComponent } from './worksheet.component';

@NgModule({
  imports: [
    CommonModule,
    WjGridSheetModule
  ],
  declarations: [ WorksheetComponent ],
  providers: [],
  exports: [ WorksheetComponent ]
})
export class WorksheetModule { }
app.module.ts
Update app.module.ts as follows:
import { BrowserModule } from '@angular/platform-browser';
import { NgModule } from '@angular/core';

import { WorksheetModule } from './worksheet/worksheet.module';

import { AppComponent } from './app.component';

@NgModule({
  declarations: [
    AppComponent
  ],
  imports: [
    BrowserModule,
    WorksheetModule
  ],
  providers: [],
  bootstrap: [AppComponent]
})
export class AppModule { }
app.component.html
Update app.component.html as follows:
<div id="worksheet-container" style=" width: 100%; height: 100%; position: relative; overflow-y: hidden;">
  <app-worksheet></app-worksheet>
</div>
Now use the Angular CLI's built in HTTP server to run our refactored application:
ng serve
Open your browser and navigate to http://localhost:4200 and check that everything is working as expected:
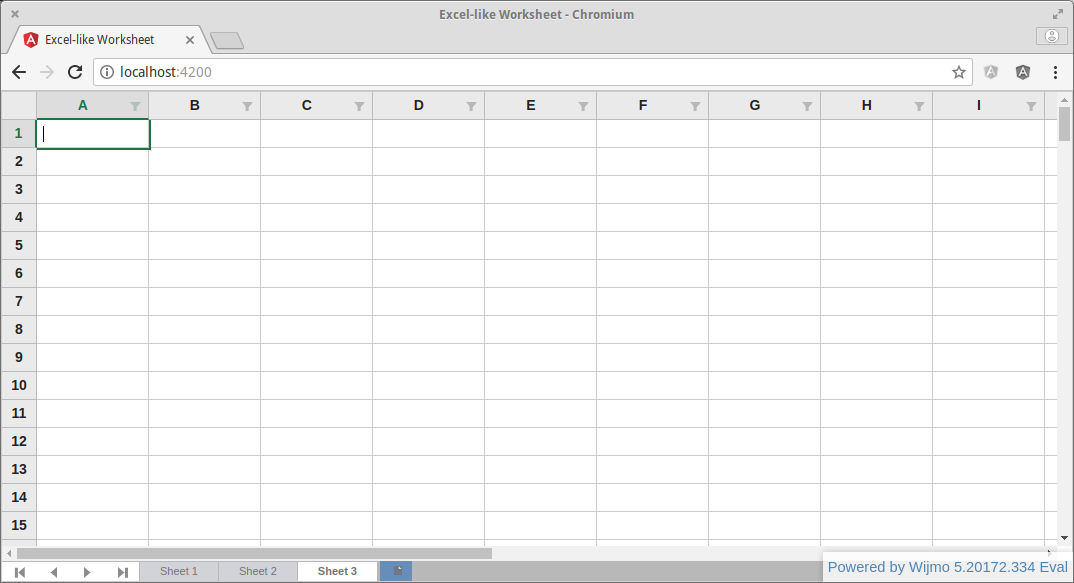
wijmo FlexSheet Samples
The wijmo FlexSheet download includes a /Samples folder. I used some sample code, styles and resources from the ExcelBook demo to add a Ribbon component (and a Formula Bar) to the project.
styles.css
Update styles.css as follows:
/* Font Awesome 4.7.0 CSS */
@import './app/styles/vendor/font-awesome/4.7.0/css/font-awesome.min.css';

/* Bootstrap 3.3.7 CSS */
@import './app/styles/vendor/bootstrap/3.3.7/css/bootstrap.min.css';

/* Wijmo 5 CSS */
@import './app/styles/vendor/wijmo/5.20172.334/css/wijmo.min.css';
@import './app/styles/vendor/wijmo/5.20172.334/css/wijmo.theme.office.min.css';

/*
 Styles and resources from the wijmo-5-enterprise ExcelBook sample

 See:
 - /wijmo-5-enterprise/Samples/TS/Angular2/ExcelBook/ExcelBook/styles
 - /wijmo-5-enterprise/Samples/TS/Angular/ExcelBook/ExcelBook/resources
*/

/* ExcelBook CSS */
@import './app/styles/app.css';
@import './app/styles/ribbon.css';
@import './app/styles/cellStyles.css';
app.component.html
The updated app.component.html:
<div class="excelbook" style="position: relative; overflow-y: hidden;" (window:resize)="onResize($event)">

  <div id="ribbon-tabs-container">
    <app-ribbon></app-ribbon>
  </div>

  <div id="worksheet-container" [style.height.px]="worksheetHeight">
    <app-worksheet></app-worksheet>
  </div>

</div>
Now that the project has a Ribbon component we need to update the Worksheet component's height ([style.height.px]="worksheetHeight") in the AppComponent's ngOnInit() and onResize(event) methods (see below).
app.component.ts
Update app.component.ts as follows:
import { Component, OnInit } from '@angular/core';

@Component({
  selector: 'app-root',
  templateUrl: './app.component.html',
  styleUrls: ['./app.component.css']
})
export class AppComponent implements OnInit {

  public worksheetHeight: number;
  private ribbonHeight: number;

  ngOnInit() {
    this.ribbonHeight = document.getElementById('ribbon-tabs-container').clientHeight;
    this.worksheetHeight = window.innerHeight - this.ribbonHeight;
  }

  onResize(event) {
    this.ribbonHeight = document.getElementById('ribbon-tabs-container').clientHeight;
    this.worksheetHeight = event.target.innerHeight - this.ribbonHeight;
  }
}
ng build --target=production
When working with a third party component library, it's always a good idea to check that you can complete a successful production build:
ng build --target=production
You should see output like:
Hash: 473ef089a06163c57f68
Time: 27664ms
chunk    {0} polyfills.433210cf9b1ab2cb3ebb.bundle.js (polyfills) 184 kB {4} [initial] [rendered]
chunk    {1} main.c2d48b3180f41216ded2.bundle.js (main) 56.9 kB {3} [initial] [rendered]
chunk    {2} styles.ff929170c6b223a5f966.bundle.css (styles) 69 bytes {4} [initial] [rendered]
chunk    {3} vendor.651b0d6b484d6ea0c8dd.bundle.js (vendor) 1.87 MB [initial] [rendered]
chunk    {4} inline.6390d8b939d9b01bc18e.bundle.js (inline) 0 bytes [entry] [rendered]
We can use Python's SimpleHTTPServer to serve the files in the /dist directory:
cd dist
python -m SimpleHTTPServer 8080
Open your browser and navigate to http://localhost:8080/index.html and check that everything is working as expected:

Note: The AOT build initially failed for me (see this Angular CLI issue), I had to downgrade from enhanced-resolve 3.4.0 to enhanced-resolve 3.3.0:
npm install enhanced-resolve@3.3.0
Source Code:
- GitHub: angular-wijmo-flexsheet
References:
- wijmo FlexSheet: Excel-like JavaScript Spreadsheet
- wijmo 5 Demo: FlexSheet Explorer
- wijmo 5 Docs: Angular 2 Components
- wijmo Blog: Create a Quick-Start Application with Angular and Wijmo
- wijmo 5 Demo: Learn wijmo
Additional Resources:
- 500 Lines or Less: The Architecture of Open Source Applications
- GitHub: Web Spreadsheet in 99 Lines
- EtherCalc: The Web Spreadsheet