
Introduction
In a previous post, I wrote about the steps I followed to start working with HAPI FHIR.
In this post, we'll add Authentication (AuthN) to HAPI FHIR by utilising OAuth2 Proxy, Nginx and Keycloak.
I followed the recommendations in the following guides:
- IETF: OAuth 2.0 for Browser-Based Applications
- Spring docs: Implementation Guidelines for Browser-Based Applications
HAPI FHIR AU with Auth Starter Project
Follow the steps in the HAPI FHIR AU with Auth Starter Project's Quick Start guide to enable secure access to HAPI FHIR.
Navigate to:
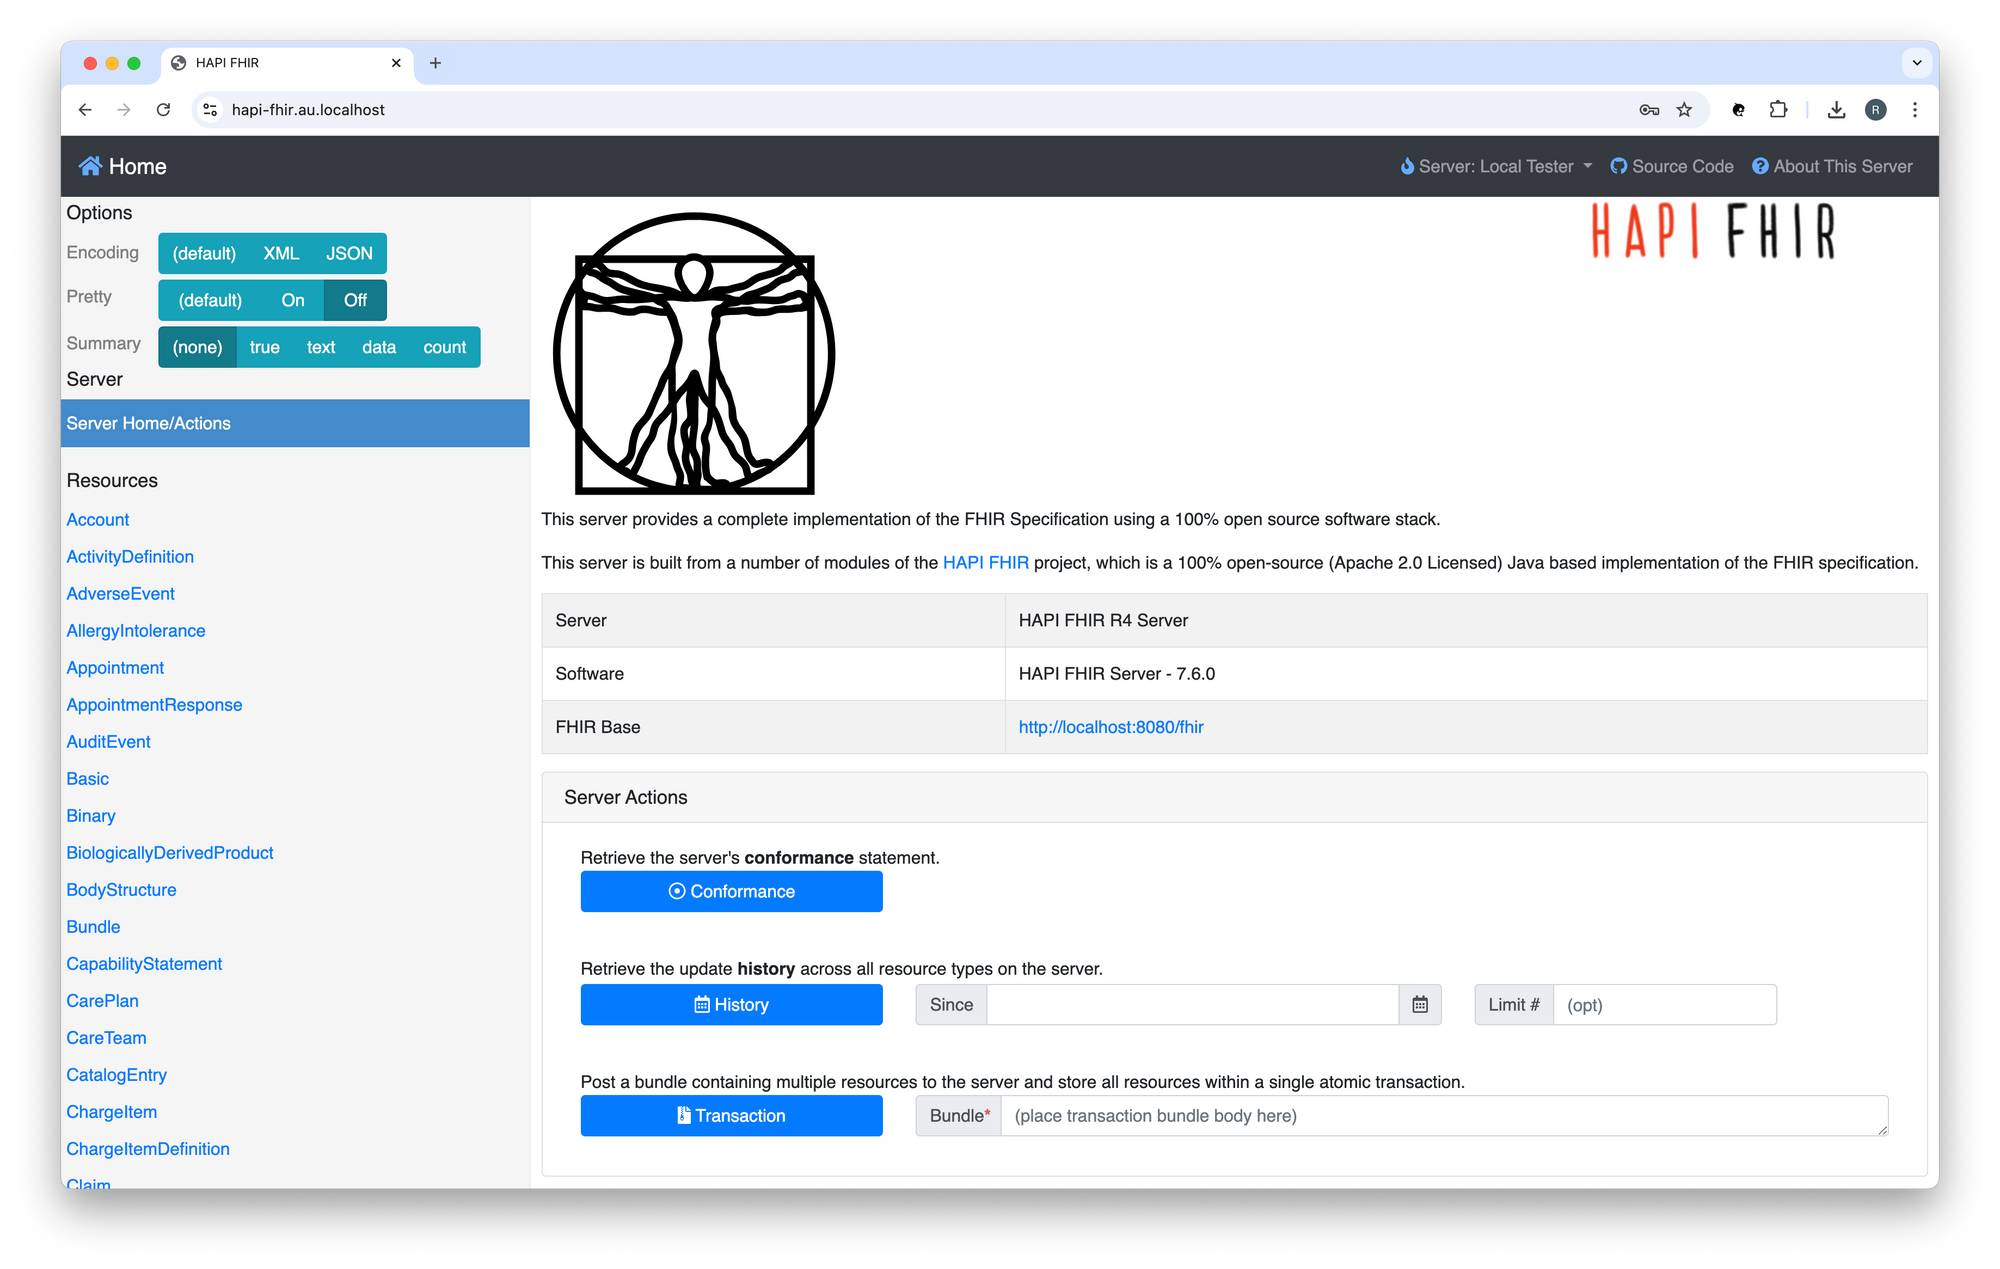
https://hapi-fhir.au.localhost
You should see something like:

Enter your username (hey@rob-ferguson.me) and password (secret), then click the 'Sign In' button to sign in using the OpenID Connect (OIDC) Authorization Code flow.
Note: I followed the steps in Keycloak's Getting Started with Docker guide to create: a realm; a user; and a client. Keycloak will import the hapi-fhir-dev realm (i.e., development-realm.json) when it starts up.
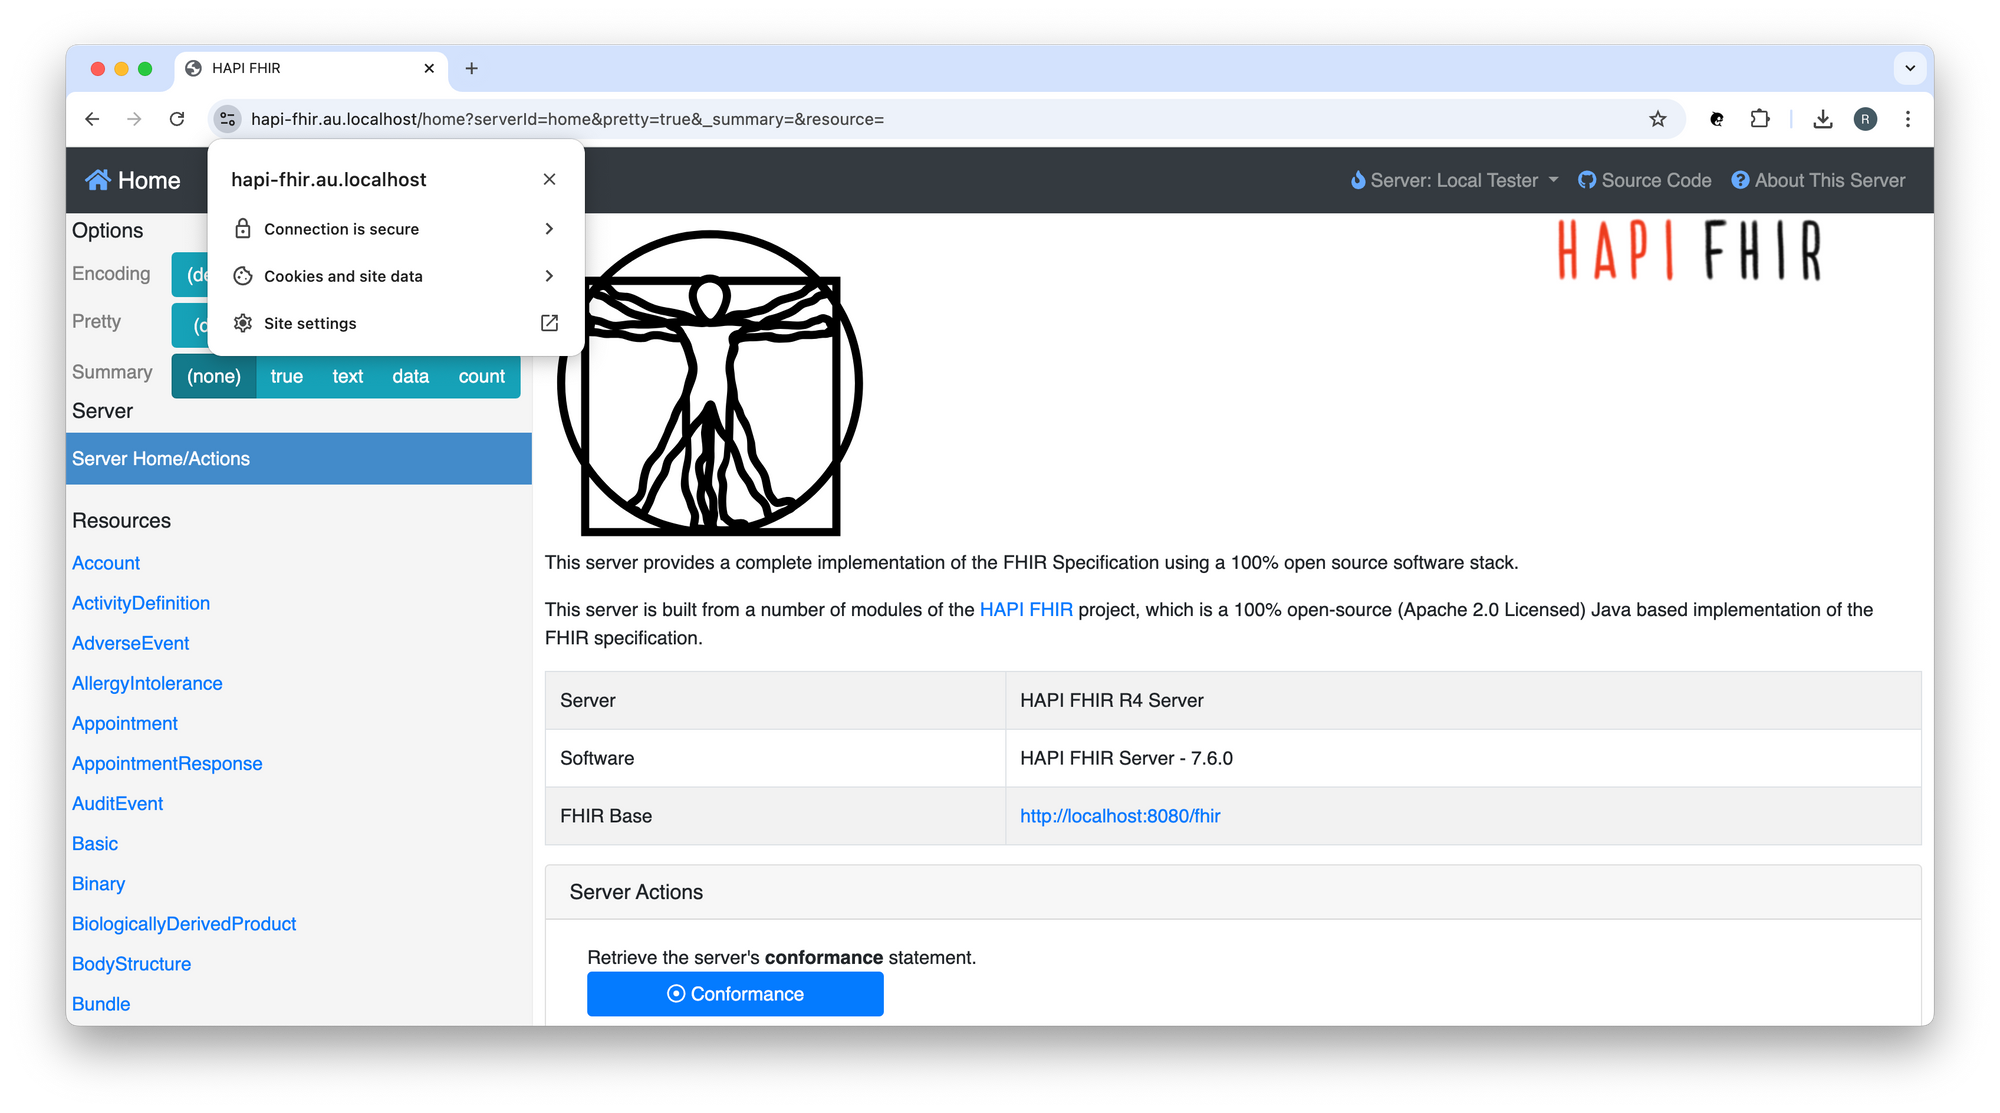
Your connection is secure:
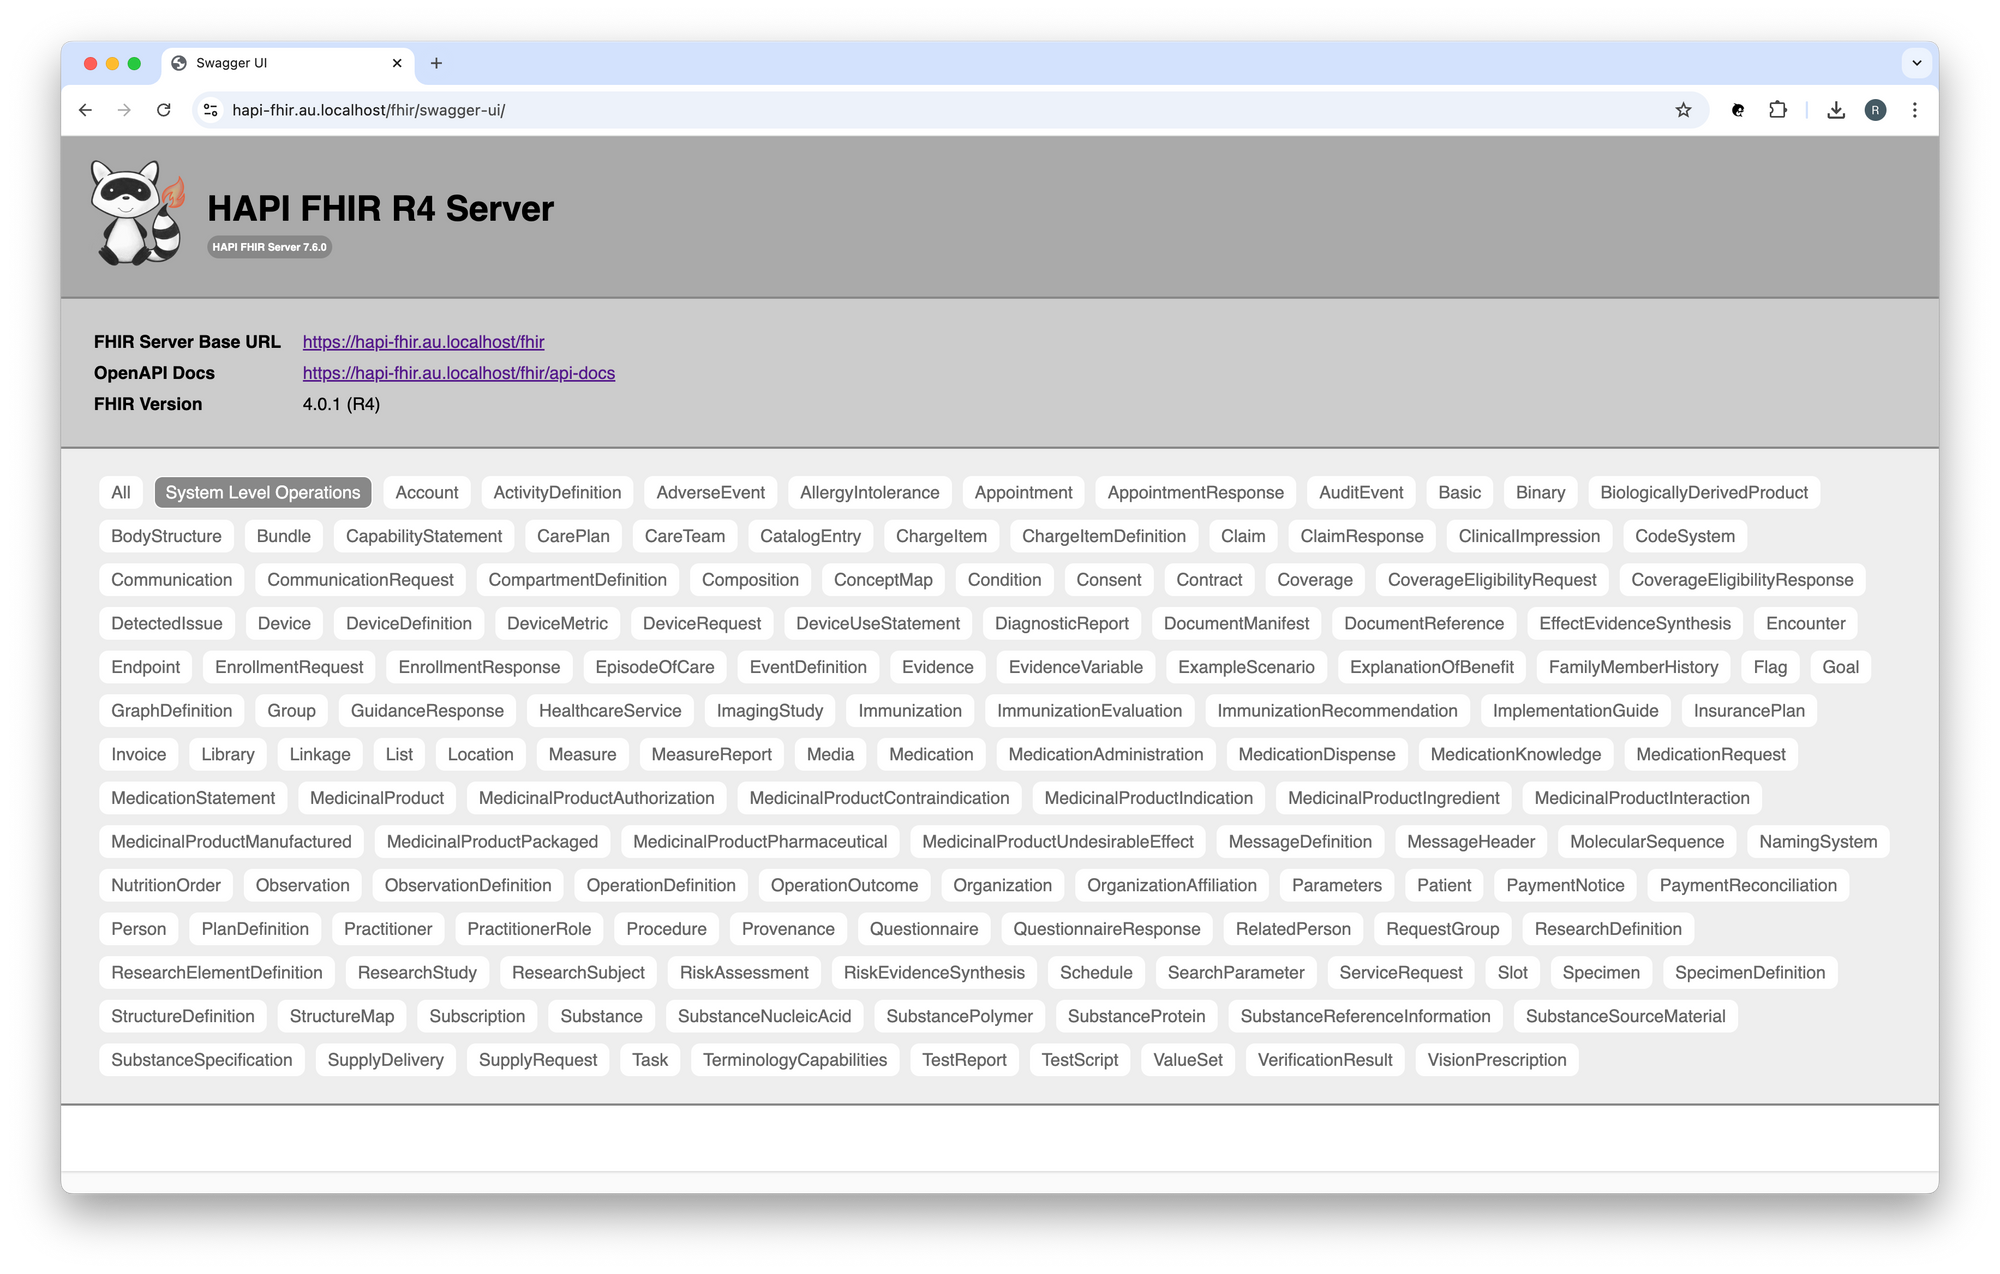
Navigate to the OpenAPI UI for the HAPI FHIR R4 Server:
https://hapi-fhir.au.localhost/fhir
You should see something like:
Note: You can override the default FHIR Server Base URL, for example:
hapi:
  fhir:
    # server_address: http://localhost:8080/fhir
    server_address: https://hapi-fhir.au.localhost/fhir
To stop the services:
docker compose stop
To remove the services:
docker compose down
To remove the data volumes and network:
docker volume rm backend_postgres_data
docker volume rm backend_cache
docker network rm backend_hapi_network
Call the FHIR API
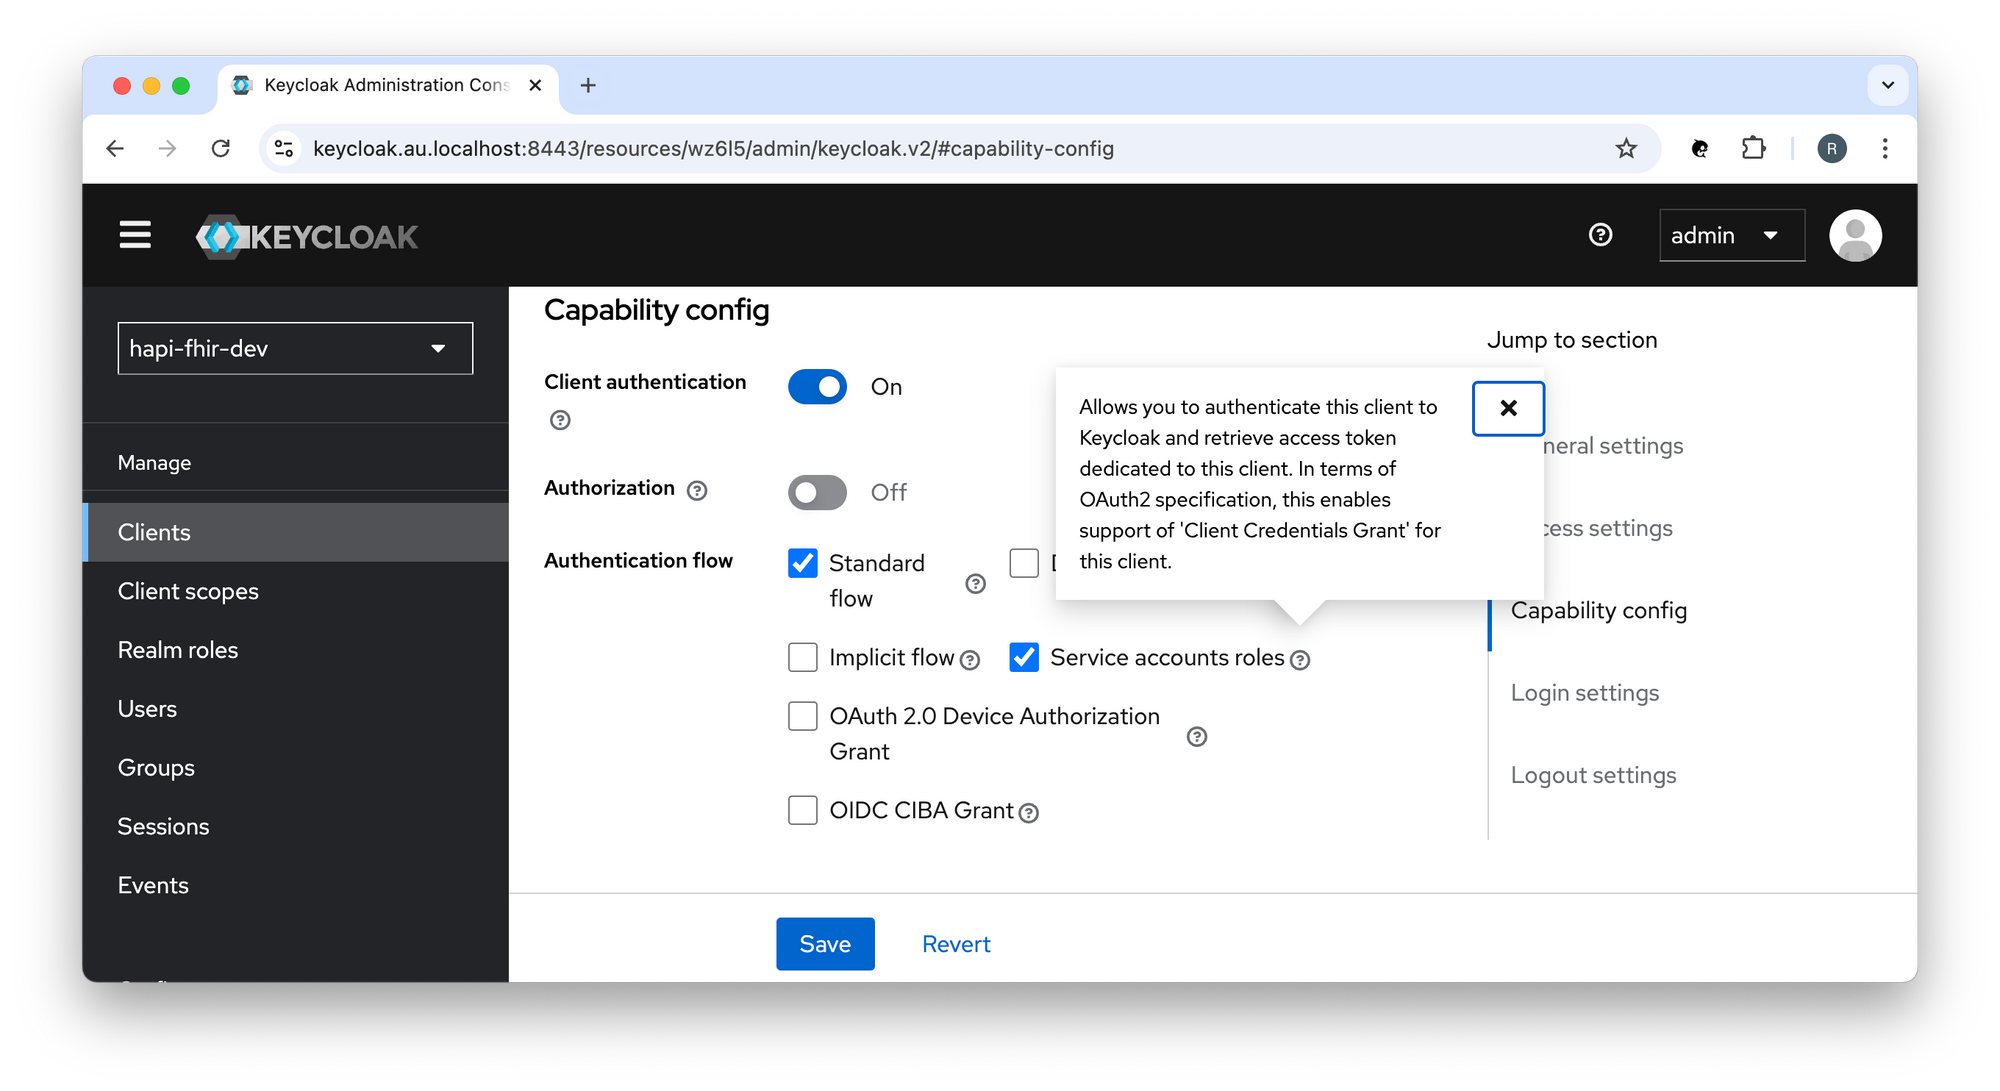
You must allow the 'Service account roles' capability config setting in order to enable support for the OAuth 2.0 Client Credentials Grant:
Request a token
To access the API, you must request an access token. You will need to POST to the token URL.
For example:
ACCESS_TOKEN=$(curl -s -X POST https://keycloak.au.localhost:8443/realms/hapi-fhir-dev/protocol/openid-connect/token \
  -H 'content-type: application/x-www-form-urlencoded' \
  -d grant_type=client_credentials \
  -d client_id=oauth2-proxy \
  -d client_secret=aHkRec1BYkfaKgMg164JmvKu8u9iWNHM | (jq -r '.access_token'))

# echo "$ACCESS_TOKEN"
Call the API
To call the API, an application must pass the access token as a Bearer token in the Authorization header of your HTTP request.
For example:
curl -X GET https://hapi-fhir.au.localhost/fhir/metadata \
  -H 'Content-Type: application/fhir+json' \
  -H "Authorization: Bearer $ACCESS_TOKEN"
Keycloak
Admin Console
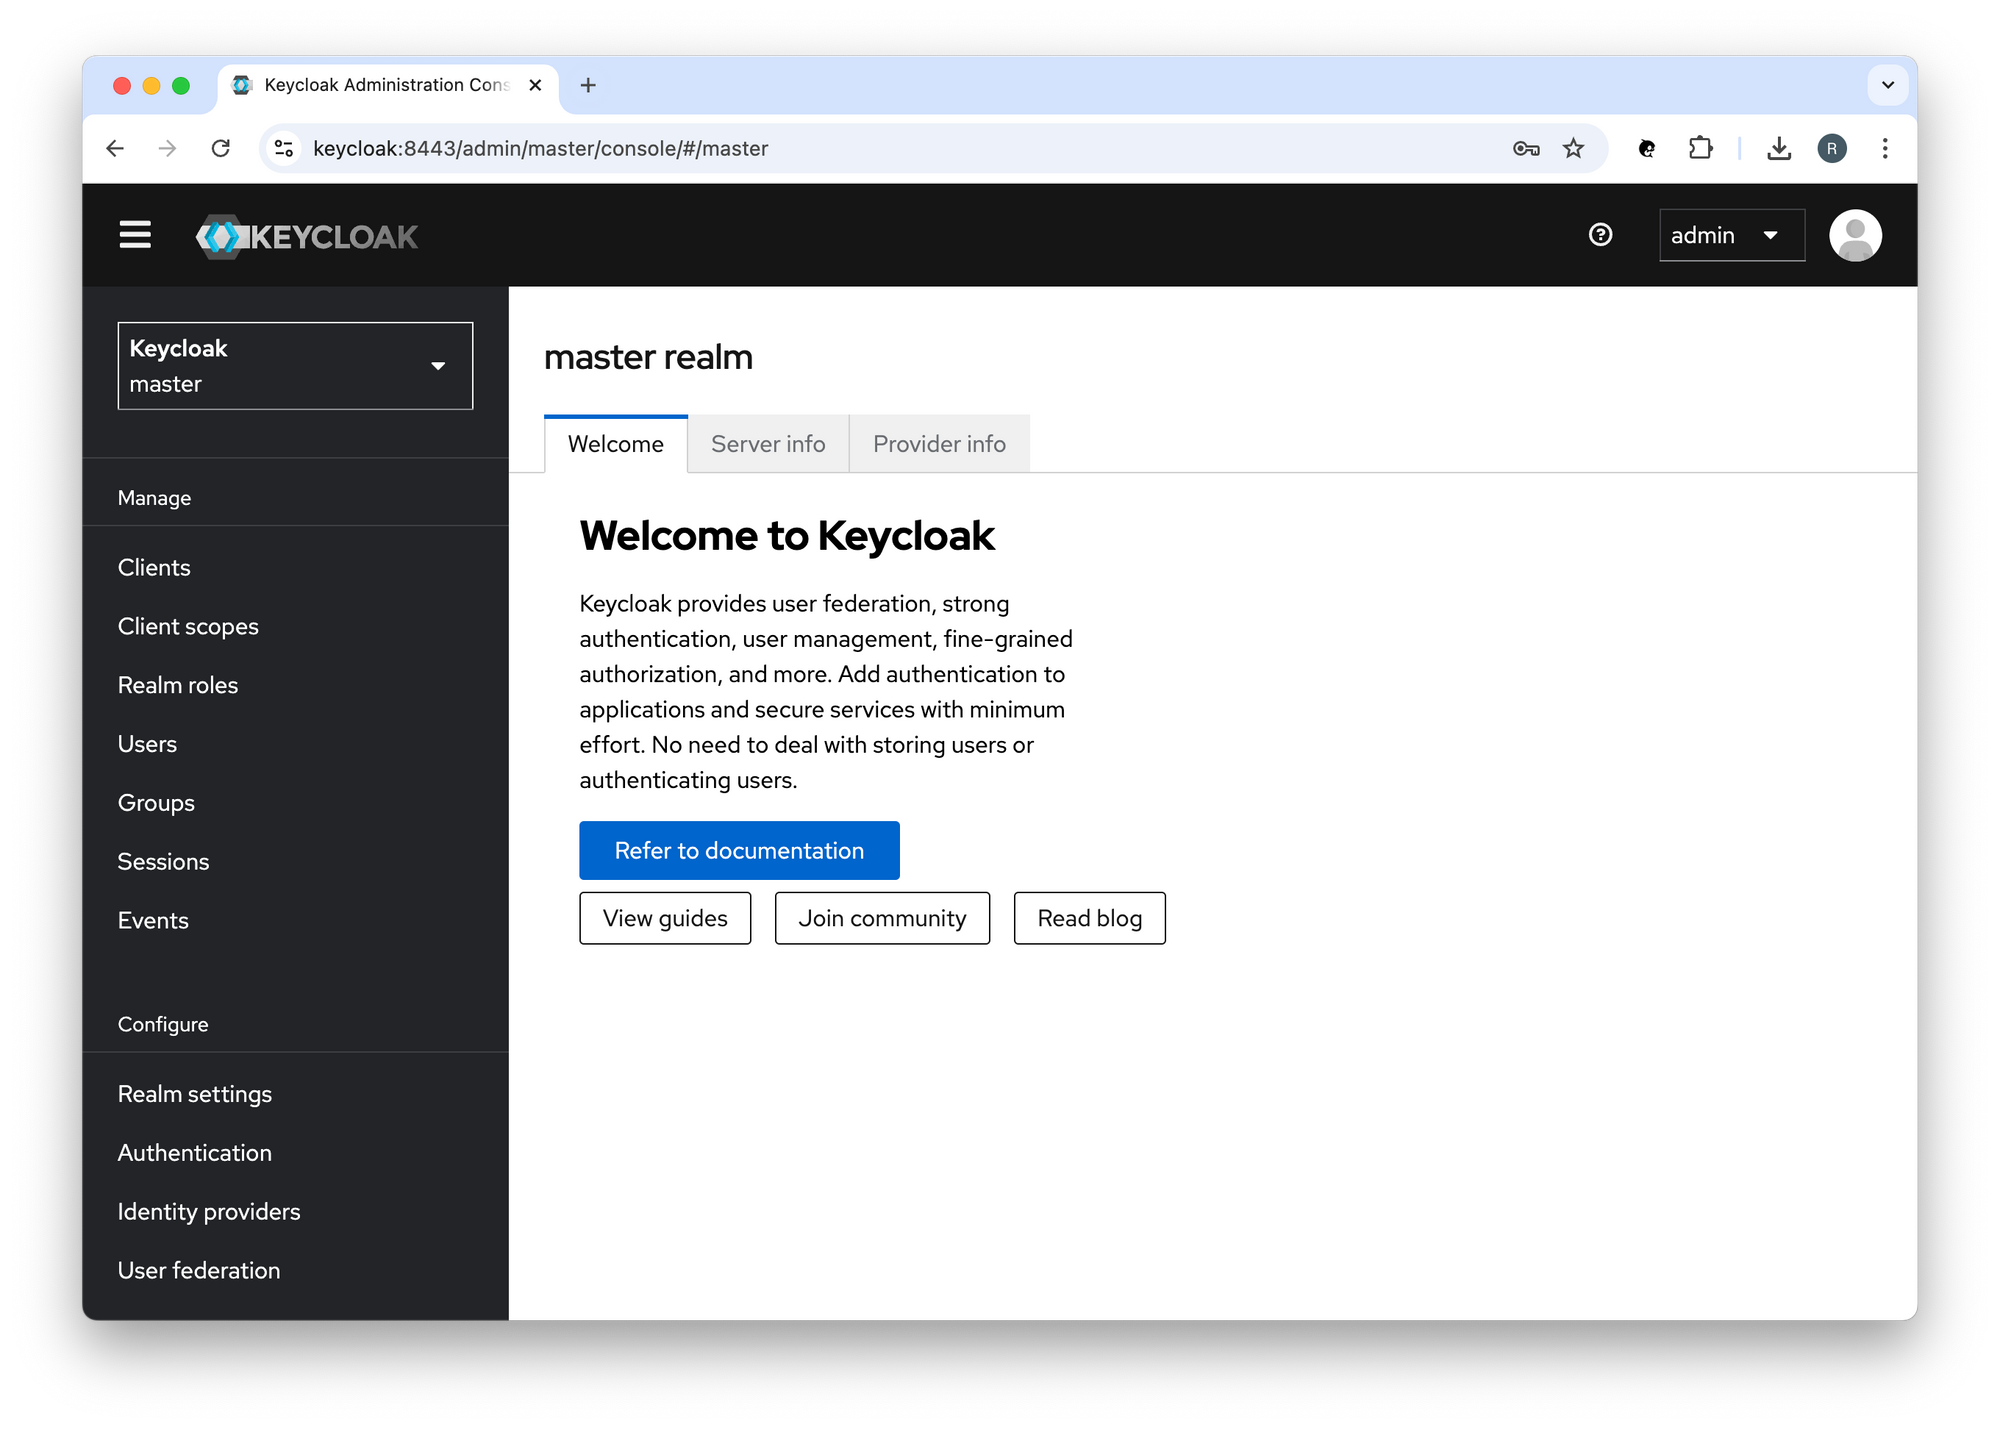
To navigate to the Keycloak Admin Console:
https://keycloak.au.localhost:8443
You should see something like:
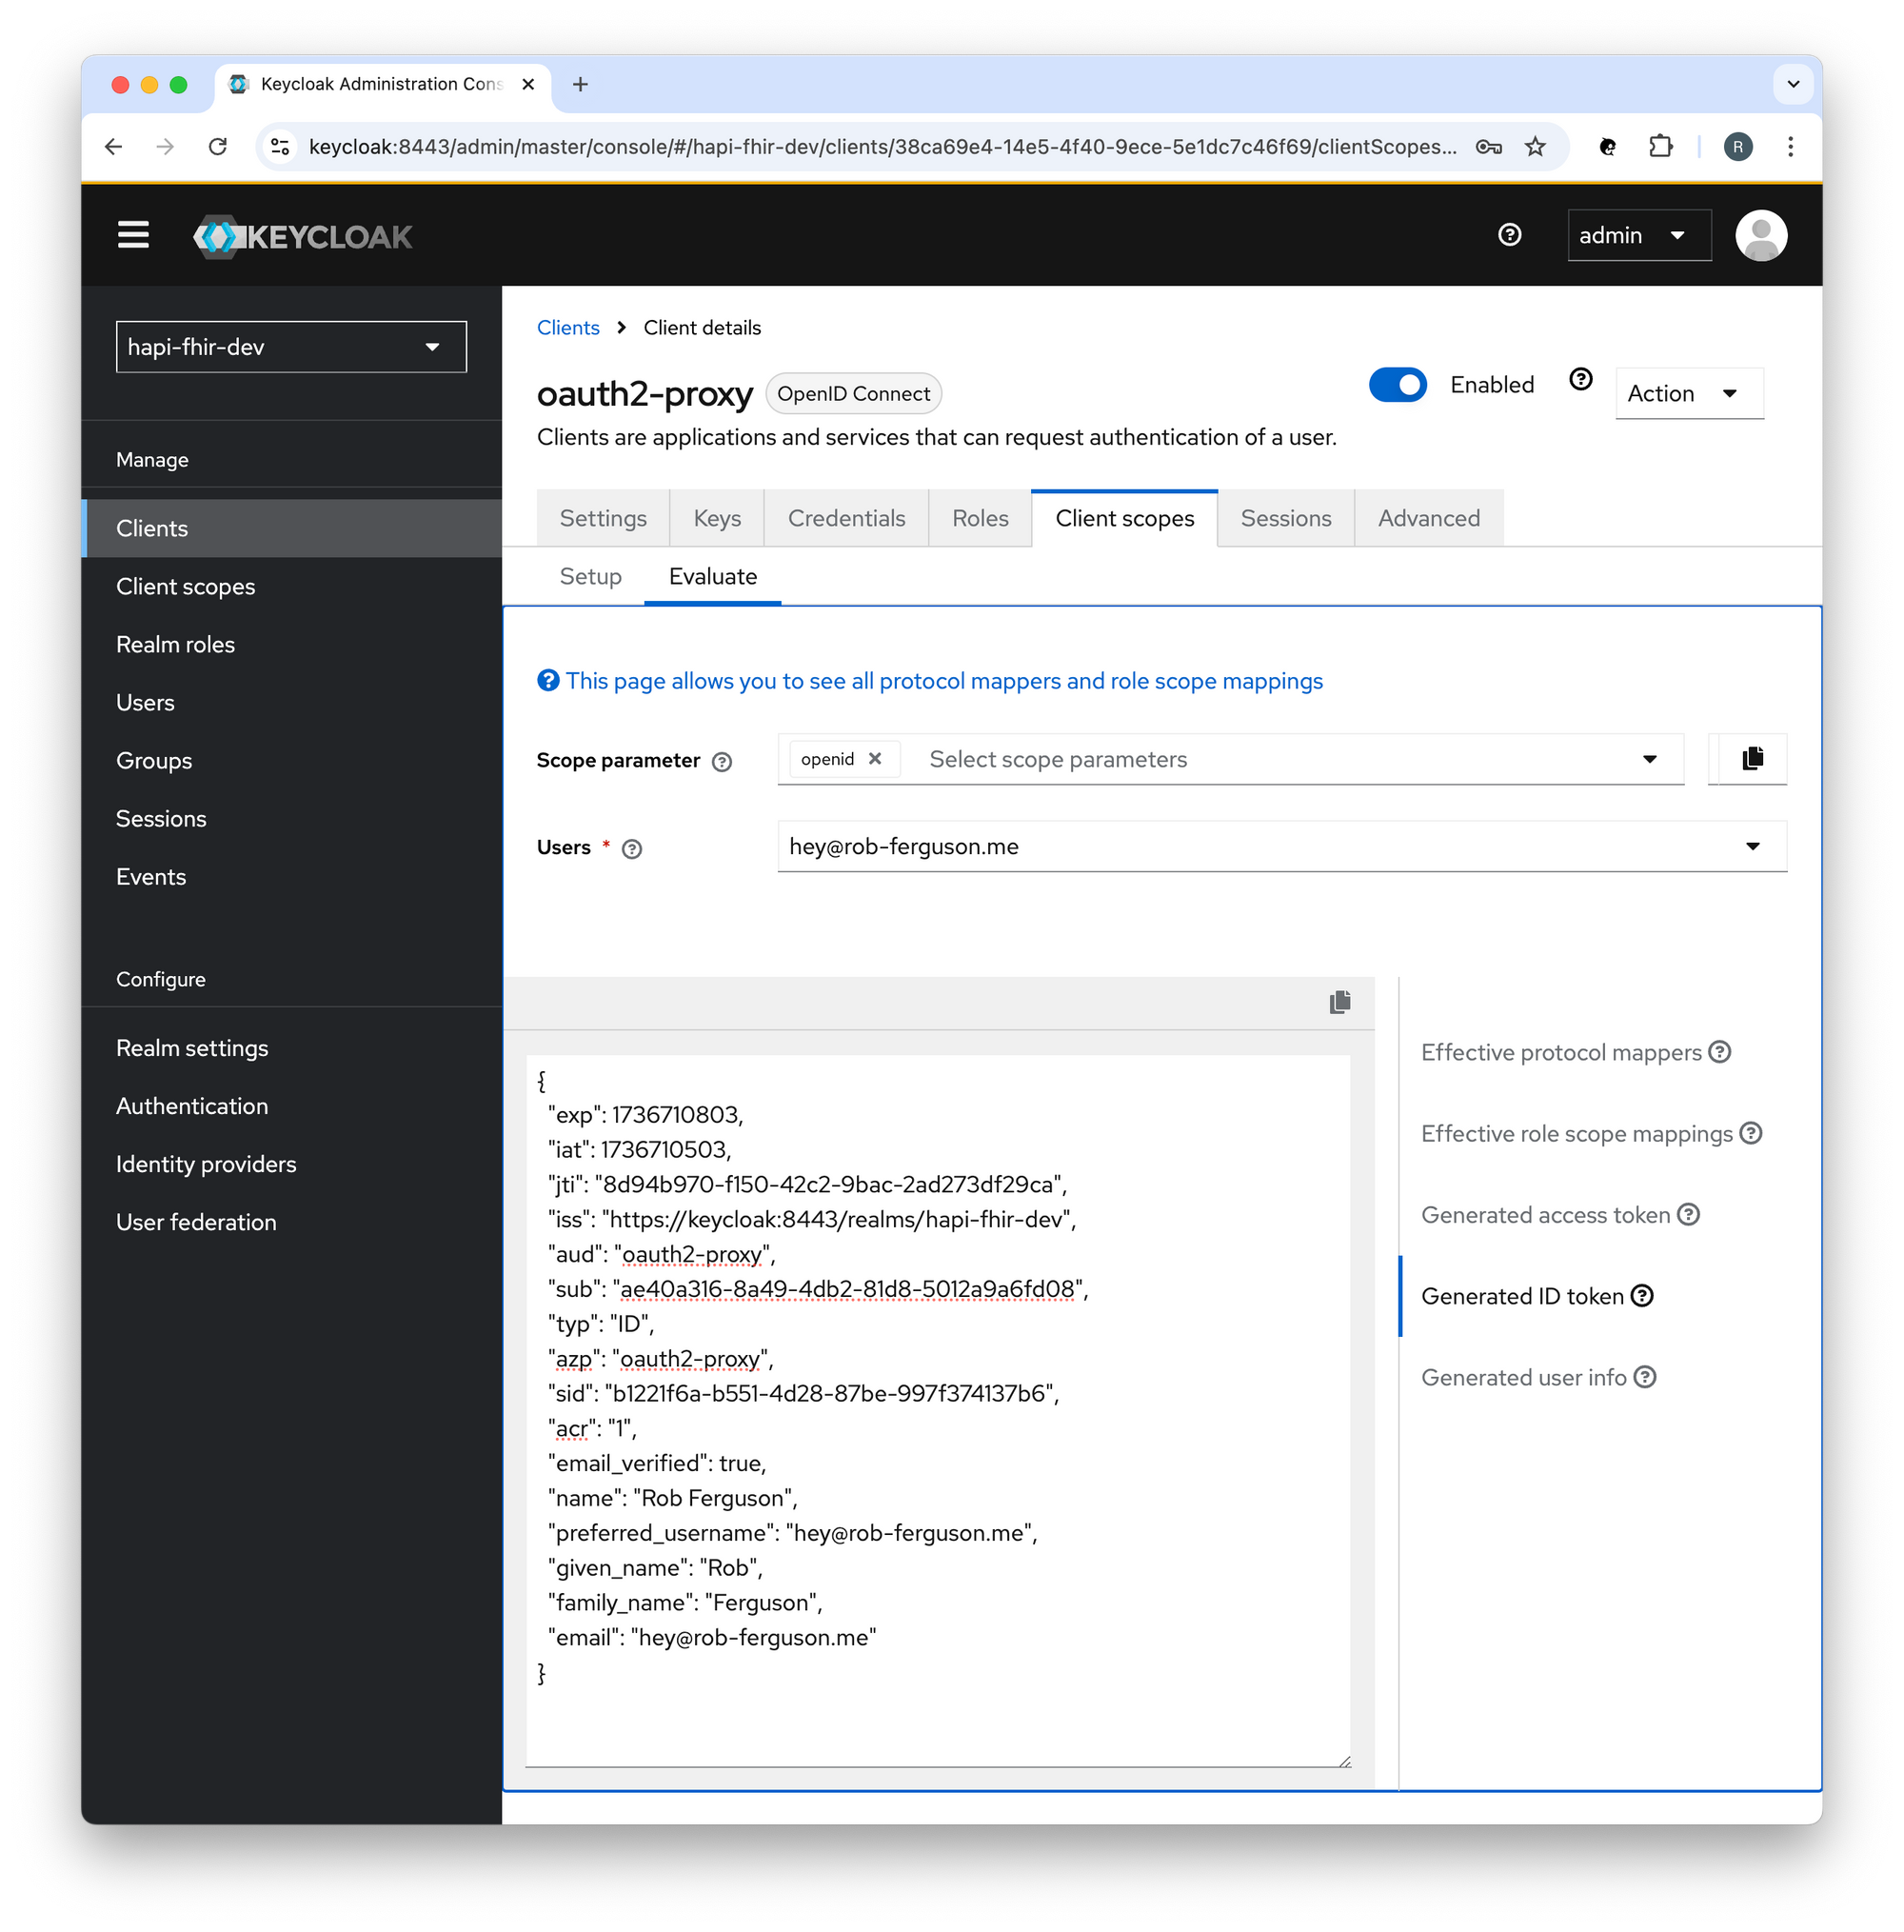
You can preview tokens in the Keycloak Admin Console, for example:
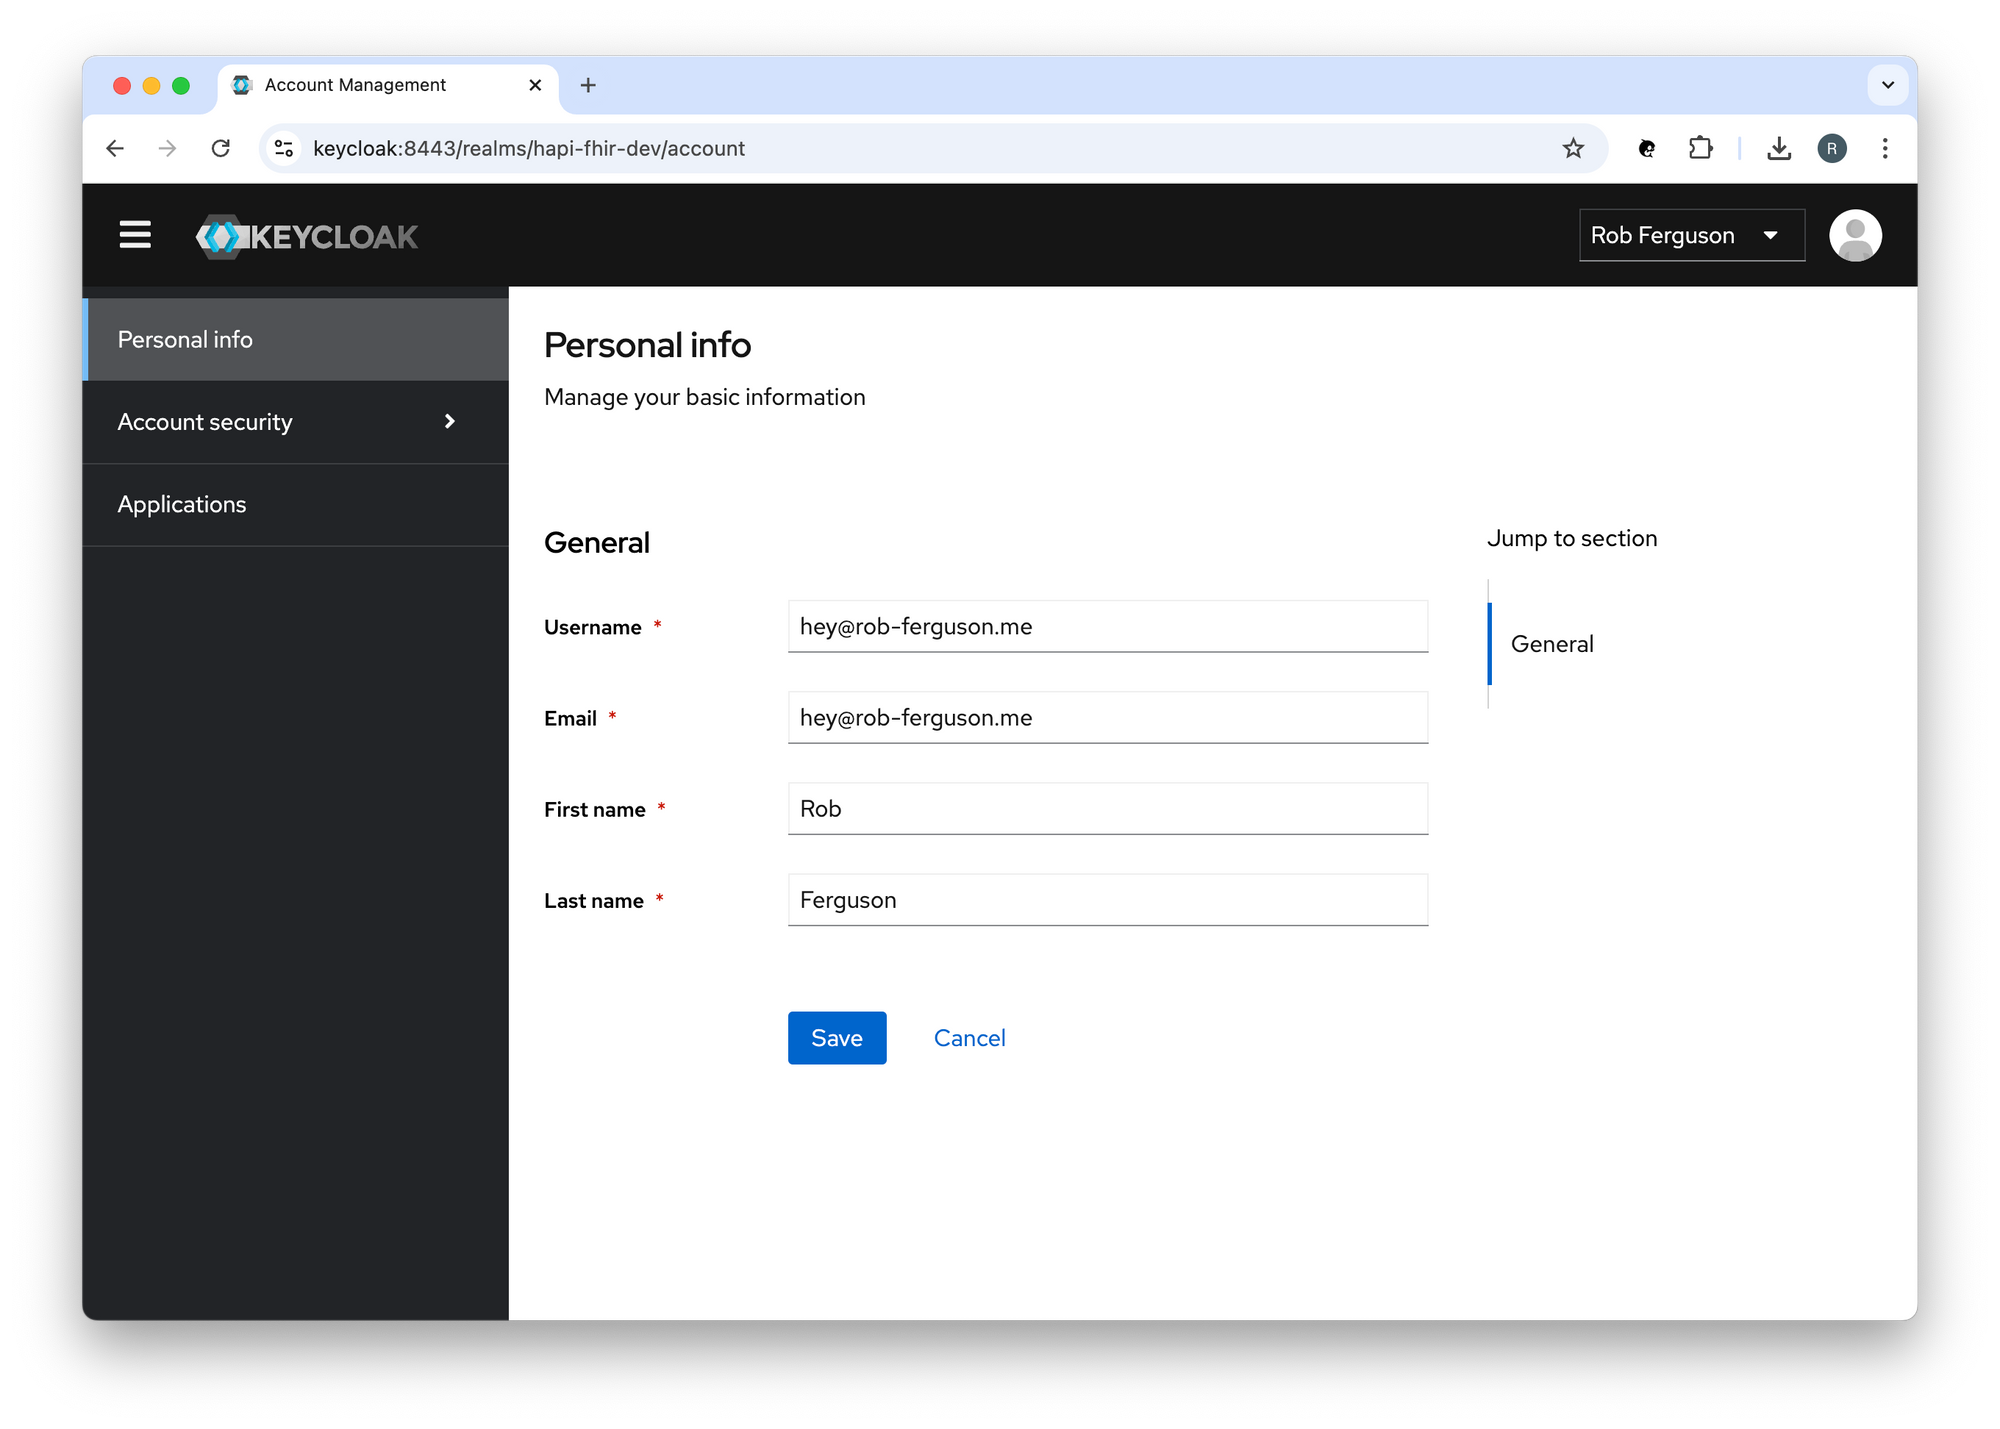
Account Console
To navigate to the Keycloak Account Console:
https://keycloak.au.localhost:8443/realms/hapi-fhir-dev/account
You should see something like:
What's Next
In the next post, we'll take a look at how to configure Keycloak.
Source Code
References
System Hardening
- ASD: Implementing Certificates, TLS, HTTPS and Opportunistic TLS
- Cloudflare docs: Cipher suites recommendations
OAuth 2.0
- IETF: OAuth 2.0 for Browser-Based Applications
- Spring docs: Implementation Guidelines for Browser-Based Applications
- okta Developer blog: OAuth for Java Developers
- OAuth.com: OAuth 2.0 Playground
- okta Developer blog: Add Auth to Any App with OAuth2 Proxy
Keycloak
- Keycloak guides: Configuring Keycloak for production
- Keycloak guides: Configuring TLS
- Keycloak guides: Configuring trusted certificates
- Keycloak guides: Configuring the hostname
- Keycloak guides: Using a reverse proxy
- Keycloak guides: Running Keycloak in a container
Nginx
- Nginx docs: NGINX SSL Termination
- Nginx docs: Authentication Based on Subrequest Result
OAuth2 Proxy
- OAuth2 Proxy docs: Integration
- OAuth2 Proxy docs: TLS Configuration