Introduction
This is the second post, in a series of posts about adding support for Authentication (AuthN) to HAPI FHIR with OAuth2 Proxy, Nginx and Keycloak:
- Add AuthN to HAPI FHIR with OAuth2 Proxy, Nginx and Keycloak - Part 1
- Add AuthN to HAPI FHIR with OAuth2 Proxy, Nginx and Keycloak - Part 2
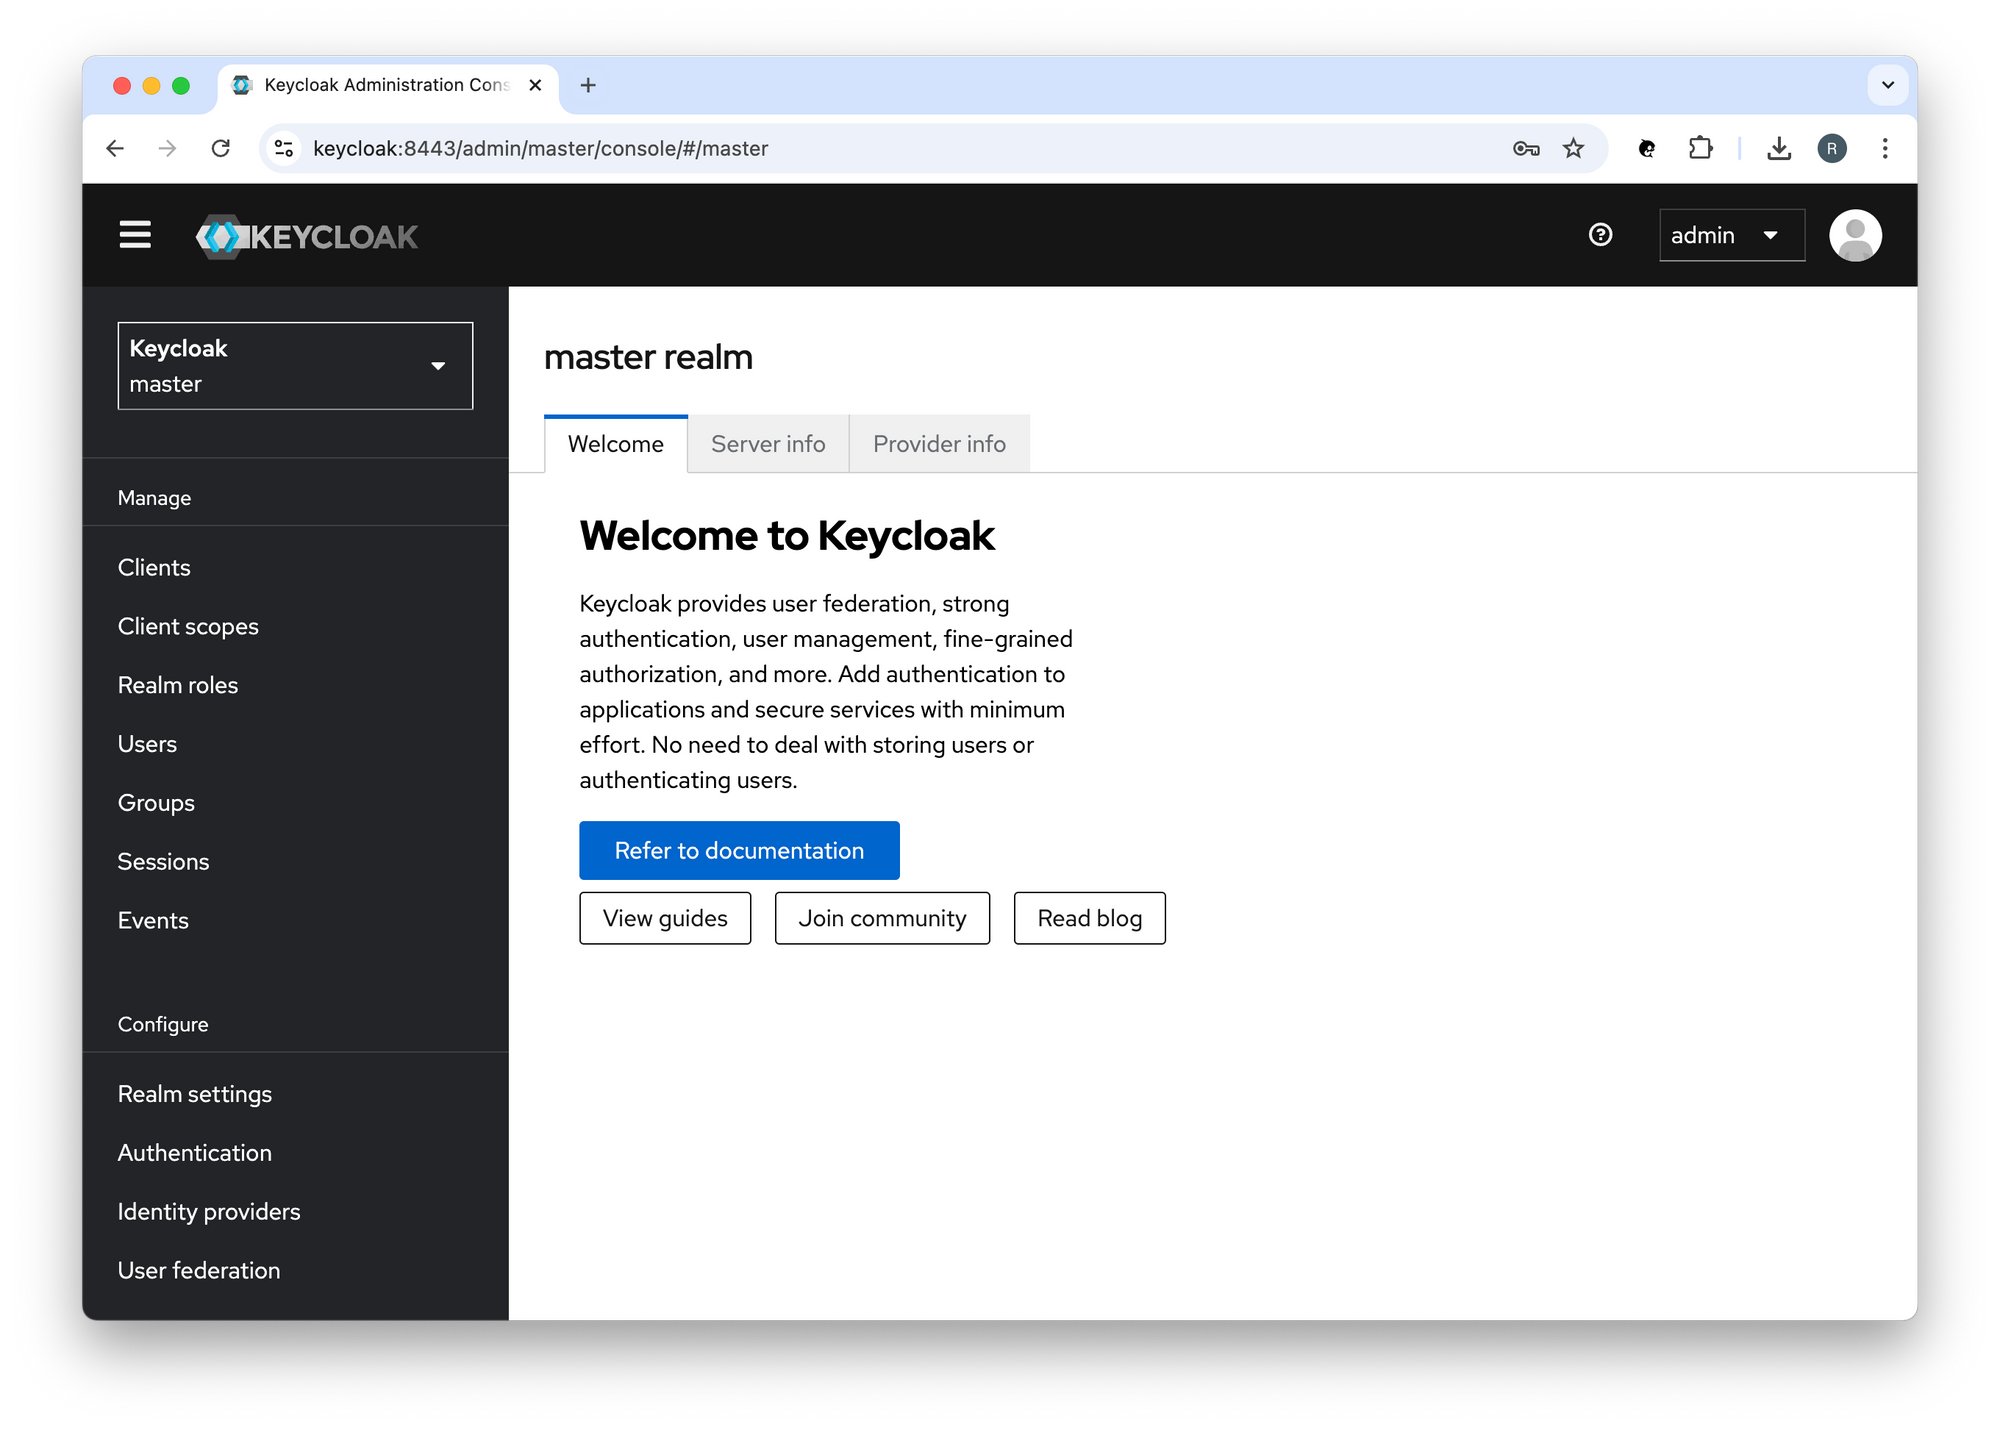
Keycloak
Keycloak is an open source Identity and Access Management solution that supports:
- Single Sign On (SSO)
- OpenID Connect (OIDC), OAuth 2.0 and SAML 2.0
- LDAP and Active Directory
- User Federation, Identity Brokering and Social Login
- Centralised User Management
I followed the recommendations in the following guides:
- Keycloak guides: Configuring Keycloak for production
- Keycloak guides: Configuring TLS
- Keycloak guides: Configuring trusted certificates
- Keycloak guides: Configuring the hostname
- Keycloak guides: Using a reverse proxy
- Keycloak guides: Running Keycloak in a container
Enable TLS
Transport Layer Security (TLS) is crucial to the exchange of data over a secured channel. For production environments, you should never expose Keycloak endpoints through HTTP, as sensitive data is at the core of what Keycloak exchanges with other applications.
  keycloak.au.localhost:
    container_name: keycloak.au.localhost

    ...

    environment:

      ...

      KC_HTTPS_CERTIFICATE_FILE: /etc/keycloak/certs/cert.pem
      KC_HTTPS_CERTIFICATE_KEY_FILE: /etc/keycloak/certs/key.pem

    env_file: ./.env
    ports:
      - 8443:8443
      - 9000:9000

    # Make sure the certificate and the key (the *.pem files) have the correct permissions -> e.g., sudo chmod 655 *.pem
    volumes:
      - '${PWD}/certs/keycloak-cert.pem:/etc/keycloak/certs/cert.pem'
      - '${PWD}/certs/keycloak-key.pem:/etc/keycloak/certs/key.pem'
      - '${PWD}/certs:/opt/keycloak/conf/truststores'

    ...
See: docker-compose.yml
When you provide matching certificate and private key files in PEM format, Keycloak will create an in memory keystore.
Health Check
I updated the Keycloak (keycloak.au.localhost) service's Docker file to add curl and jq to the image:
FROM registry.access.redhat.com/ubi9 AS ubi-micro-build

RUN mkdir -p /mnt/rootfs
RUN dnf install --installroot /mnt/rootfs curl jq \
    --releasever 9 --setopt install_weak_deps=false --nodocs -y && \
    dnf --installroot /mnt/rootfs clean all && \
    rpm --root /mnt/rootfs -e --nodeps setup

FROM quay.io/keycloak/keycloak

COPY --from=ubi-micro-build /mnt/rootfs /
See: Dockerfile
I created the following script:
#!/bin/bash

status=$(curl --insecure --silent https://hapi-fhir.au.localhost:9000/health/ready | (jq -r '.status'))

if [[ $status = 'UP' ]] ; then
    exit 0
  else
    exit 1
fi
See: health-check.sh
Note: After you enable TLS Keycloak will listen on port 8443 and port 9000.
And I updated the Docker Compose configuration file, as follows:
  keycloak.au.localhost:
    container_name: keycloak.au.localhost

    ...

    healthcheck:
      test: ["CMD-SHELL", "/opt/keycloak/health-check.sh"]
      start_period: 10s
      interval: 30s
      retries: 5
      timeout: 5s

    ...

    volumes:
      - '${PWD}/services/keycloak/scripts/health-check.sh:/opt/keycloak/health-check.sh'

    ...
See: docker-compose.yml
The .env file:
PROTOCOL=https
# Postgres
POSTGRES_DB=hapi-fhir
POSTGRES_USER=admin
POSTGRES_PASSWORD=secret
# Keycloak
KEYCLOAK_HOSTNAME=keycloak.au.localhost
KEYCLOAK_PORT=8443
KEYCLOAK_REALM=hapi-fhir-dev
KEYCLOAK_ADMIN=admin
KEYCLOAK_ADMIN_PASSWORD=secret
# OAuth Client
CLIENT_ID=oauth2-proxy
CLIENT_SECRET=aHkRec1BYkfaKgMg164JmvKu8u9iWNHM
SCOPE=openid
# OAuth2 Proxy
OAUTH2_PROXY_HOSTNAME=hapi-fhir.au.localhost
OAUTH2_PROXY_PORT=4180
COOKIE_NAME=SESSION
COOKIE_SECRET=uzVUu9BdSpOXqPeMaGoTYuTHazRXWoUCajyLUfWlnv8=
See: .env
Note: Docker will look for your .env file in the same directory as your Docker Compose configuration file.
Why do we need a Health Check?
We need a Health Check so that we can make OAuth2 Proxy wait until Keycloak is ready before it tries to perform OIDC Discovery.
For example:
oauth2-proxy  | [2025/01/10 21:26:35] [provider.go:55] Performing OIDC Discovery...
oauth2-proxy  | [2025/01/10 21:26:35] [proxy.go:89] mapping path "/" => upstream "http://hapi-fhir:8080/"
oauth2-proxy  | [2025/01/10 21:26:35] [oauthproxy.go:172] OAuthProxy configured for OpenID Connect Client ID: oauth2-proxy
oauth2-proxy  | [2025/01/10 21:26:35] [oauthproxy.go:178] Cookie settings: name:oauth2-proxy secure(https):false httponly:true expiry:10m0s domains: path:/ samesite:lax refresh:after 5m0s
docker-compose.yml:
  oauth2-proxy:
    container_name: oauth2-proxy

    ...

    depends_on:
      keycloak.au.localhost:
        condition: service_healthy

    ...
See: docker-compose.yml
Create a Realm, a User and a Client
I followed the steps in Keycloak's Getting Started with Docker guide to create: a realm; a user; and a client.
Import
Keycloak will import the hapi-fhir-dev realm when it starts up:
  keycloak.au.localhost:
    container_name: keycloak.au.localhost

    ...

    command:
      [
        'start',
        '-Dkeycloak.migration.action=import',
        '-Dkeycloak.migration.provider=singleFile',
        '-Dkeycloak.migration.realmName=hapi-fhir-dev',
        '-Dkeycloak.migration.strategy=OVERWRITE_EXISTING',
        '-Dkeycloak.migration.file=/import/development-realm.json',
      ]

    ...
See: docker-compose.yml
Export
To export the hapi-fhir-dev realm to a single file (development-realm.json):
docker compose stop
docker compose -f docker-compose-keycloak-realm-export.yml up
docker compose -f docker-compose-keycloak-realm-export.yml stop
docker compose -f docker-compose-keycloak-realm-export.yml down
docker compose up
See: docker-compose-keycloak-realm-export.yml
Networking
What's in a name?
The Keycloak container name (container_name): keycloak.au.localhost
The Keycloak hostname (KC_HOSTNAME): keycloak.au.localhost
Keycloak uses the provided hostname to generate the OIDC issuer URL.
Docker runs a DNS service that your services (applications) use to resolve container names.
Don't forget to update your /etc/hosts file:
sudo nano /etc/hosts
Add the hostnames, hapi-fhir.au.localhost and keycloak.au.localhost:
127.0.0.1 localhost hapi-fhir.au.localhost keycloak.au.localhost
What's Next
In the next post, we'll take a look at how to configure Nginx.
Source Code
References
System Hardening
- ASD: Implementing Certificates, TLS, HTTPS and Opportunistic TLS
- Cloudflare docs: Cipher suites recommendations
OAuth 2.0
- IETF: OAuth 2.0 for Browser-Based Applications
- Spring docs: Implementation Guidelines for Browser-Based Applications
- okta Developer blog: OAuth for Java Developers
- OAuth.com: OAuth 2.0 Playground
- okta Developer blog: Add Auth to Any App with OAuth2 Proxy
Keycloak
- Keycloak guides: Configuring Keycloak for production
- Keycloak guides: Configuring TLS
- Keycloak guides: Configuring trusted certificates
- Keycloak guides: Configuring the hostname
- Keycloak guides: Using a reverse proxy
- Keycloak guides: Running Keycloak in a container
Nginx
- Nginx docs: NGINX SSL Termination
- Nginx docs: Authentication Based on Subrequest Result
OAuth2 Proxy
- OAuth2 Proxy docs: Integration
- OAuth2 Proxy docs: TLS Configuration
