
In a previous post I walked you through the steps I followed when creating a bespoke 'look and feel' for a Hybrid Mobile App built using version 3 of the Ionic Framework.
In this post, I'll show you how to dynamically switch themes.
Dynamically switching themes
Let's start by creating two files in the project's /theme directory:
├── /big-top
    └── /src
        └── /theme
            ...
            ├── green-and-blue-theme.scss
            ├── facebook-messenger-theme.scss
.green-and-blue-theme {

  ion-content {
    @include linear-gradient(left,$green-and-blue);
    -webkit-background-size: cover;
    -moz-background-size: cover;
    background-size: cover;
  }

}
and facebook-messenger-theme.scss:
.facebook-messenger-theme {

  ion-content {
    @include linear-gradient(left,$facebook-messenger);
    -webkit-background-size: cover;
    -moz-background-size: cover;
    background-size: cover;
  }

}
Update variables.scss as follows:
...

// App Theme
// --------------------------------------------------

@import "ionic.theme.default";

@import "./green-and-blue-theme";
@import "./facebook-messenger-theme";
Styling the Home page component
Let's start by adding a button to the Home page component:
...

<ion-content padding>

  ...

  <button ion-button full icon-left (click)="click()">
    <ion-icon name="color-palette"></ion-icon>
    Tap me
  </button>

</ion-content>
Buttons can consist of text and/or an icon, and can be enhanced using attributes and properties. full and icon-left are Ionic provided CSS Utility Attributes specific to the button element.
Ionic also provides a set of utility attributes that can be used on any element in order to modify the text or adjust the padding or margin.
Now, let's update home.ts as follows:
import { Component } from '@angular/core';
import { NavController, Events } from 'ionic-angular';

@Component({
  selector: 'page-home',
  templateUrl: 'home.html'
})
export class HomePage {

  constructor(public navCtrl: NavController,
              public event: Events) {
  }

  click() {
    this.event.publish('theme:toggle');
  }
}
When the click() method is invoked a theme:toggle event is published.
The MyApp component can subscribe to this event:
...

export class MyApp {

  rootPage:any = HomePage;
  theme:String = 'green-and-blue-theme';

  constructor(public platform: Platform,
              public event: Events) {

    platform.ready().then(() => {

      event.subscribe('theme:toggle', () => {
        this.toggleTheme();
      });

    });

  }

  toggleTheme() {
    if (this.theme === 'facebook-messenger-theme') {
      this.theme = 'green-and-blue-theme';
    } else {
      this.theme = 'facebook-messenger-theme';
    }
  }
}
And invoke the toggleTheme() method when it is received.
We also need to update app.html:
<ion-nav [root]="rootPage" [class]="theme"></ion-nav>
So that the [class] property binding passes the value of theme (i.e., 'green-and-blue-theme' or 'facebook-messenger-theme') to the class property of the ion-nav component.
Now if you run the application:
ionic serve --platform=ios
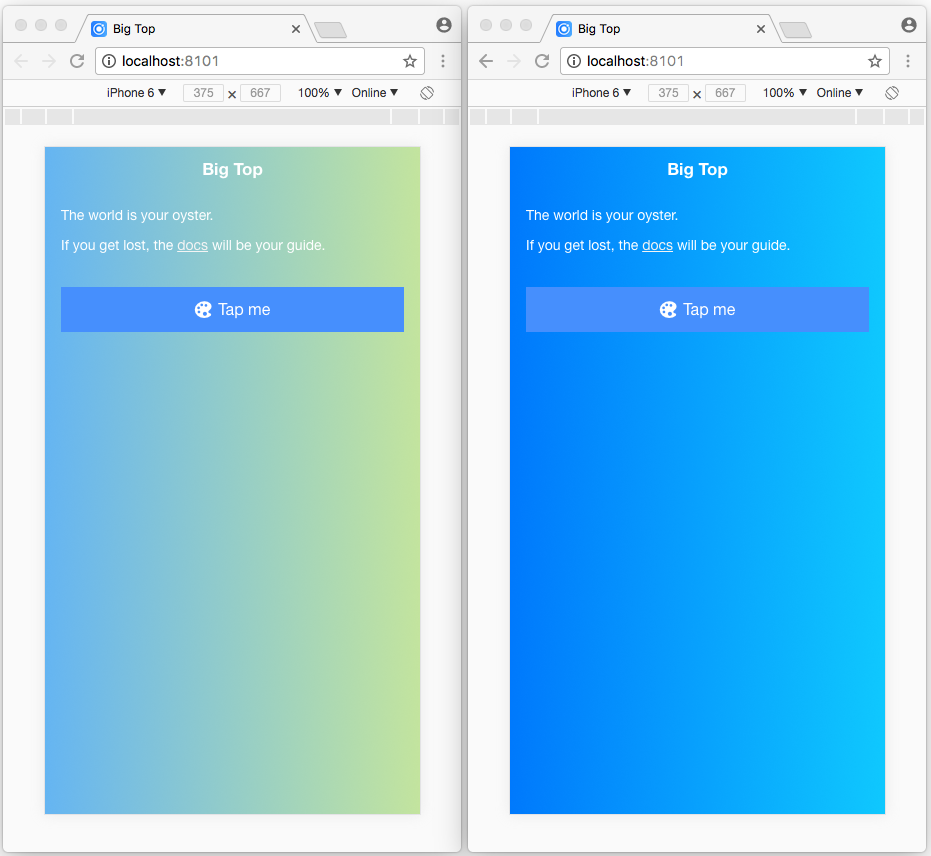
You can tap the button to switch themes:
What's Next
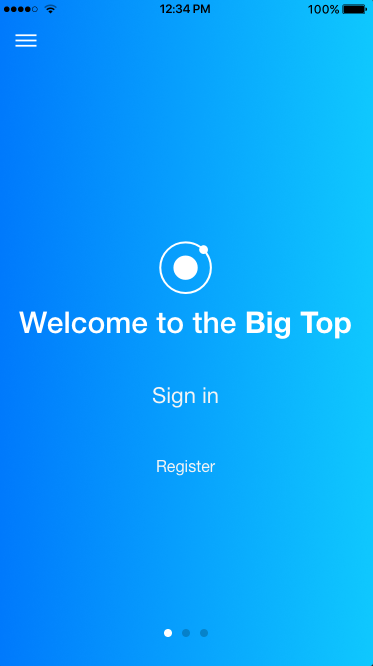
In the next post, I'll show you how to add an 'Introduction' page (with slides):
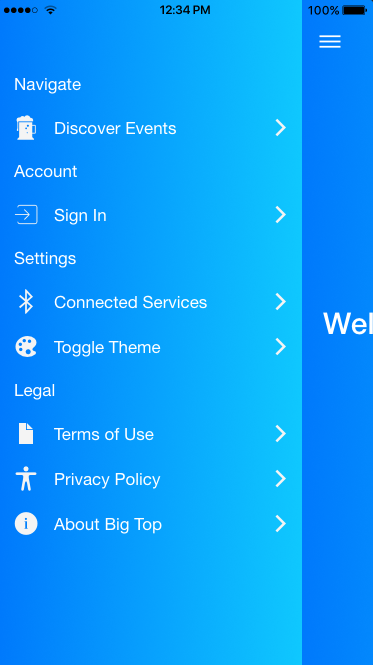
How to add a sidemenu with a 'Toggle Theme' menu item:
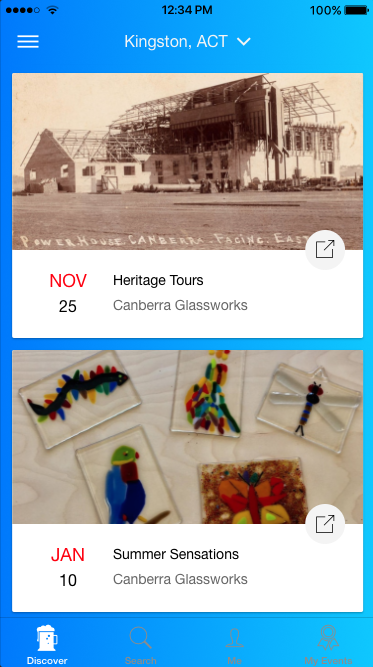
And, an 'Events' page (with tabs and cards):
Source Code:
- GitHub: The Big Top App
Resources:
- Ionic Framework docs: Theming your Ionic App
- Ionic Framework docs: CSS Utilities
- Ionic Framework docs: Sass Variables
- Ionic Framework docs: Platform Specific Styles
- Ionic Framework docs: Overriding Ionic's Sass Variables
- Ionic Framework docs: RTL Support
- Ionic Framework docs: Ionic Icons
- Sass docs: Sass Basics
- GitHub: uigradients
- Ionic Framework docs: Events