Update: To configure strong SSL security on Nginx please refer to this post by Remy van Elst.
When connecting to remote systems we use SSH because it encrypts all traffic during a session, both logins and data transfers. To obtain the same level of protection when administering Ghost, we need to update our Nginx configuration to ensure that all requests to Ghost's admin interface are only available over HTTPS.
Generate a Certificate Signing Request
To obtain a SSL certificate we need to generate a Certificate Signing Request (CSR).
Connect to your server using SSH and enter the following command:
openssl req -new -newkey rsa:2048 -nodes -keyout robferguson_org.key -out robferguson_org.csr
It will prompt you for the following information:
Country Name (2 letter code): AU
State or Province Name (full name): NSW
Locality Name (city): Sydney
Organization Name (company):
Organizational Unit Name (section):
Common Name (Your name): robferguson.org

Email Address:
A challenge password:
An optional company name:
Note: Do not provide values for the last three fields (email address, challenge password and optional company name).
The information you provided will be used to create two files. A private key file (used for decryption) and a file containing your certificate signing request:
robferguson_org.key
robferguson_org.csr
Purchase a SSL Certificate
I used NameCheap to purchase a (domain validation) SSL certificate.
From the NameCheap dashboard, click on your domain name, choose "Manage SSL Certificates" and then click on the 'Activate Now' link:
When prompted, choose Apache w/MOD_SSL from the "Select Web Server" drop-down list and then paste the contents of your certificate signing request into the form:
-----BEGIN CERTIFICATE REQUEST-----
RIICojCCAYoCAQAwXTELMAkGA1UEBhMCQVUxDDAKBgNVBAgMA05TVzEPMA0GA1UE
BwwGU3lkbmV5MRUwEwYDVQQKDAxSb2IgRmVyZ3Vzb24xGDAWBgNVBAMMD3JvYmZl
cmd1c29uLm9yZzCCASIwDQYJKoZIhvcNAQEBBQADggEPADCCAQoCggEBAKmJ1936
cNQX6jyeTokbgZtpSi8PPx5tHWXlhJqPOkF6Zhq7M0YEb8T6YwjsE6bJTVzizeVy
zkUpjKuerW+S8bNUGW7uB/7mVt3yx3hPiSZ+THdxTLtje7uV4zm6NjXY9foycIBR
T8jBxtcbj2SAWYLgEgIU6fwaB46L8poigX0sMedGRCccRLSx34UX4s7d7uOhomIx
vSWw9bedk9Qu9jJ0wwQ37ZWzS4/f2Mn1ss67SE9TcgKzcMksifgBUFIsPGRrBAxU
YJZWUXPEW9YFLSfq1pIg/bQHxLniFtTZ4iGUB4mEEYQjlYQ6Gtrx7em4UIkbQjue
QAn6rx7ctG+2bHsCAwEAAaAAMA0GCSqGSIb3DQEBBQUAA4IBAQCB48Iczx2vmUsq
dR5AeH5N0BEAplvGFT4YjHBgvk/VmatHjuaXgDue1A3GcG8q/kWh8lif0ABBt8w8
Eklzttyn+yKNk+k5hXczrKSILtba4eIpUwlMAsvMvpWgNN8sKCRqPqhLiKbzEMDf
PMy0JskH/jykbP+gKpe1GPdeupOrHWNJk+JyA4VW1FrIerZ0WDahpHEQC/KwRbwi
dYorR5O/4LfhjeY+9OKSI6t2p5/zhOC5CAvTal0wZP3UIqq+JfVvkQEBiWthkE1I
xzeDXKvJR98b3/UsNXegXsYqRELvWxbhz3yRVvzfeu1lga43YlAxafDTm8mtJPPe
1XNBNw2e
-----END CERTIFICATE REQUEST-----
You also need to provide an 'approval' email address as well as administrative contact information.
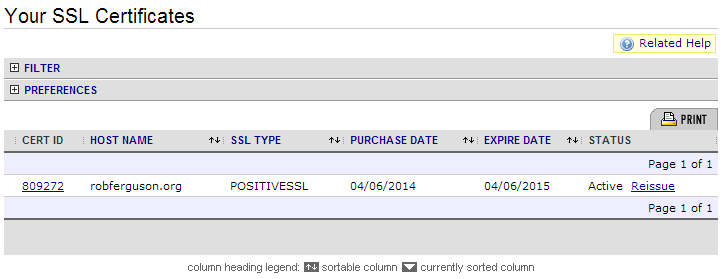
Shortly after you complete the activation process you will receive an approval email containing a confirmation link. After you have approved the issuance of the certificate (clicked on the link) you will receive a second email containing your new certificate (e.g., robferguson_org.zip).
Update your Nginx configuration
First, we need to create a directory to store our certificate:
sudo mkdir /etc/nginx/ssl
Then we need to copy our certificate and the key we created when generating the certificate signing request into the new directory:
scp -P 22000 /Users/robferguson/Downloads/robferguson_org.zip homer@128.199.238.4:/home/homer/robferguson_org.zip
sudo unzip robferguson_org.zip
sudo cp robferguson_org.crt /etc/nginx/ssl/robferguson_org.crt
sudo cp robferguson_org.key /etc/nginx/ssl/robferguson_org.key
The next step is to update your Nginx configuration file as follows:
server {
    listen                       80;
    server_name                  robferguson.org;
    access_log                   var/log/nginx/robferguson_org.log;

    location / {
        proxy_pass               http://127.0.0.1:2368;
        proxy_redirect           off;
        proxy_set_header         Host             $host;
        proxy_set_header         X-Real-IP        $remote_addr;
        proxy_set_header         X-Forwarded-For  $proxy_add_x_forwarded_for;
    }

    location /ghost {
        return                   301 https://$host$request_uri;
    }
}

server {
    listen                       443 ssl;
    server_name 		         robferguson.org;
    access_log                   /var/log/nginx/robferguson_org.log;

    ssl_certificate              /etc/nginx/ssl/robferguson_org.crt;
    ssl_certificate_key          /etc/nginx/ssl/robferguson_org.key;
    ssl_session_timeout          5m;
    ssl_protocols                SSLv3 TLSv1;
    ssl_ciphers 			     ALL:!ADH:!EXPORT56:RC4+RSA:+HIGH:+MEDIUM:+LOW:+SSLv3:+EXP;
    ssl_prefer_server_ciphers    on;

    location /ghost {
        proxy_pass               http://127.0.0.1:2368;
        proxy_redirect           off;
        proxy_set_header         Host             $host;
        proxy_set_header         X-Real-IP        $remote_addr;
        proxy_set_header         X-Forwarded-For  $proxy_add_x_forwarded_for;
    }

    location / {
        return                   301 http://$host$request_uri;
    }
}
Now, restart Nginx:
sudo service nginx restart
And, navigate to your site's admin interface:
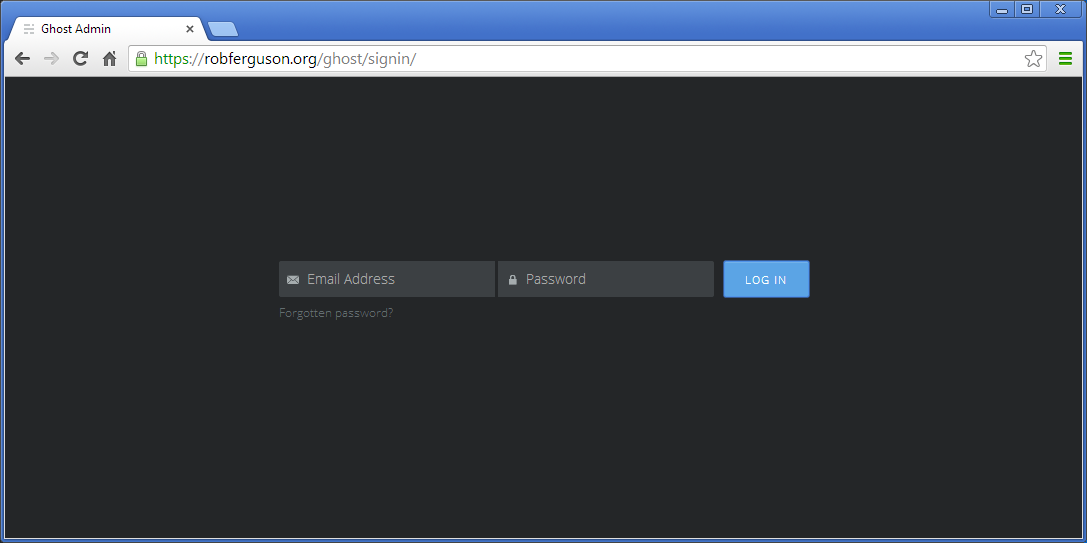
Which will only be accessable via HTTPS from now on.
What's Next
In the next post, we'll install some free themes.