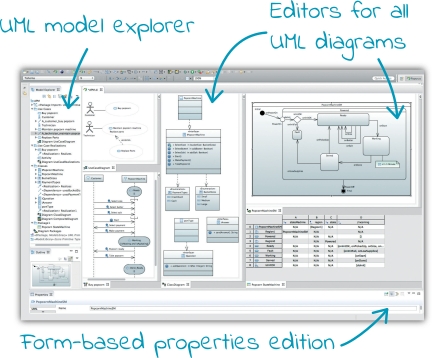
Papyrus is an Eclipse-based modelling environment that includes diagram editors for UML 2 and SysML as well as CSS stylesheet support.
In this post, we'll install Papyrus and then create a new modelling project and a colourful class diagram.
Install Eclipse
First, we need to download the Eclipse Modeling Tools package:
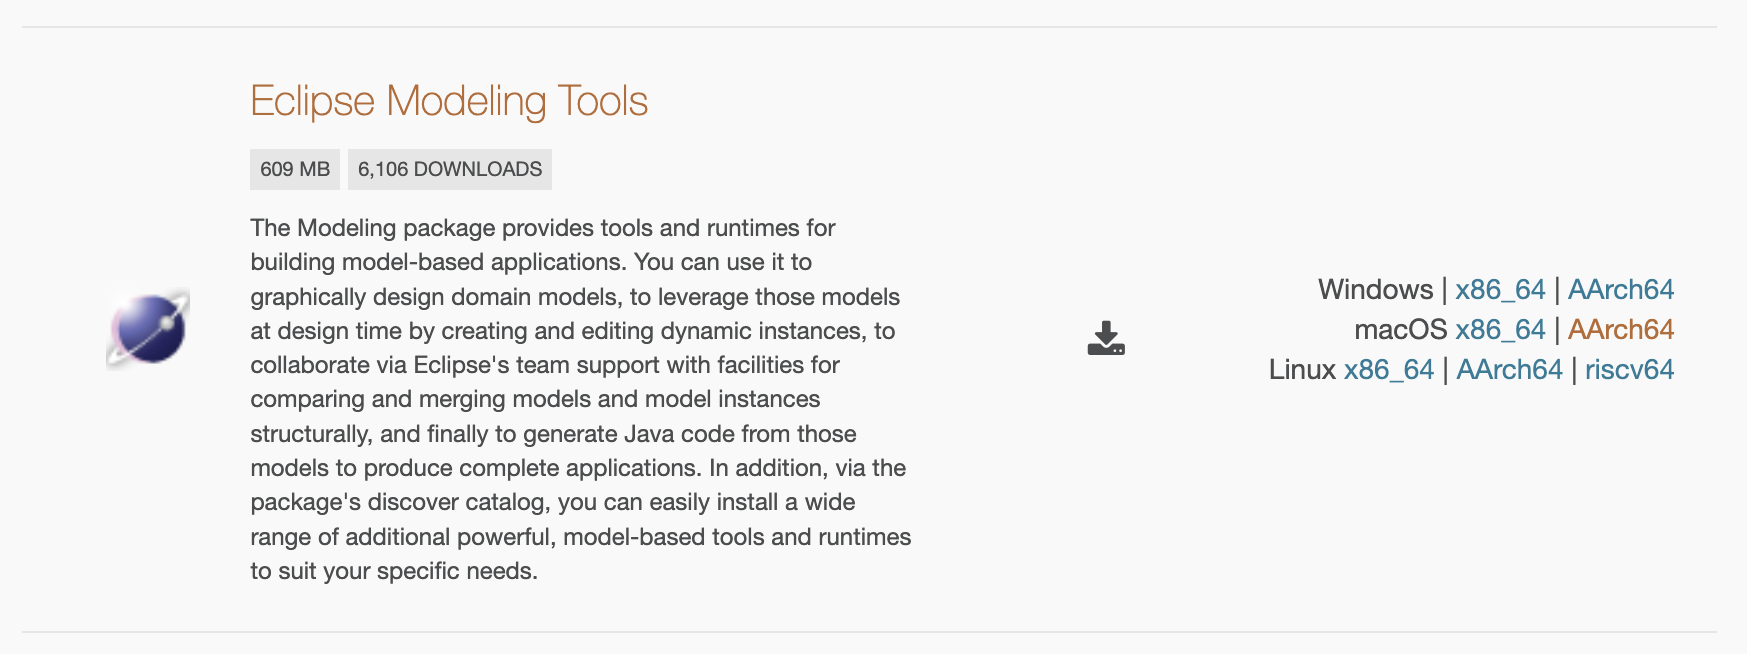
I downloaded the Eclipse Modeling Tools package (2025‑03 R) for macOS AArch64:
eclipse-modeling-2025-03-R-macosx-cocoa-aarch64.dmg
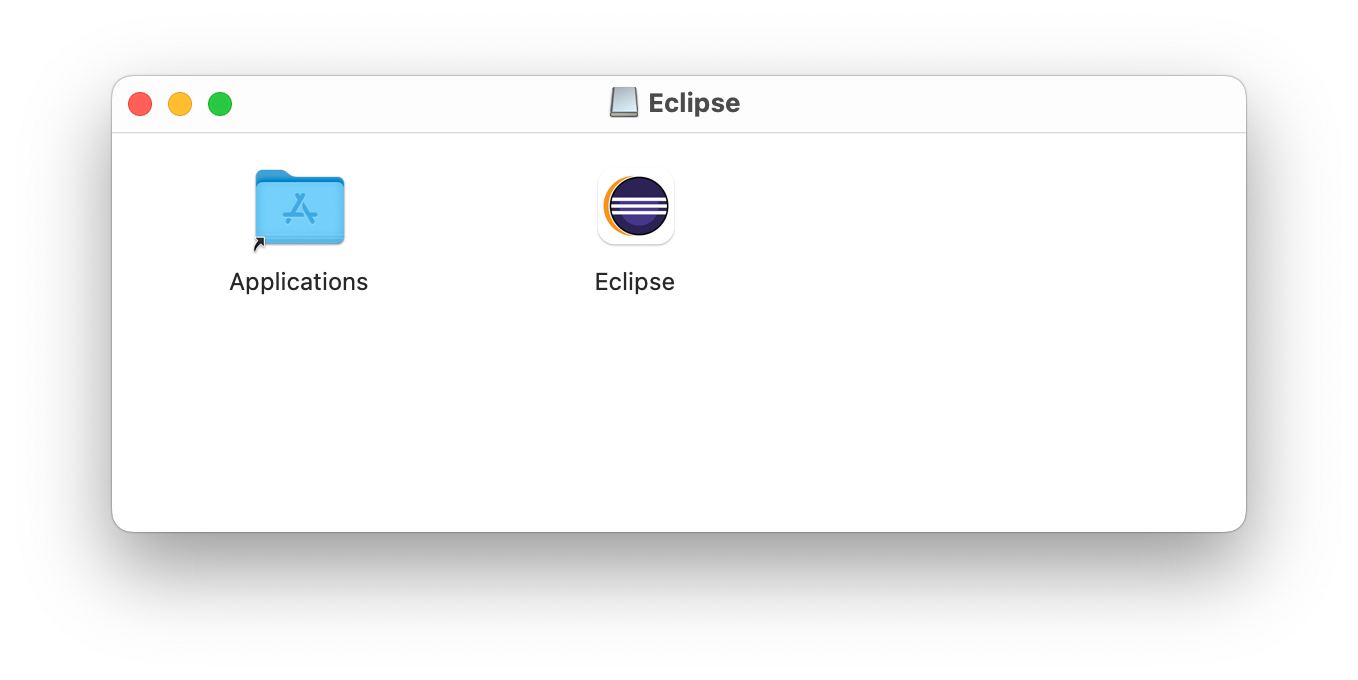
Launch the disk image file (.dmg) and then drag the Eclipse icon into the Applications folder:
Install Papyrus
Launch Eclipse:

Then go to 'Help' => 'Install New Software...':
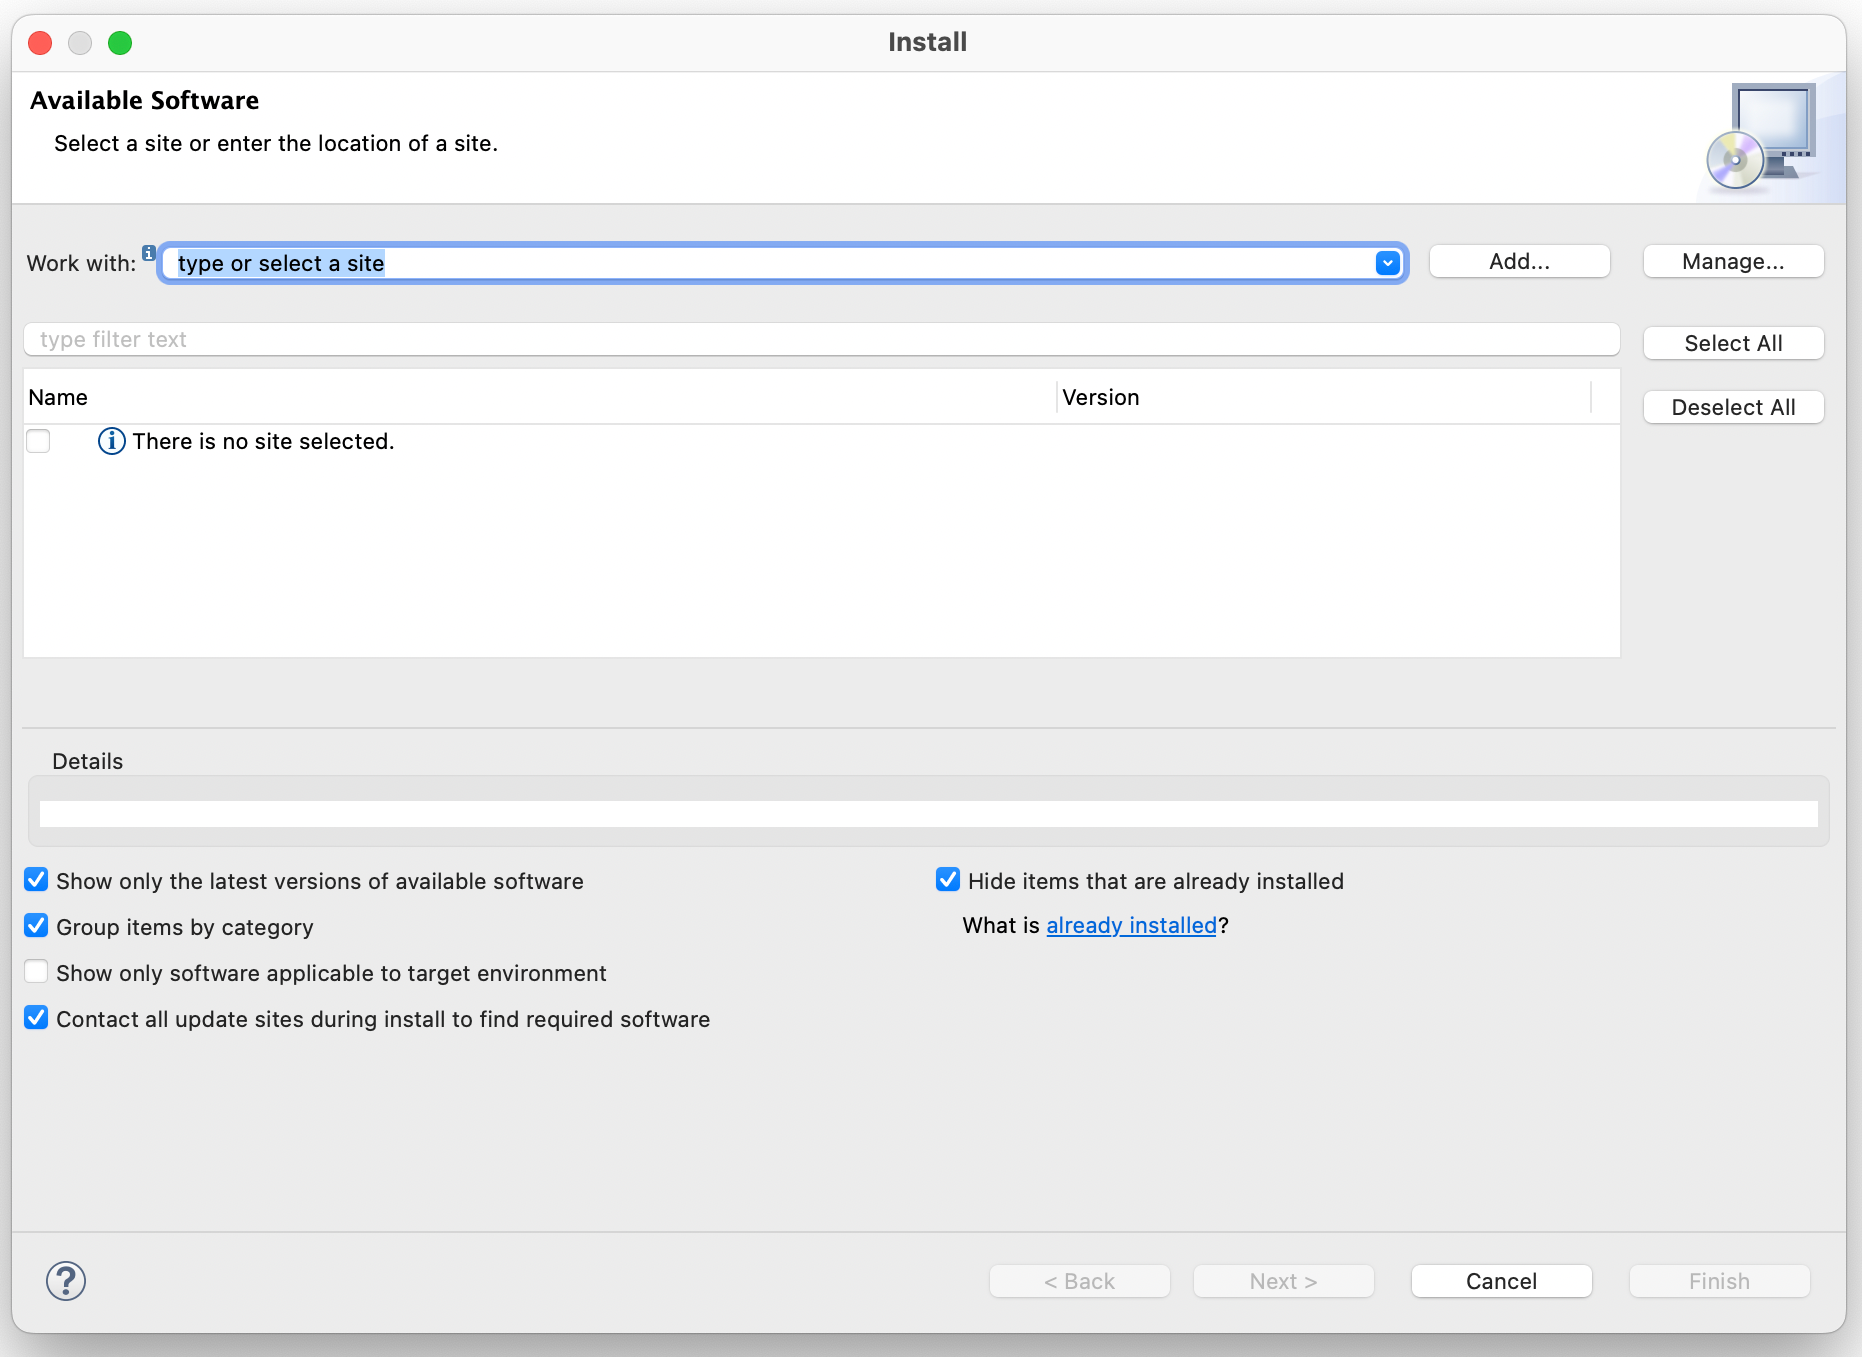
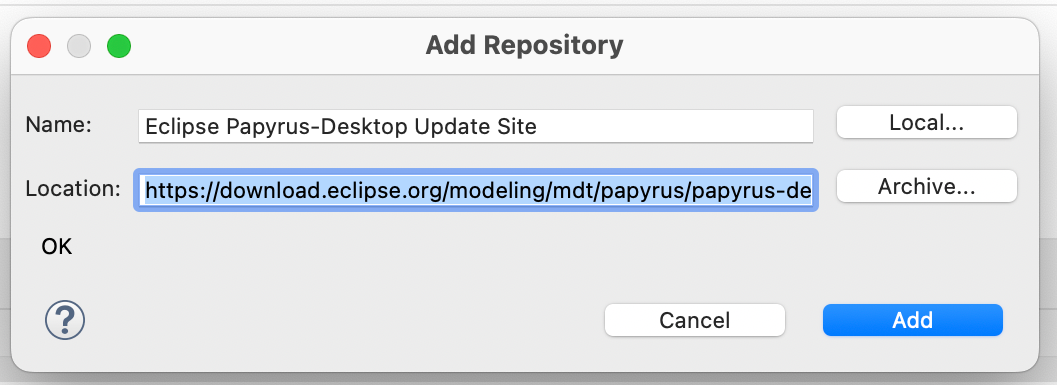
Click the 'Add...' button and add the Eclipse Papyrus-Desktop Update Site:
https://download.eclipse.org/modeling/mdt/papyrus/papyrus-desktop/updates/nightly/master
For example:
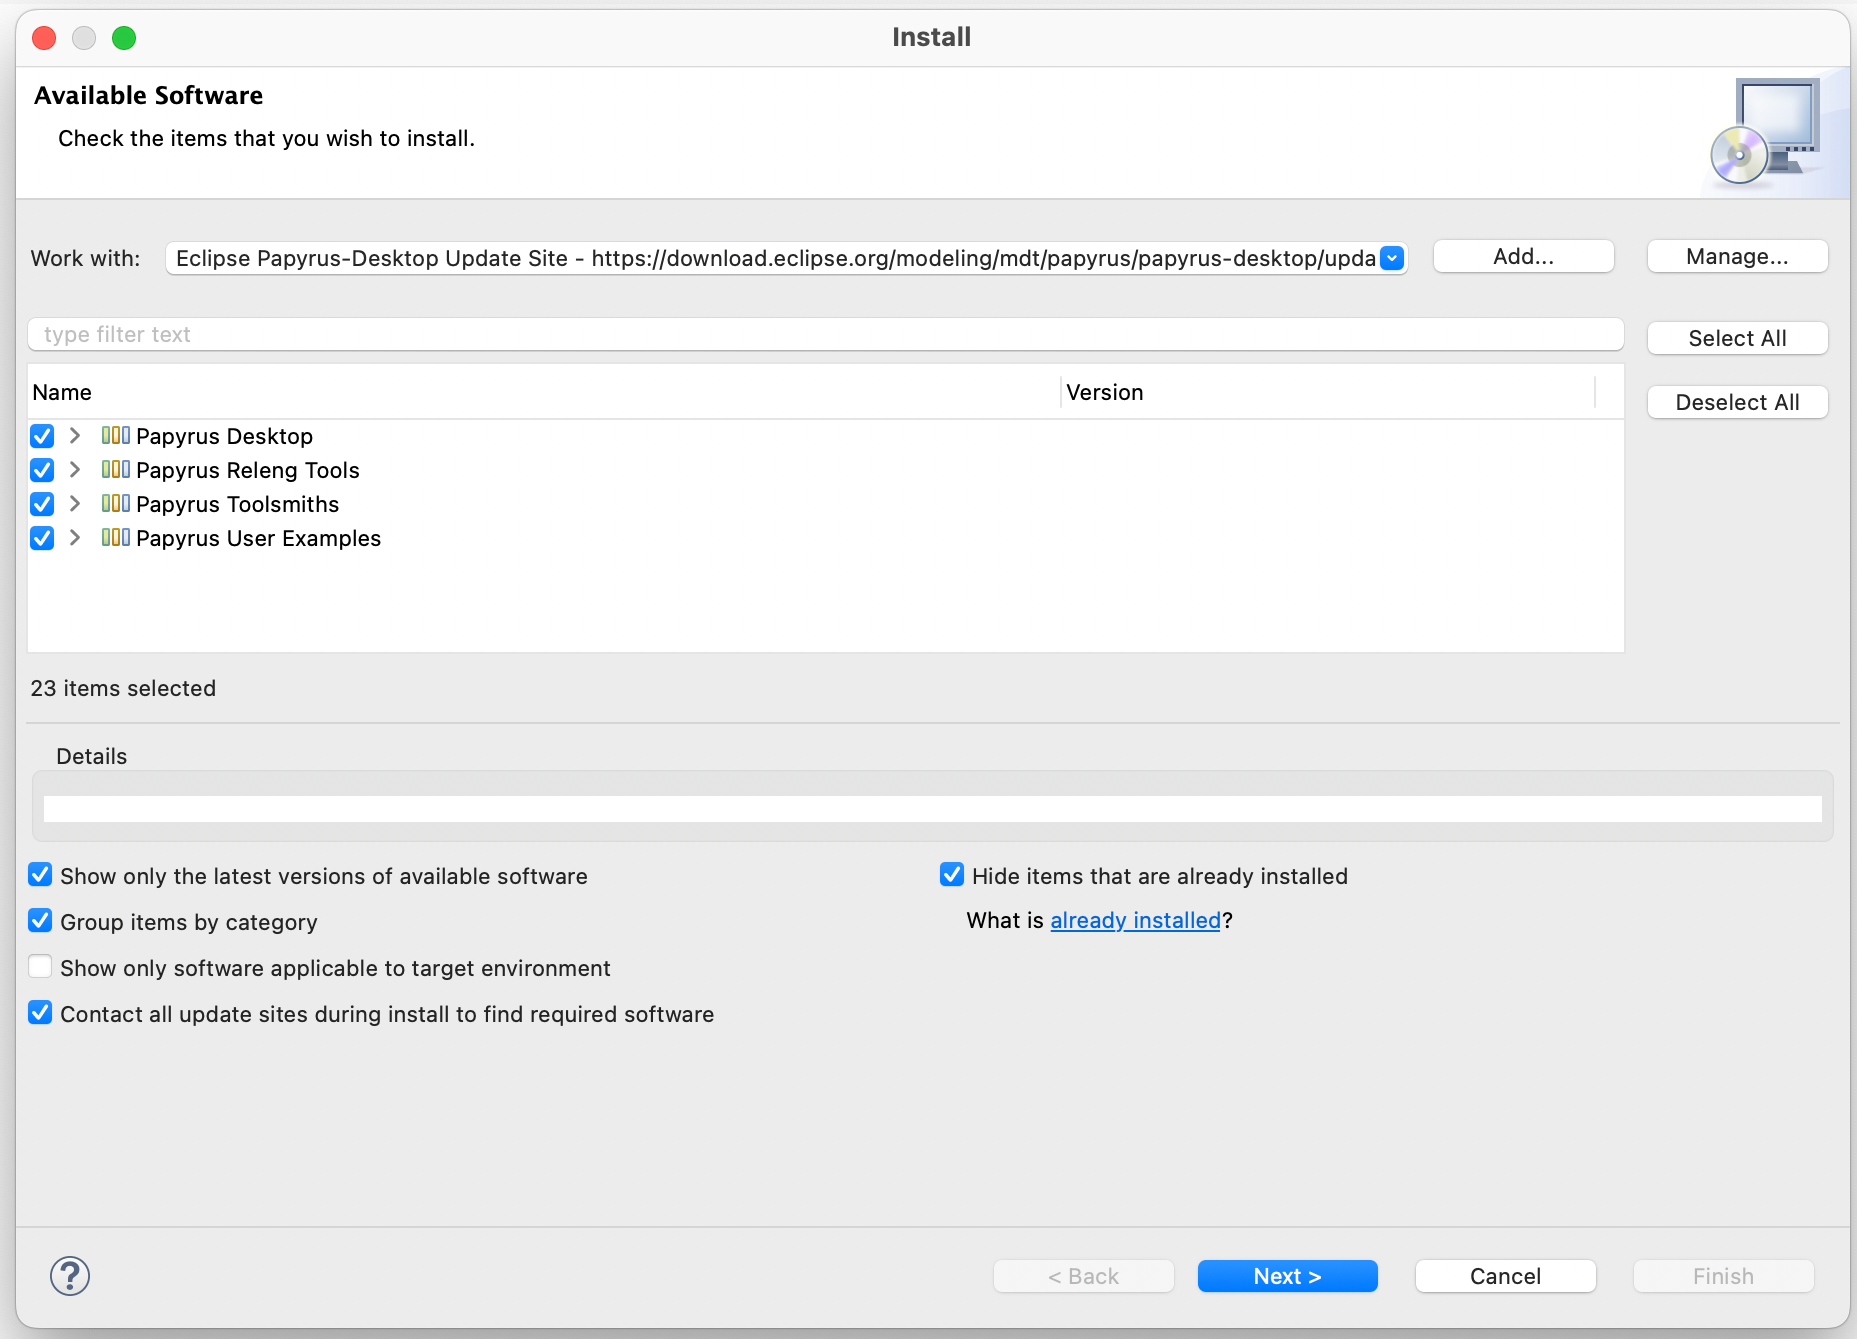
Select the options you want to install then click the 'Next' button:
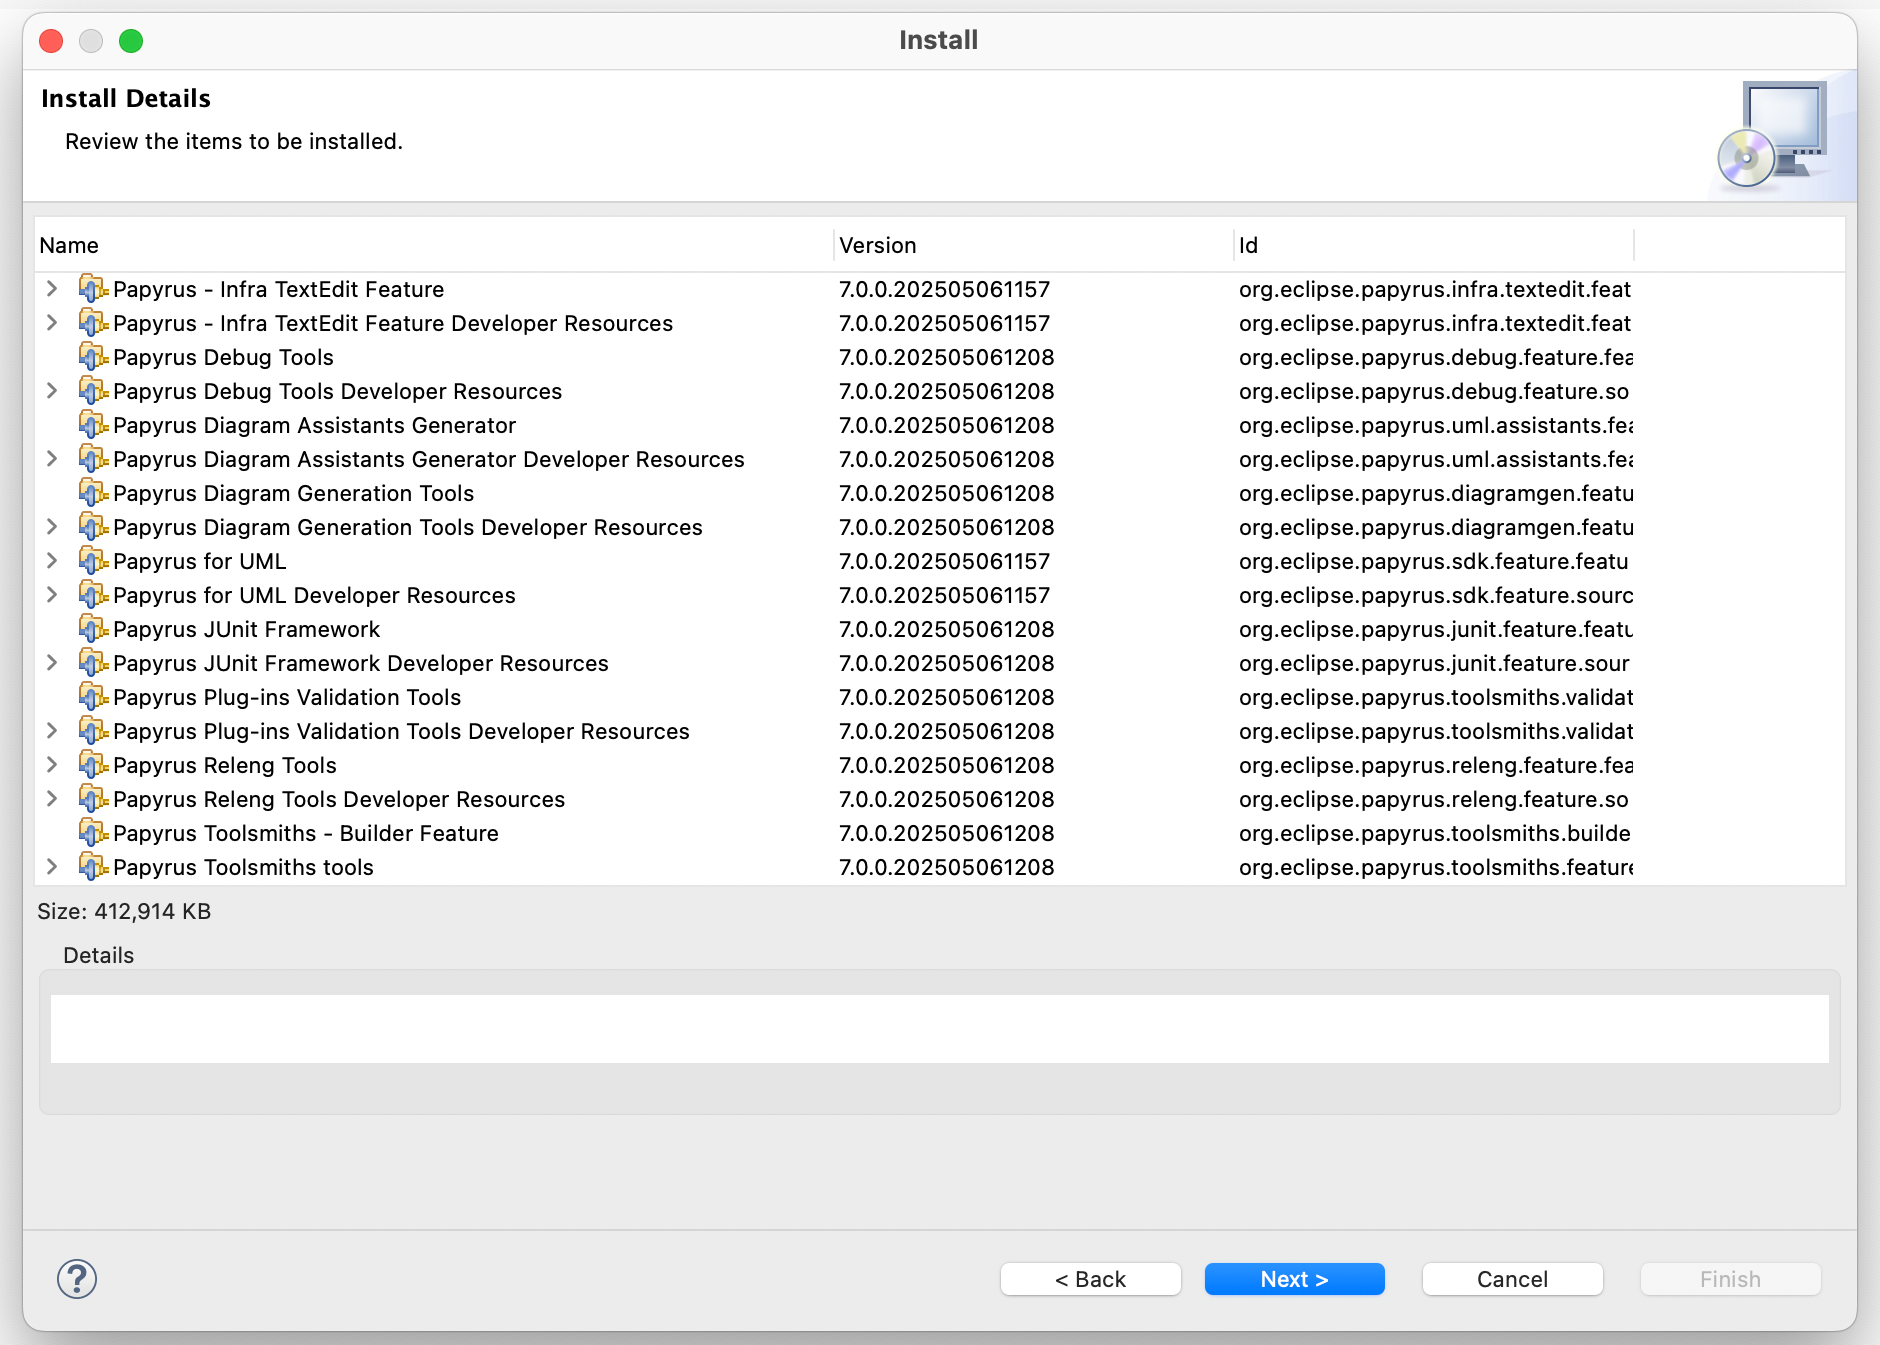
Review the items to be installed then click the 'Next' button:
Accept the terms of the license agreement then click the 'Finish' button.
When prompted, accept the confirmations and then restart Eclipse.
Create a new Modelling Project
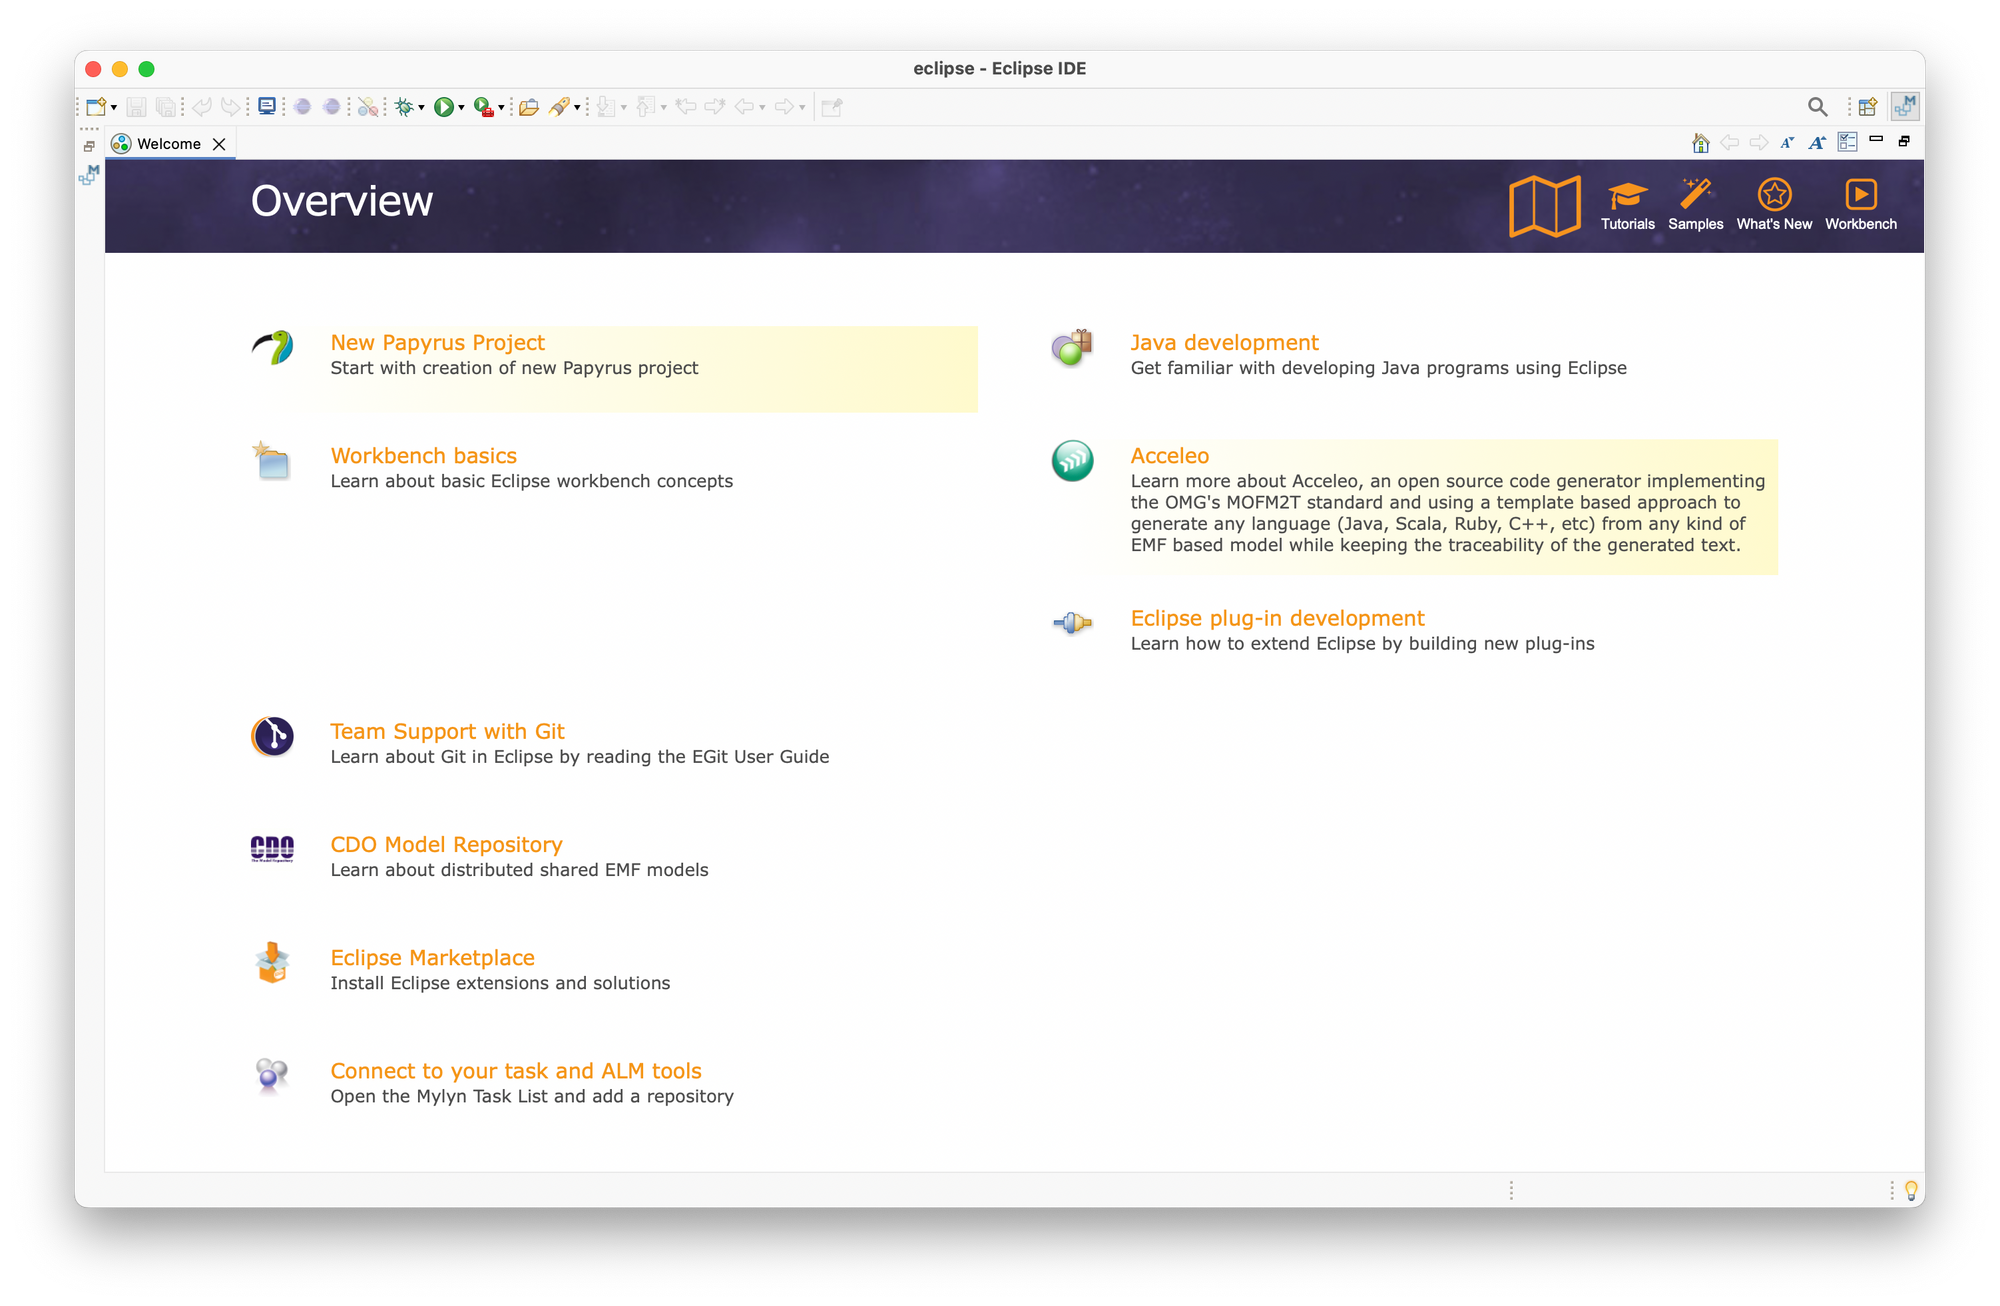
You can create a new modelling project by choosing 'New Papyrus Project' on the Eclipse Welcome page:
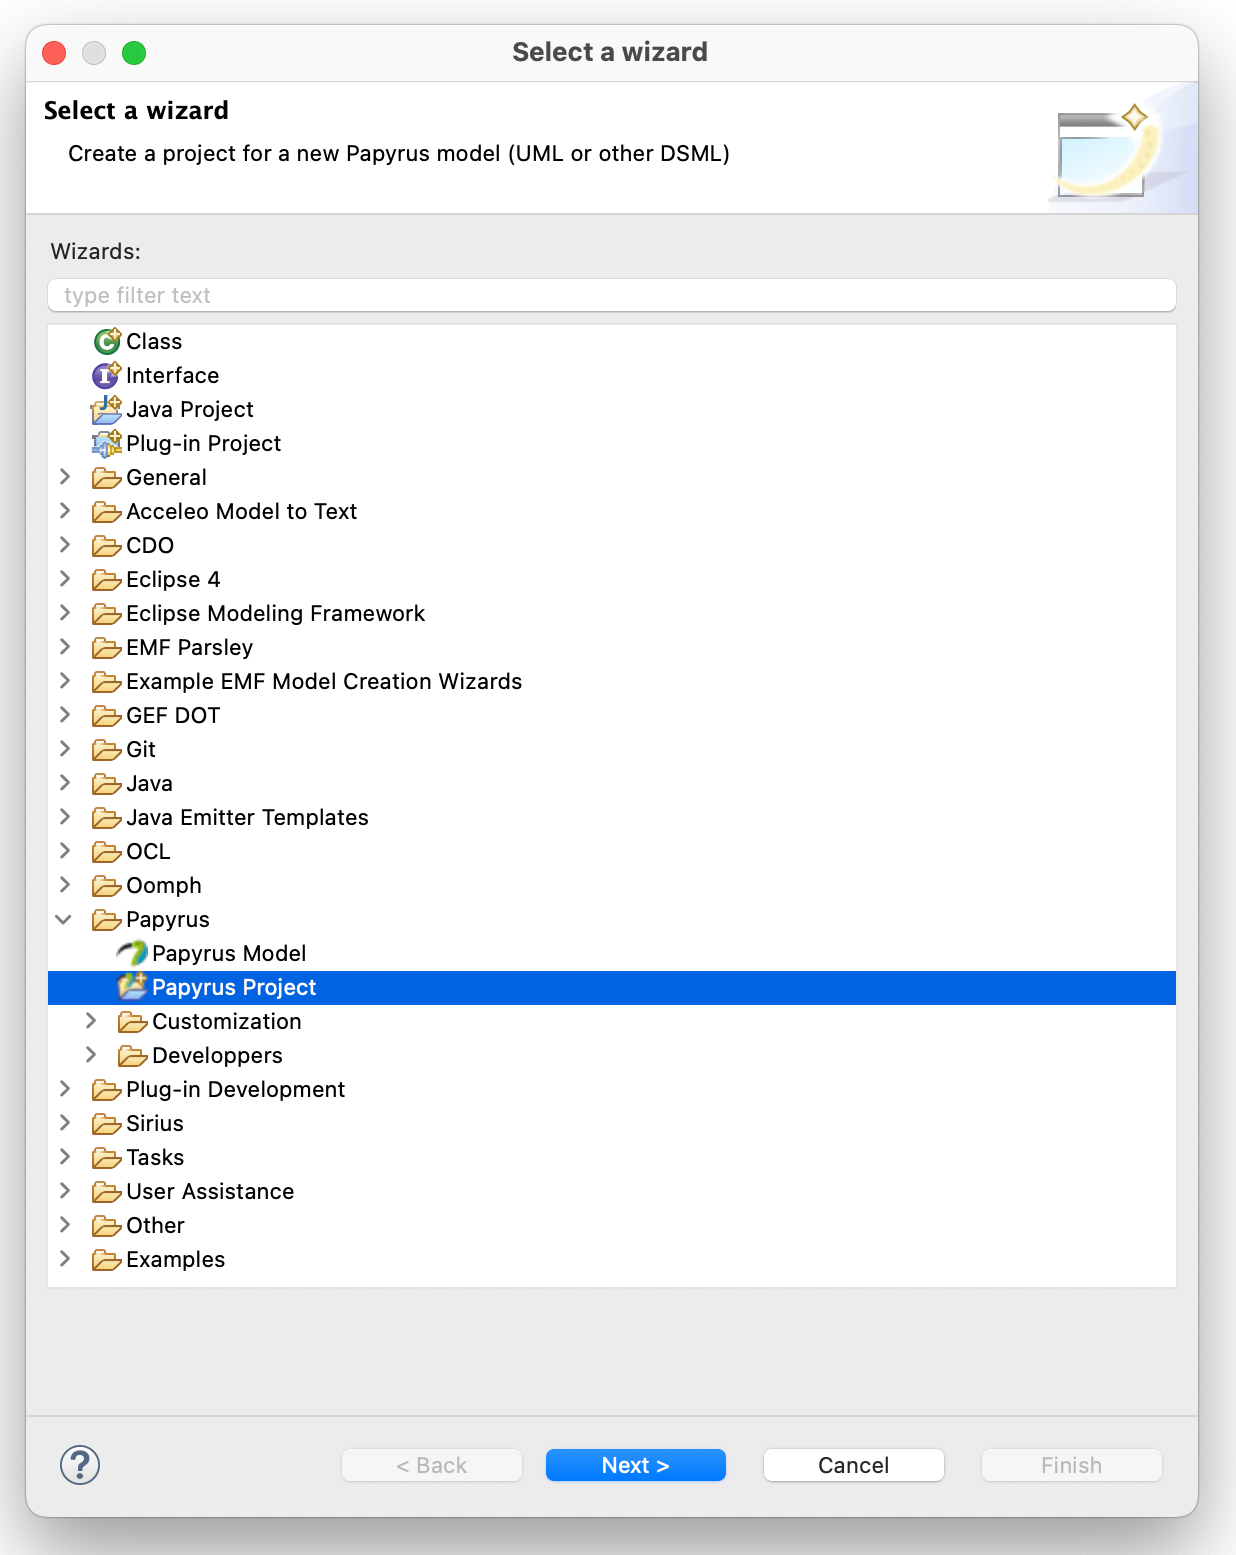
Or by selecting 'File' => 'New' => 'Other...' and then choosing 'Papyrus' => 'Papyrus Project':
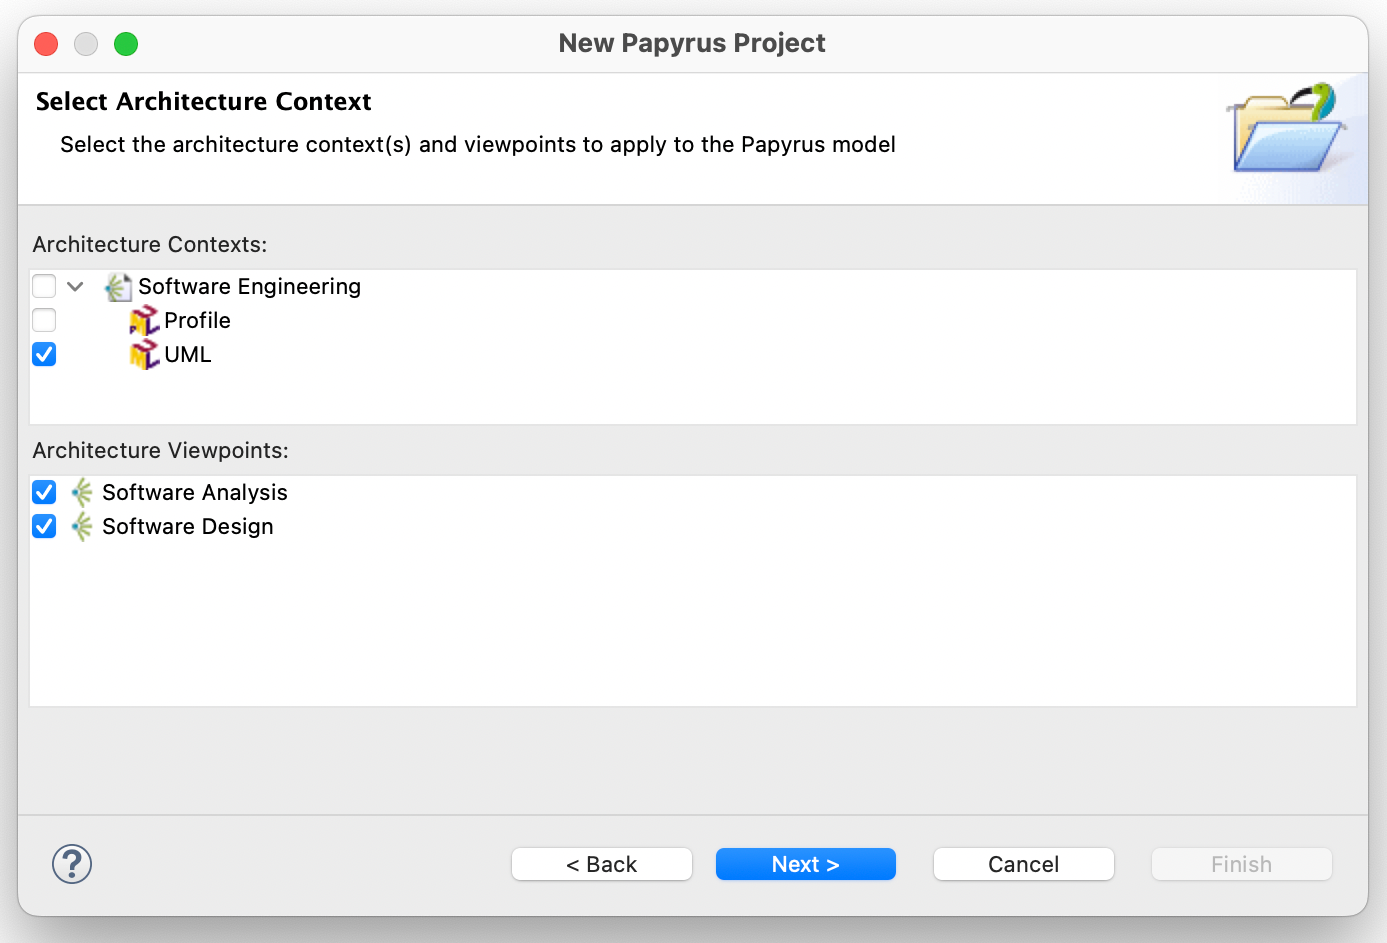
Select the architecture context(s) and viewpoints to apply to the Papyrus model then click the 'Next' button:
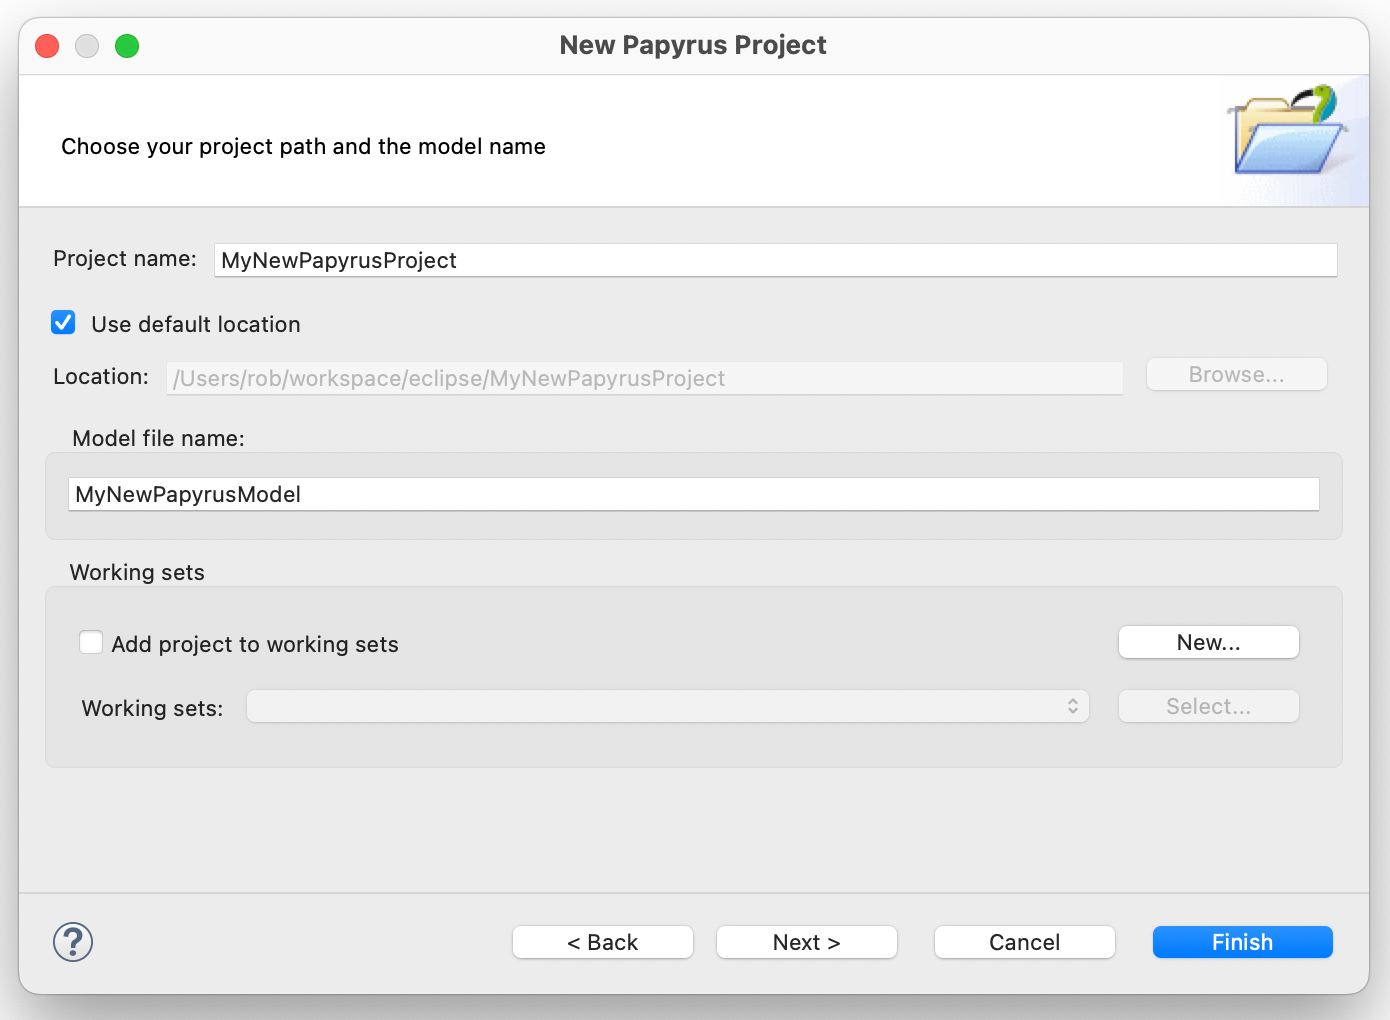
Enter a Project name and a Model file name then click the 'Finish' button:
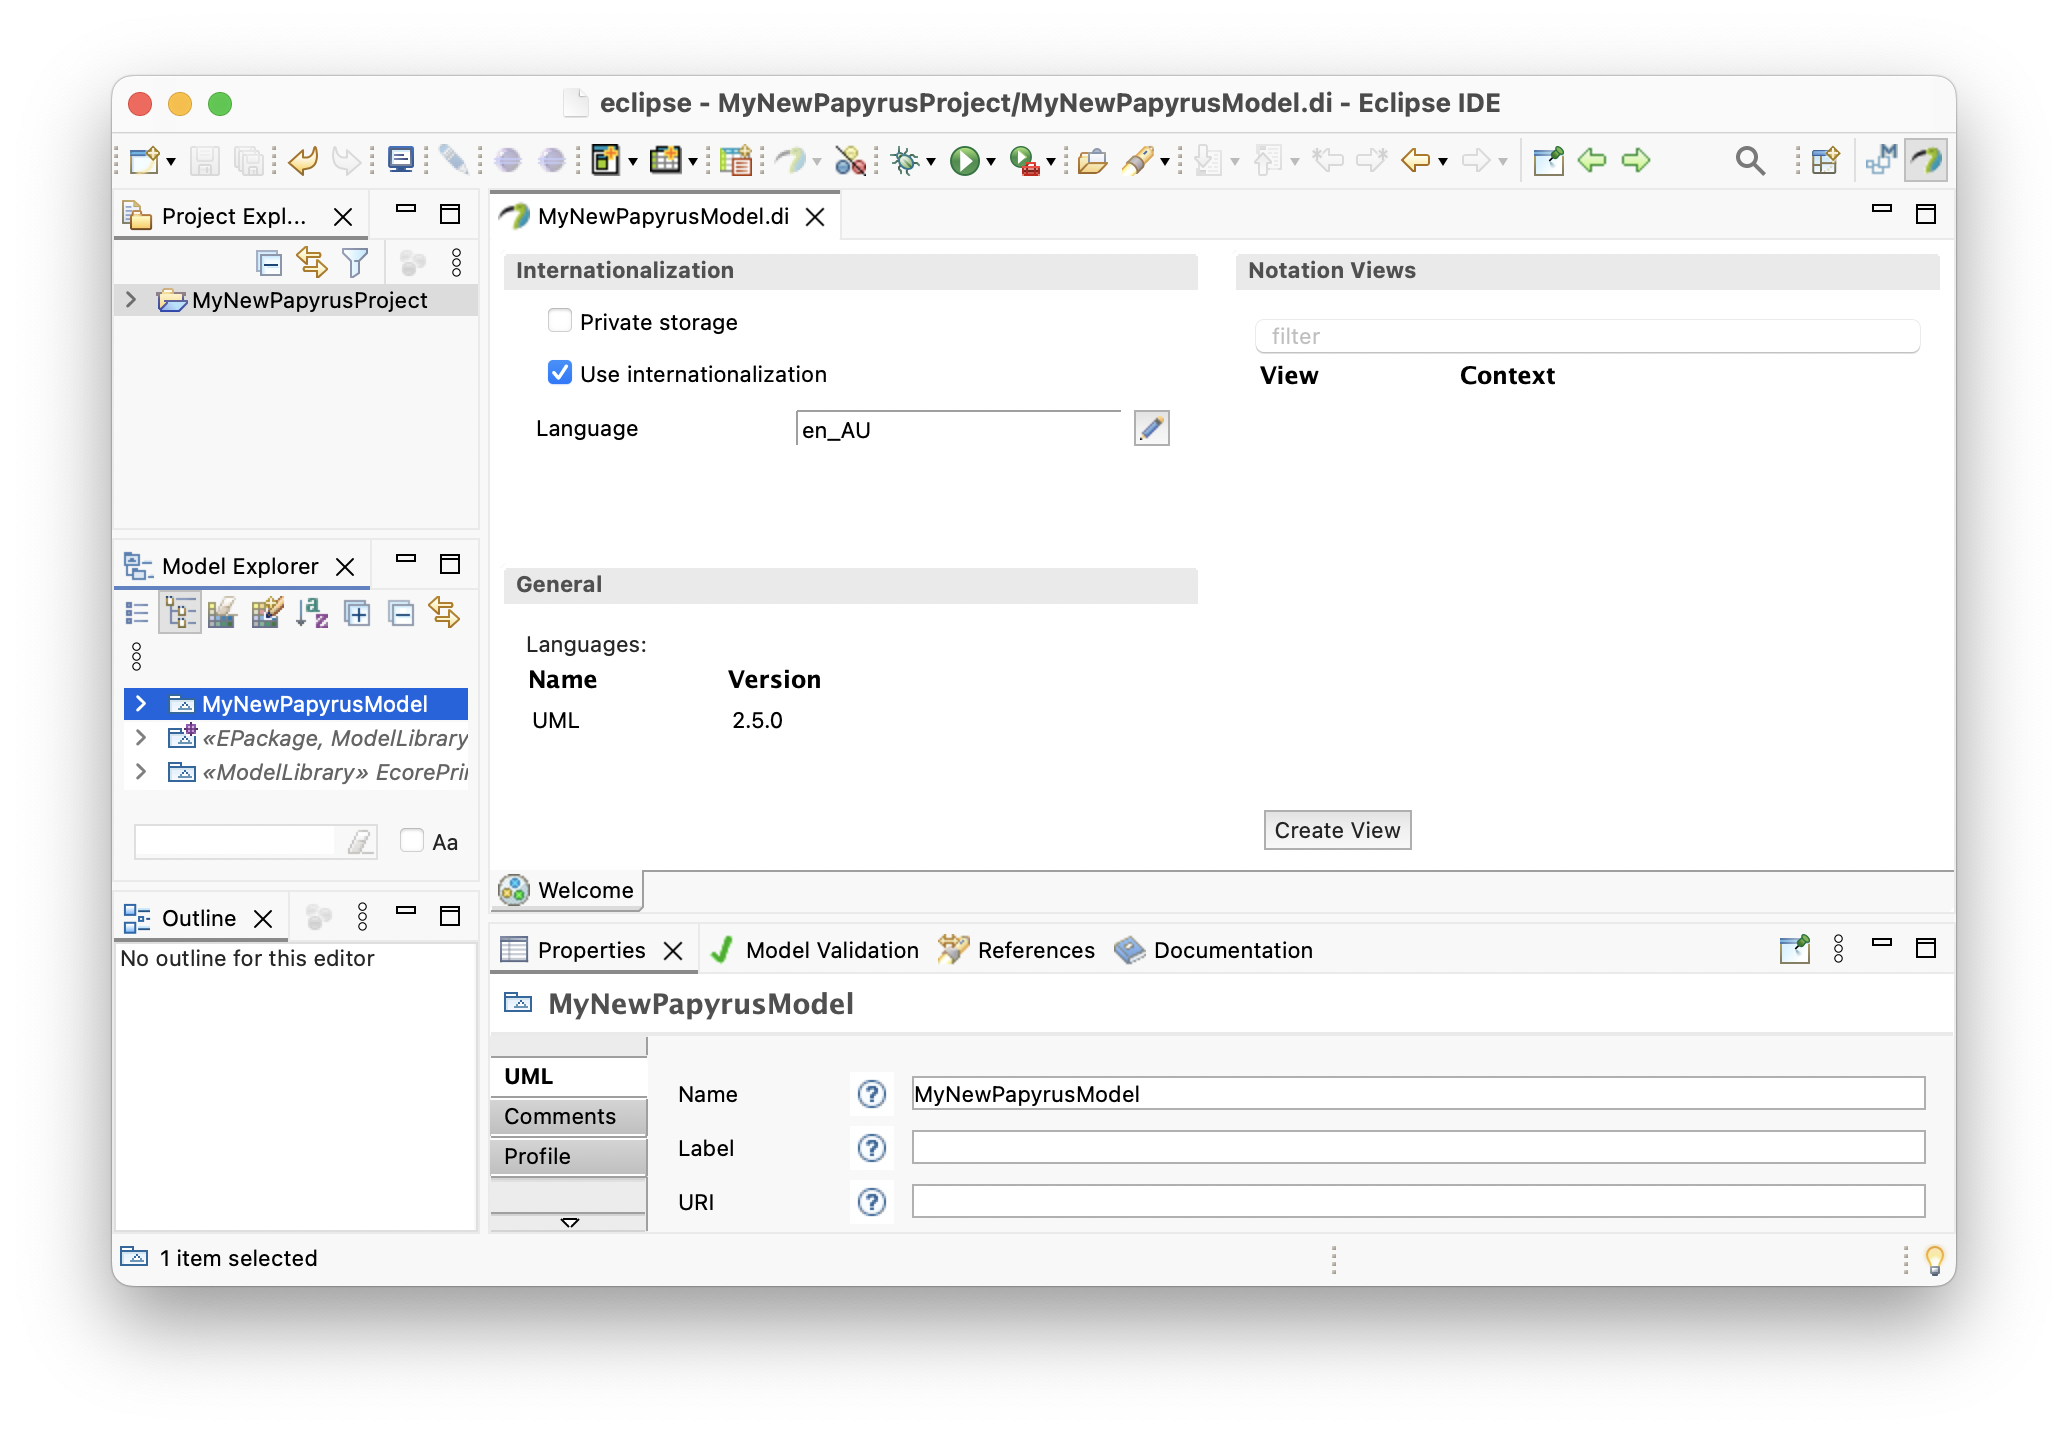
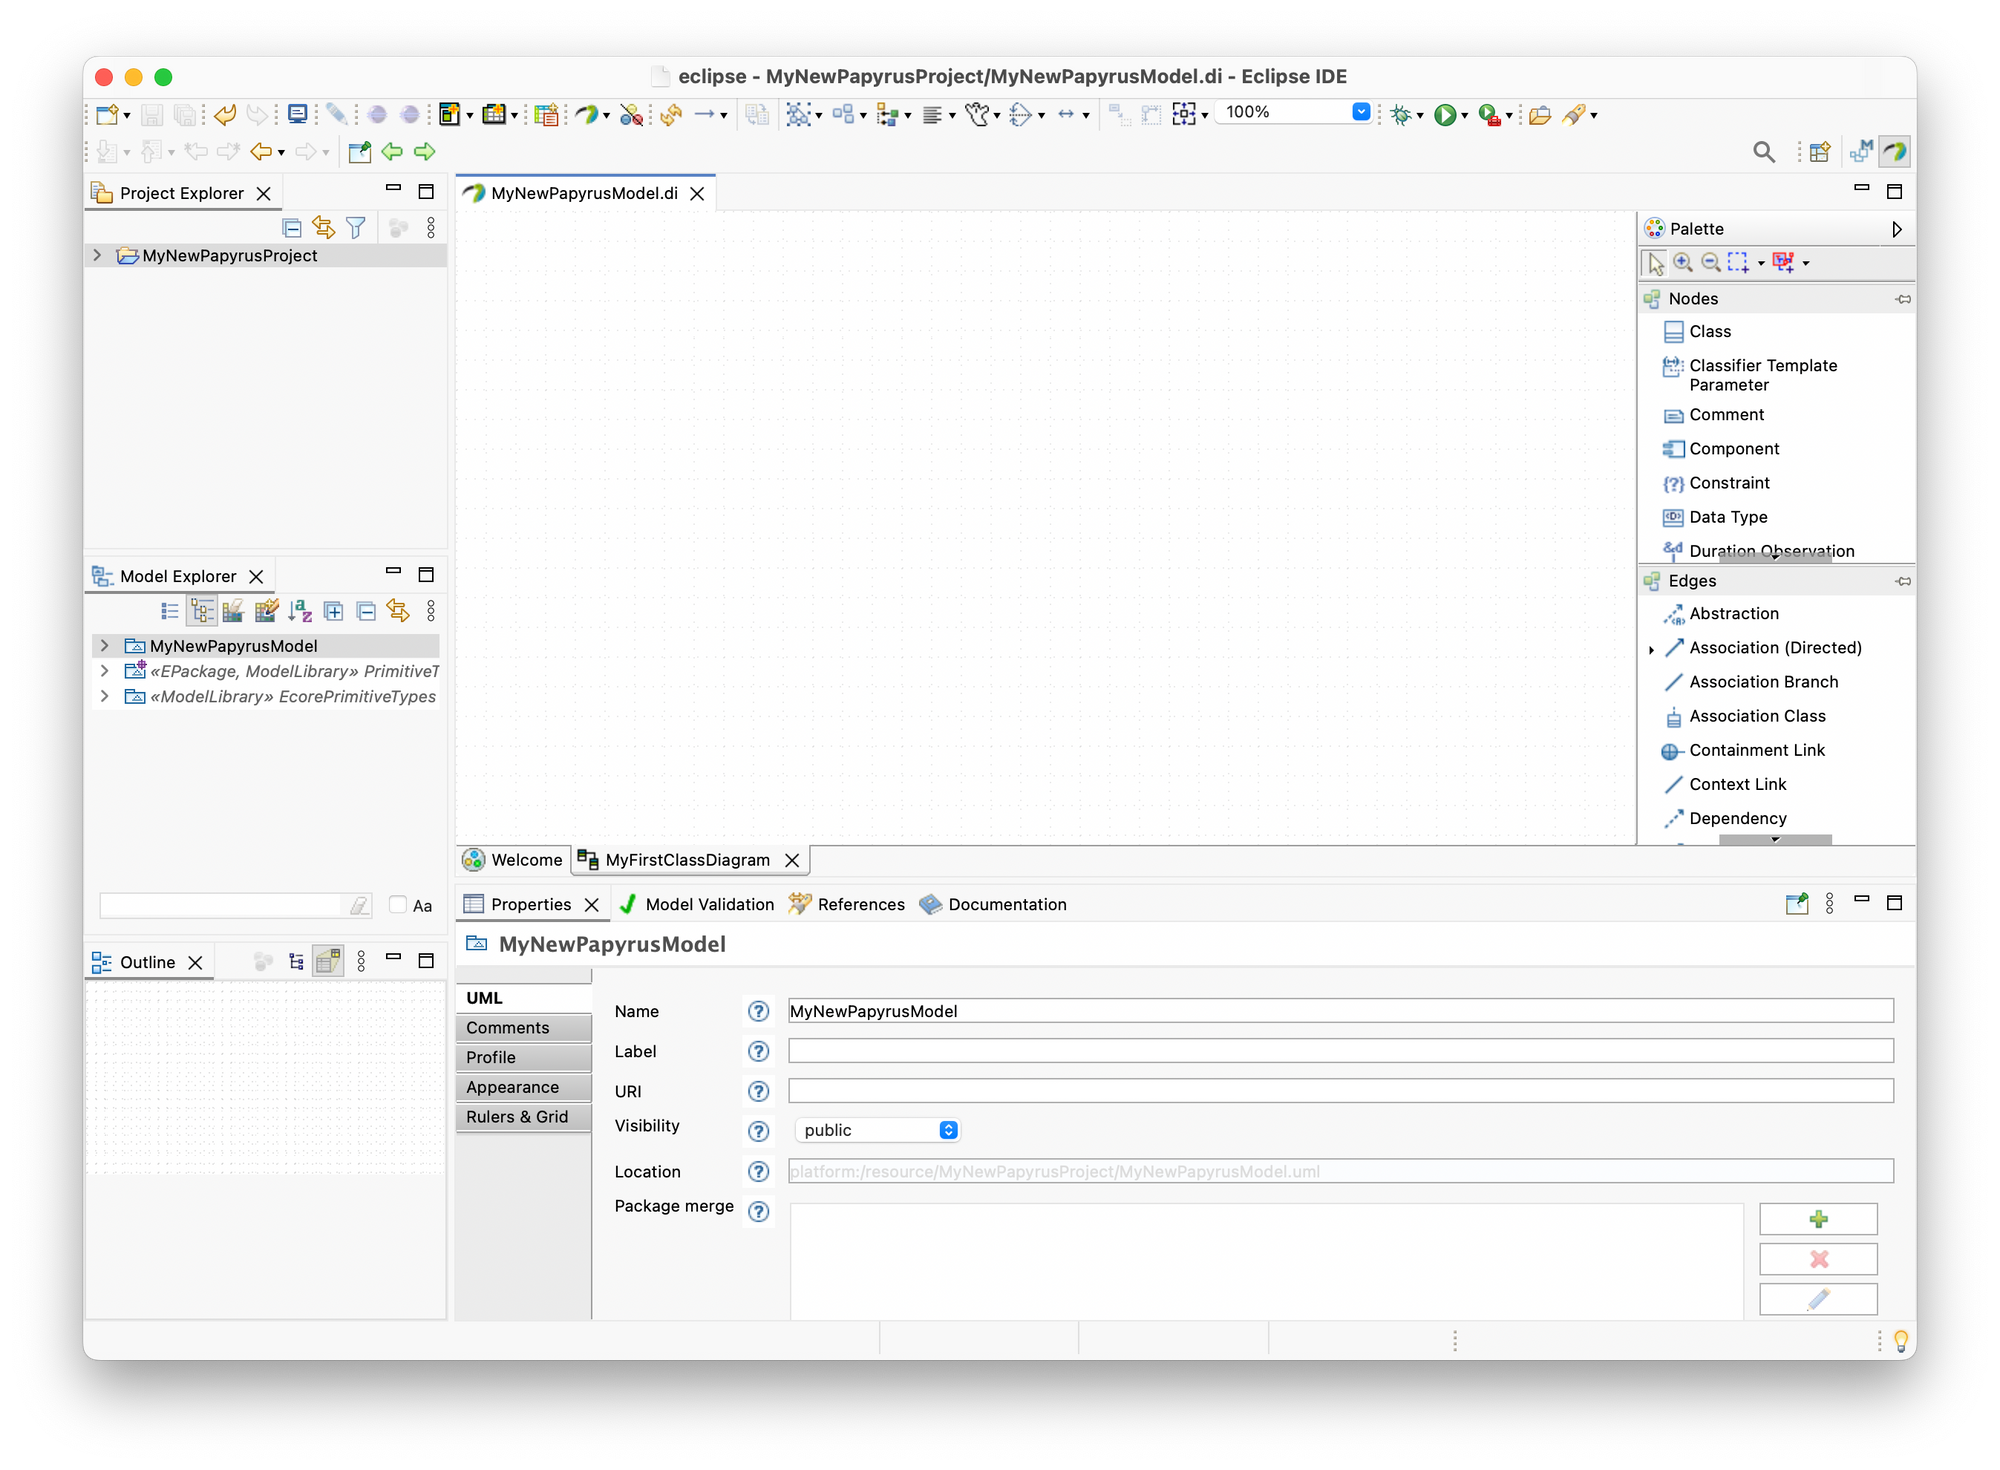
You should see something like:
Let's start by creating a new Class Diagram, right click on the Model Explorer:
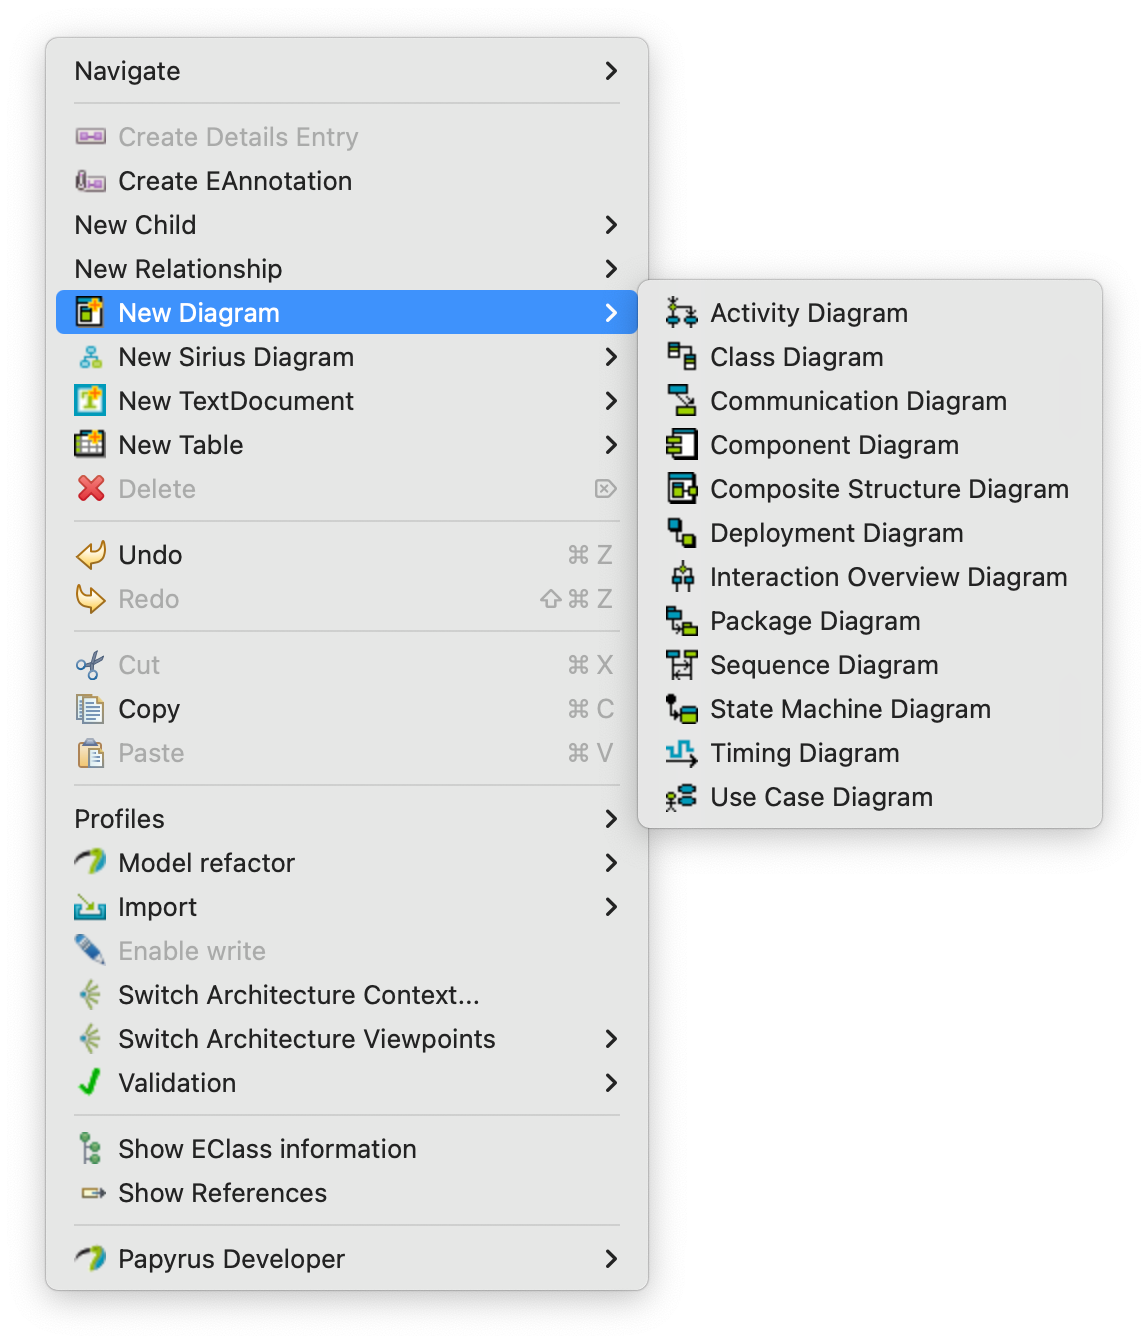
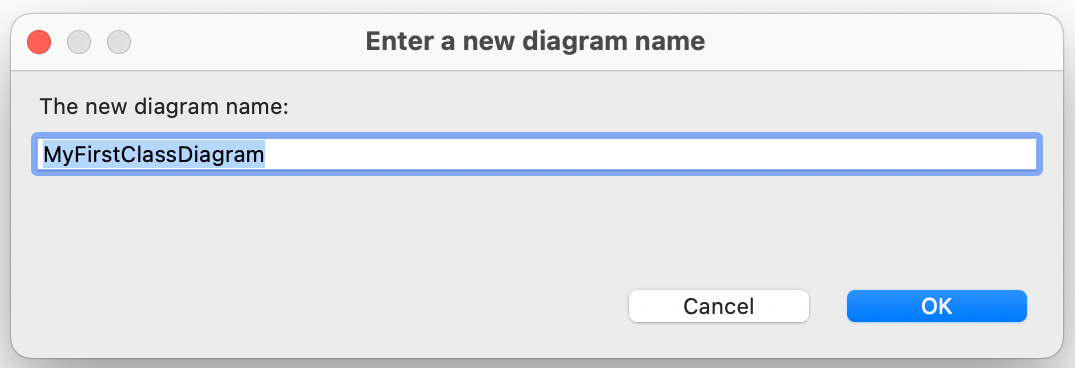
Then choose 'New Diagram' => 'Class Diagram' and enter a diagram name then click the 'OK' button:
The diagram editor includes a palette of nodes and edges:
Let's start by adding a 'Class' node to the diagram, select the 'Class' node and then drag and drop it onto the diagram:
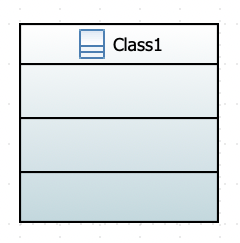
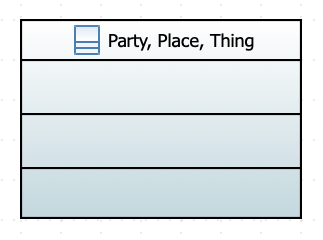
Let's change the new classes name (the diagram editor supports in-place editing or you can use the 'Properties' tab):
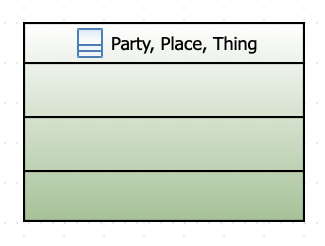
And, right-click to 'Format' => 'Fill Color':
And, right-click to 'Format' => 'Show/Hide Compartments':
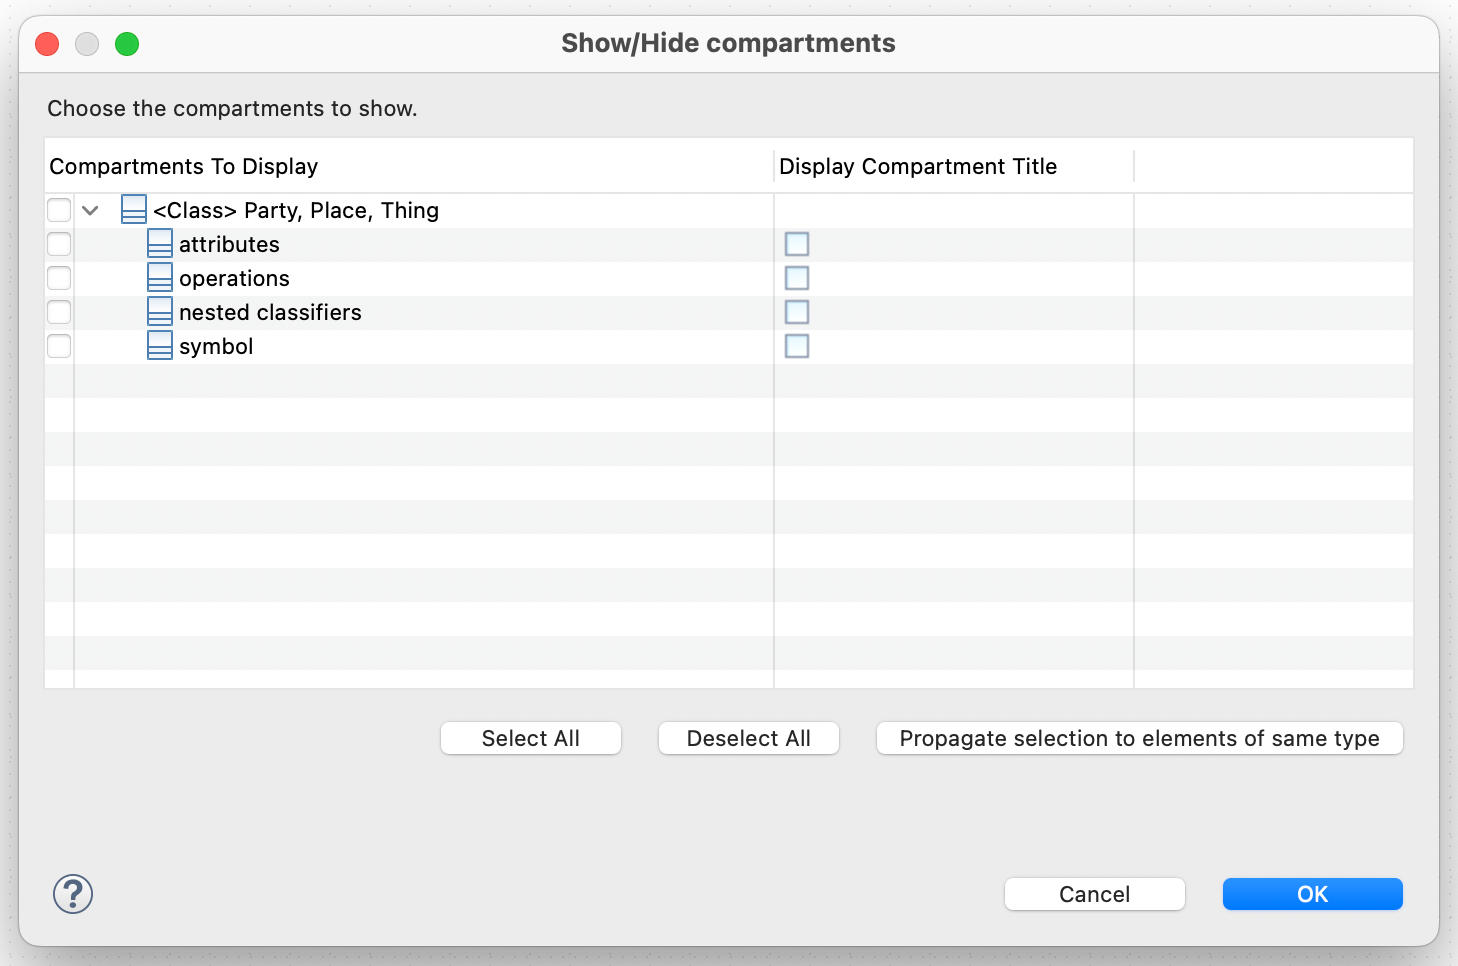
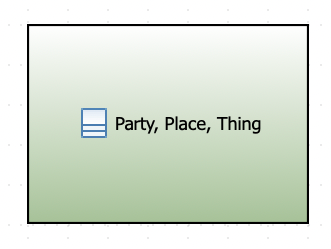
Uncheck each option and you should see something like:
Now, before we add a few more 'Class' nodes let's use the 'Properties' tab to help us layout the diagram:
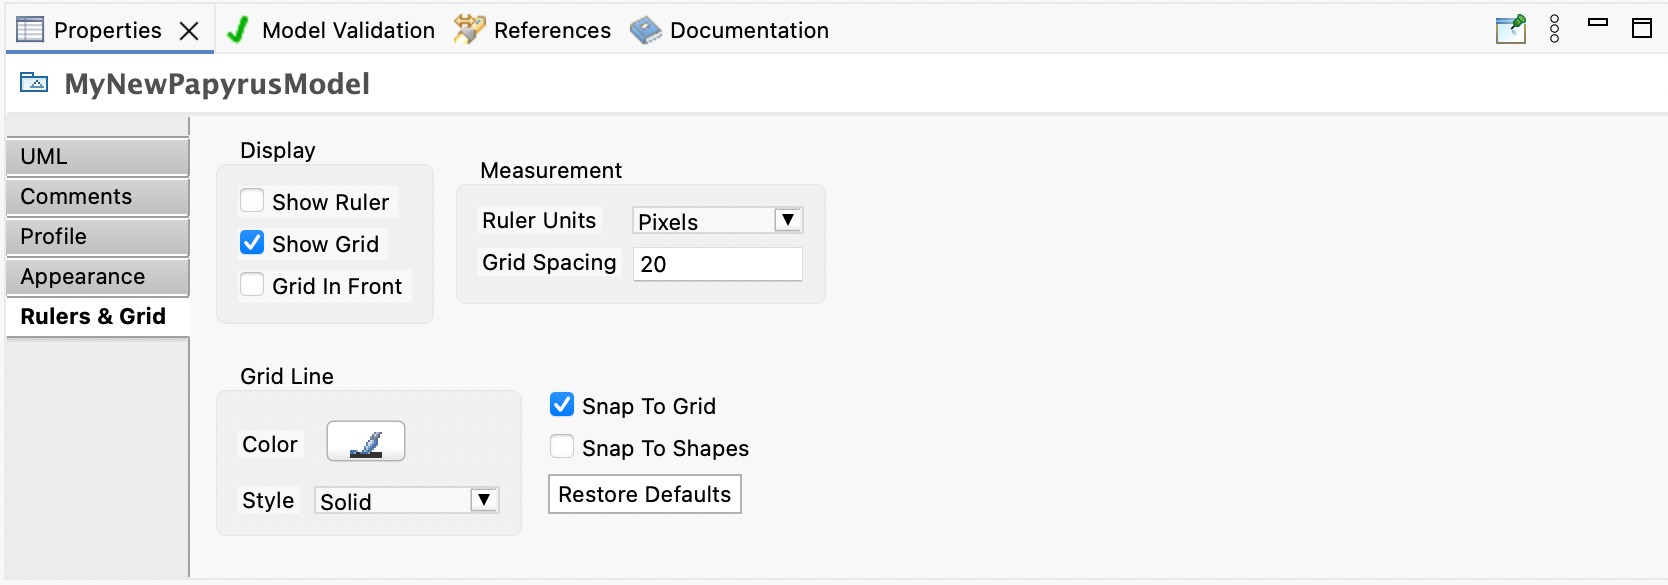
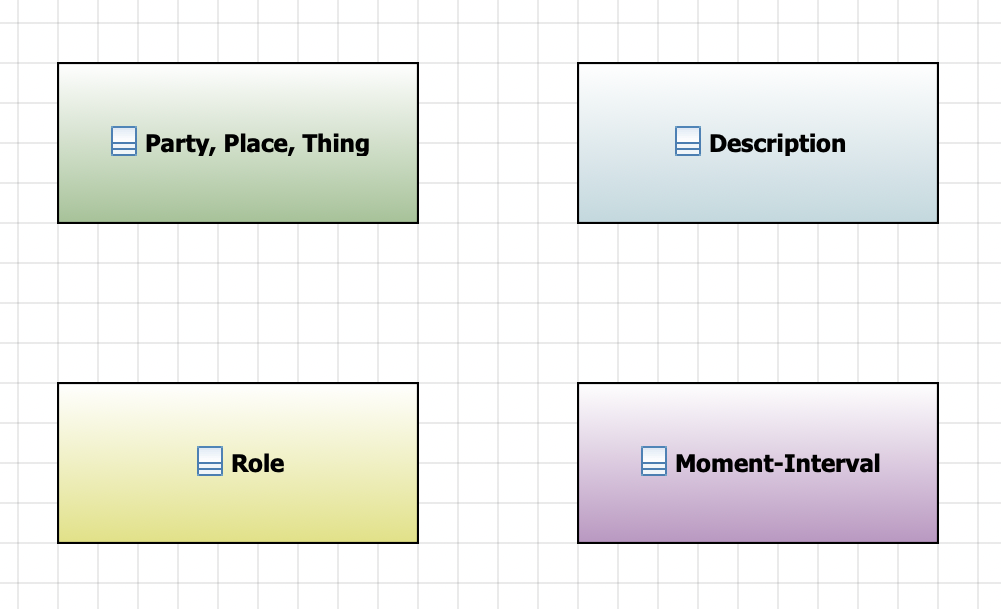
See, they're all lined up:
References
- Eclipse Dev: Eclipse Papyrus
- Eclipse Dev: Eclipse Papyrus - Documentation
- Eclipse Dev: Eclipse Papyrus - Downloads