
I was really looking forward to receiving my new Raspberry Pi 2 Model B with its four 32-bit ARMv7 cores and 1GB of RAM. So, when it arrived I wanted to set it up as quickly as possible.
In this post, I'll walk you through the steps I followed on my MacBook Pro running OS X Yosemite.
Prerequisites
- 1 @ Raspberry Pi 2 Model B
- 1 @ Micro SD Card (4GB or more)
- 1 @ Micro USB Cable
- 1 @ Cat 6 Patch Cable
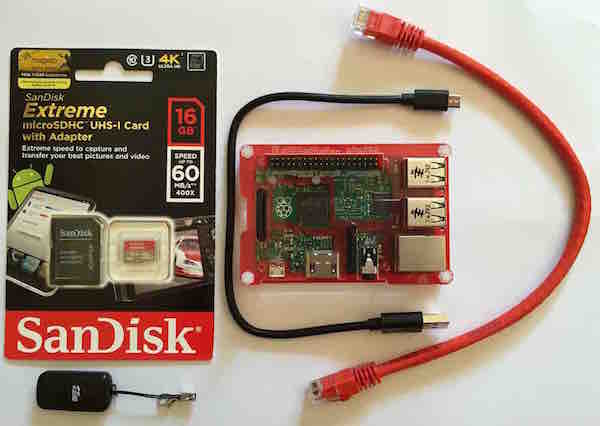
You'll also need a micro SD card reader and the login credentials to your router.
Note: I also purchased a Pibow Coupé enclosure for my Raspberry Pi.
Step One
First, we need to copy a Raspberry Pi operating system image file to our micro SD card. I downloaded Raspbian (Debian Wheezy) and extracted the system image file (2015-02-16-raspbian-wheezy.img) using the Archive Utility.
Then, I downloaded Pi Filler and extracted the application using the Archive Utility, before moving it into my Applications folder.
Now, run Pi Filler:
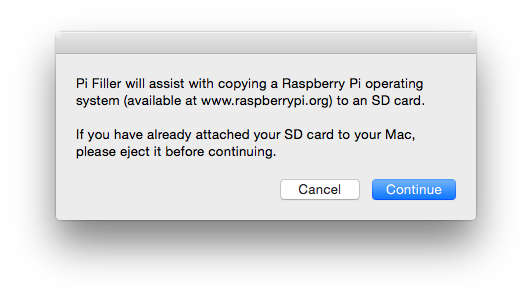
Click Continue, select an operating system image file (e.g., 2015-02-16-raspbian-wheezy.img), then click Choose.
The application will prompt you when its ready for you to insert your (micro) SD card:
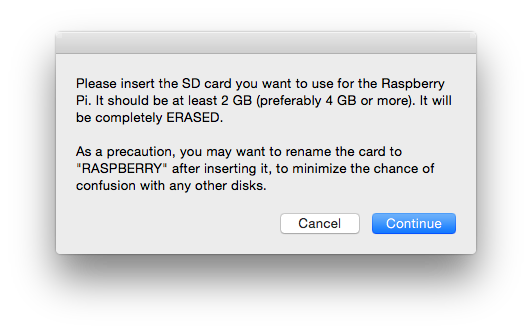
Insert your SD card, then click Continue:
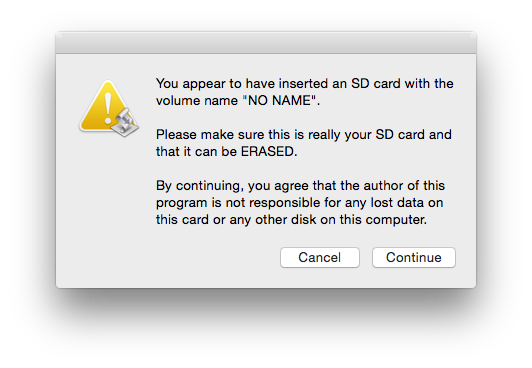
Make sure you inserted the correct SD card (e.g., check the volume name), then click Continue:
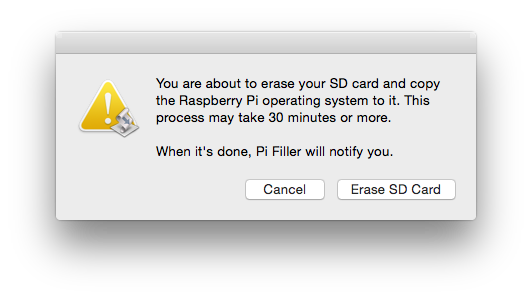
Click, Erase SD Card:
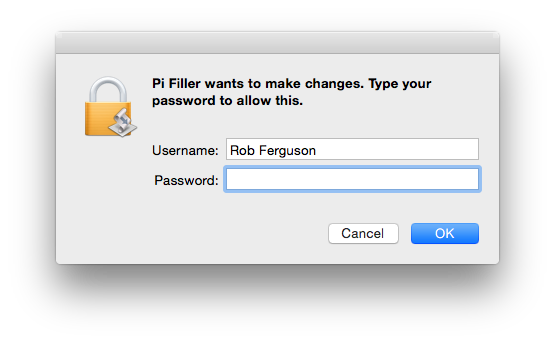
Enter, your Administrator Password, then click OK:
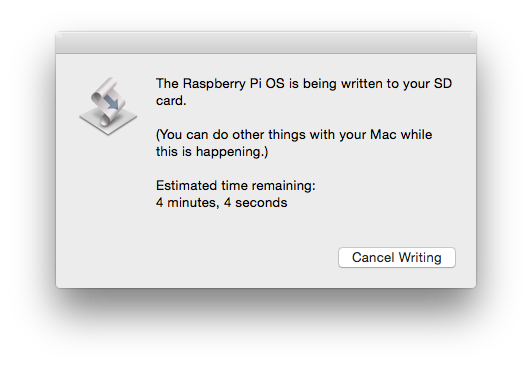
Pi Filler will let you know how things are progressing and when the job is complete:

Step Two
Now, insert the micro SD card into your Raspberry Pi, then use the network cable to connect the Raspberry Pi to your router and the micro USB cable to power your Raspberry Pi.
While your Raspberry Pi is booting up you'll notice a red LED light up and next to it a flashing green LED. You'll also notice the ethernet port's green LED flash a few times and then stay on.
Step Three
If all goes well Raspbian will have obtained an IP address (via DHCP) for your Raspberry Pi.
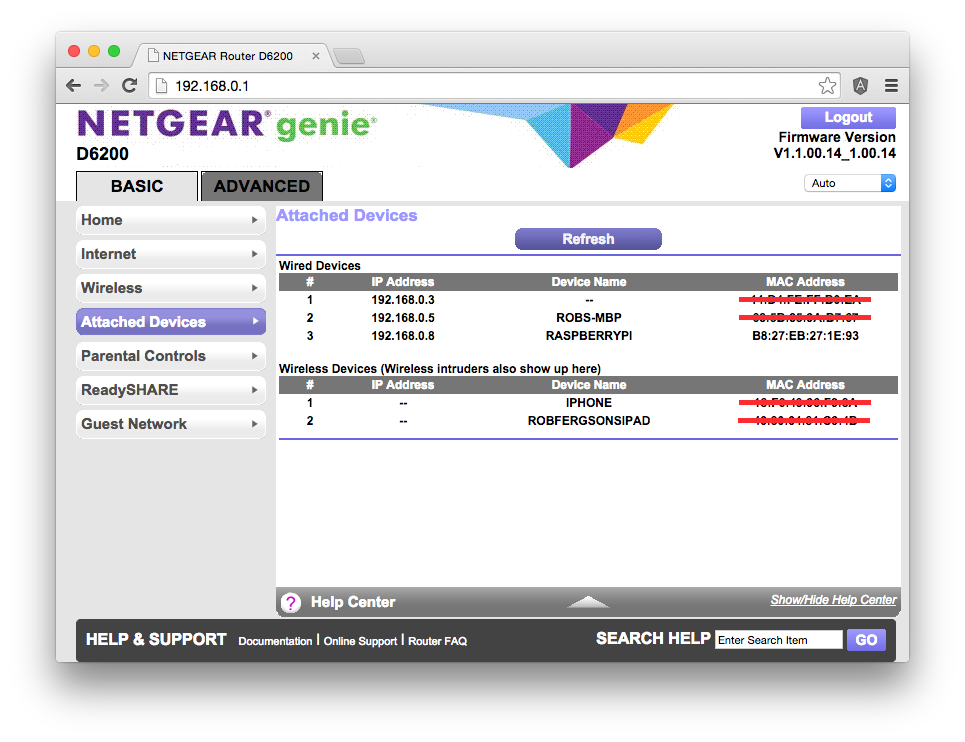
So, login to your router:
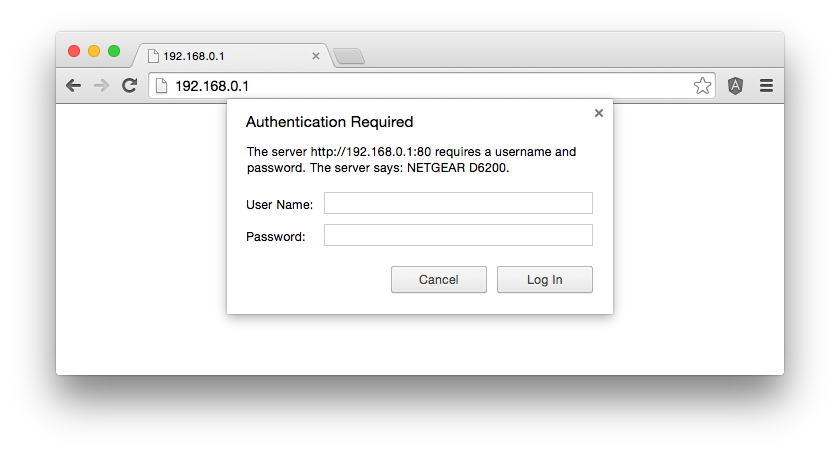
And, find the Pi's IP address:
Step Four
Now, you can open Terminal and ssh (e.g., ssh pi@192.168.0.8 - the default password is 'raspberry') into your Raspberry Pi:
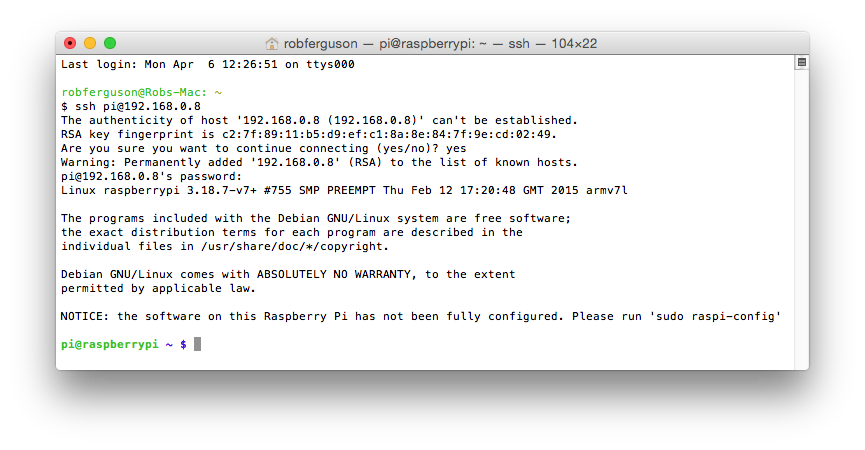
This is the first time we've logged into this new Raspbain image so it will prompt you to run 'sudo raspi-config'.
When you have finished configuring your new Raspberry Pi don't forget to 'sudo shutdown -h now'.
Troubleshooting
Not everything went as smoothly as the four steps described in this blog post. The first Raspberry Pi 2 Model B I received had a faulty ethernet port and it took me a while to figure this out :)
I first thought the problem might be related to Internet Sharing - allowing another computer (the Pi) to share my MacBook's Internet connection - so I connected the Raspberry Pi directly to my router. But, the Raspberry Pi was still not showing up as an attached device on my router.
I am aware that most Raspberry Pi problems are SD card or power-related. So I prepared a new micro SD card and used FUSE for OS X to check the Raspbian operating system image. I then tried the new micro SD card, but, the Raspberry Pi was still not showing up as an attached device on my router.
It was at this point, that I realised my shiny new Pibow Coupé enclosure was making it difficult to keep an eye on the ethernet port's green LED when the Raspberry Pi was booting up. So, I swapped my first Raspberry Pi 2 Model B with one of the four I had just purchased (for my next project) and walla, no more issues.
What's next
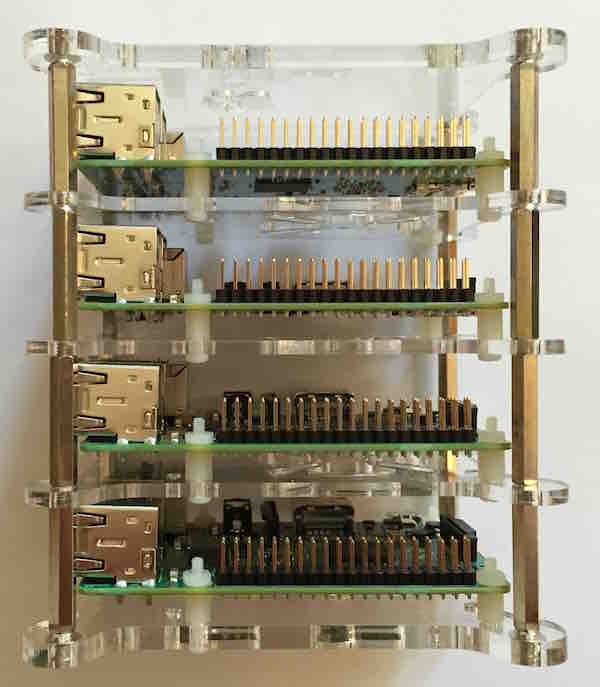
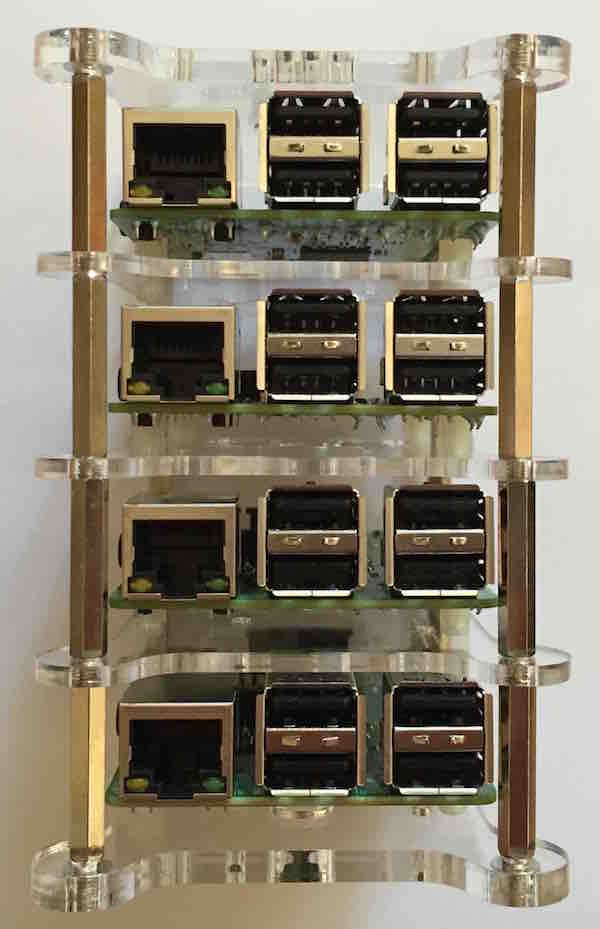
In the next post, I'll introduce my Raspberry Pi cluster:
References:
- elinux: RPi Easy SD Card Setup
- elinux: RPi Troubleshooting
- RepRage: What are the best SD cards to use in a Raspberry Pi?
- StackExchange: How can I extend the life of my SD card?
- StackExchange: What is the highest performing hardware configuration?