In a previous post, I described the steps I followed to create the scaffolding for a new AngularJS application.
In this post, I'll describe the steps I followed to create the layout for my 2D diagram editor.
Create the layout
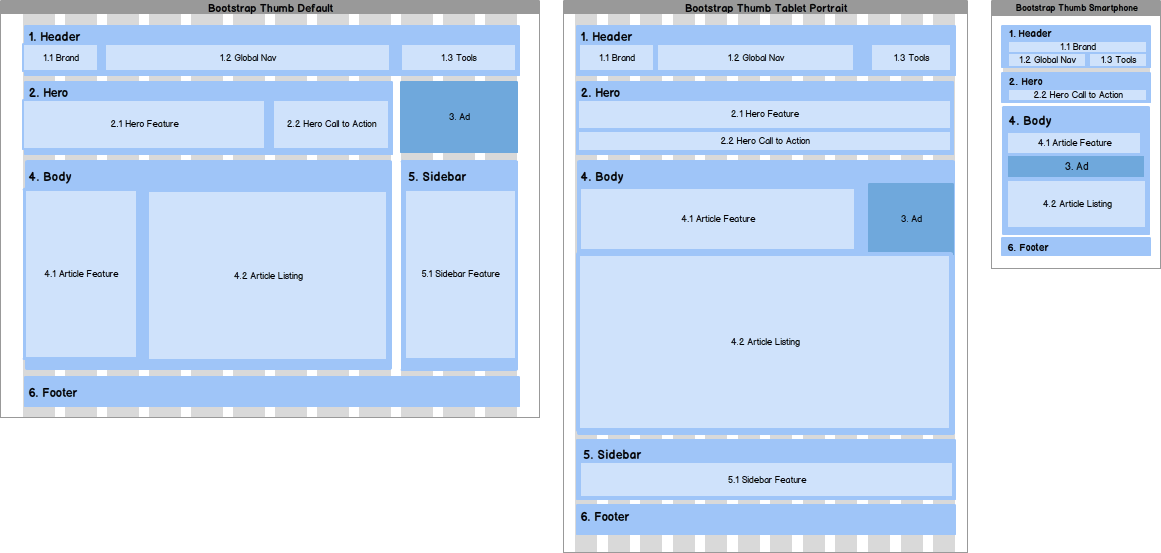
I like to use balsamiq to create mockups of responsive layouts:

However, my 2D diagram editor's layout requirements are very straight forward: a header; a sidebar; and a content area. So, why don't we jump straight in an use a little css and AngularUI Bootstrap.
Let's add AngularUI Bootstrap to the project:
bower install angular-bootstrap --save
bower install bootstrap-css#3.1.1 --save
bower install angular-animate --save
AngularUI Bootstrap contains a set of AngularJS directives based on Bootstrap's markup and CSS. The Bootstrap CSS Only component includes Bootstrap's markup and CSS only. No javascript, and more importantly no depenedency on jQuery. AngularUI Bootstrap also depends on ngAnimate for transitions and animations.
Here's what the updated dependencies section in the bower.json file contains:
"dependencies": {
  "angular": "~1.4.8",
  "angular-bootstrap": "~0.14.3",
  "bootstrap-css": "3.1.1",
  "angular-animate": "~1.4.8"
}
We also need to update the module dependencies in the Application Module (app.js) in the /app folder:
(function() {

  'use strict';

  angular.module('my-2d-diagram-editor', [
    'ui.bootstrap',
    'ngAnimate'
  ]);

})();
Now let's create a styles.css file (in the /content/css folder) and update it as follows:
body {
  padding-top: 51px;
  font-family: 'Walter Turncoat', serif;
  font-size: 14px;
}

.sidebar {
  position: fixed;
  top: 51px;
  bottom: 0;
  left: 0;
  z-index: 1000;
  display: block;
  padding: 5px;
  overflow-x: hidden;
  overflow-y: auto;
  border-right: 1px solid #eee;
}
Notice that we have added some padding (padding-top: 51px;) to the top of the <body> element so that the navbar (navbar-fixed-top) doesn't overlay our other content.
We also need to make a few changes to the index.html file (in the /client folder). First, let's update the <head> element so that it includes the Bootstrap, Google Fonts and our application's style sheets:
<!DOCTYPE html>
<html>
  <head>
  ...
  <link rel="stylesheet"
       href="bower_components/bootstrap-css/css/bootstrap.css" />
  <link rel="stylesheet"
       href="http://fonts.googleapis.com/css?family=Walter+Turncoat" />
  <link rel="stylesheet"
       href="content/css/styles.css" />
  </head>
  ...
</html>
Then update the <body> element as follows:
<!DOCTYPE html>
<html>
  <head>
    ...
  </head>
  <body ng-app="my-2d-diagram-editor">

    <!-- Header -->
    <nav class="navbar navbar-default navbar-fixed-top">
      <div class="container-fluid">
        <div class="navbar-header">
          <a class="navbar-brand" href="#">
            Rob's Awesome 2D Diagram Editor
          </a>
        </div>
      </div>
    </nav>

    <div class="container-fluid">
      <div class="row">
        <div class="col-xs-4 col-sm-4 col-md-3 sidebar">
          <!-- Sidebar -->
          ...
        </div>
        <div class="col-xs-8 col-xs-offset-4 col-sm-8 col-sm-offset-4
                    col-md-9 col-md-offset-3">
          <!-- Content Area -->
          ...
        </div>
      </div>
    </div>

    <script src="bower_components/angular/angular.js">
      </script>
    <script src="bower_components/angular-animate/angular-animate.js">
      </script>
    <script src="bower_components/angular-bootstrap/ui-bootstrap.js">
      </script>
    <script
      src="bower_components/angular-bootstrap/ui-bootstrap-tpls.js">
      </script>
    <script src="app/app-module.js"></script>

  </body>
</html>
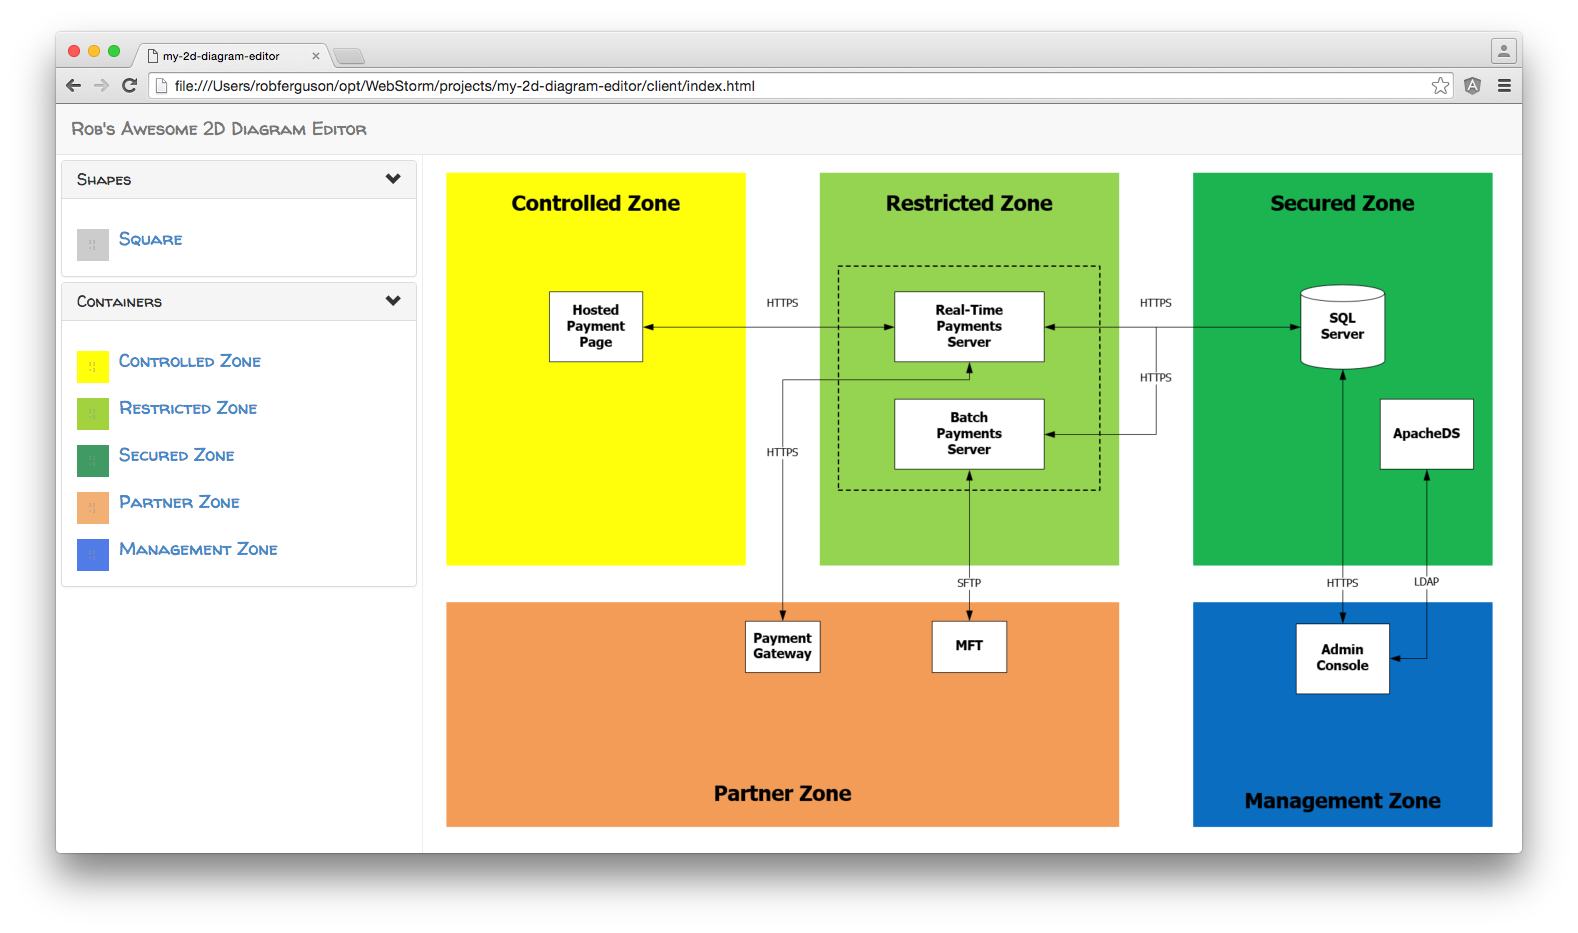
Now we have a layout that includes a header, a sidebar and a content area:

What's Next
In the next post, we'll add some dropdown menus to the header and to start working with AngularUI's Router.
References:
- Google Fonts: Getting Started
- Google Fonts: Font Families provided by the Google Fonts API
Source Code:
- GitHub: My 2D Diagram Editor
