In a previous post, I described the steps I followed to setup my environment (OSX Mavericks) for my 2D diagram editor.
In this post, I'll describe the steps I followed to create the scaffolding for a new AngularJS application.
Create a scaffold
Several factors determine a software engineer's approach to creating the scaffolding for a new Angular application, with the primary one being their choice for task automation.
I'm going to use Gulp, so let's install it now:
npm install -g gulp
Alternately, to update Gulp:
npm update –g gulp
Another important factor is deciding how you want to structure your application. I like to use a "folder by features" style and lisp-case when naming folders and files:
├── /my-2d-diagram-editor
    ├── /client
        └── /app
            ├── index.html
            ├── app.js
            ├── app-config.js
            └── /components (widgets)
            └── /file
                ├── file-module.js
                ├── file-controller.js
            └── /edit
            └── /view
            └── /help
    ├── /server
Note: All 3rd party vendor scripts (e.g., /bower–components, /node–modules, etc.) will be located in the /client folder.
I created the directory structure manually, so now we can run the npm init command (in the /client folder) to create a package.json file for the project:
npm init
We want to use Gulp for task automation, so let's add it to the project as a "dev dependency":
npm install gulp --save-dev
Here's what the package.json file contains:
{
  "name": "my-2d-diagram-editor",
  "version": "1.0.0",
  "description": "A browser-based 2D diagram editor.",
  "main": "app.js",
  "scripts": {
    "test": "echo \"Error: no test specified\" && exit 1"
  },
  "author": "Rob Ferguson",
  "license": "MIT",
  "devDependencies": {
    "gulp": "^3.9.0"
  }
}
I'm going to use Bower, to manage client-side dependencies so let's install it:
npm install -g bower
Alternately, to update Bower:
npm update –g bower
Now we can run the bower init command (in the /client folder) to create a bower.json file for the project:
bower init
We want to use AngularJS, so let's add it to the project:
bower install angular --save
Here's what the bower.json file contains:
{
  "name": "my-2d-diagram-editor",
  "description": "A browser-based 2D diagram editor.",
  "main": "app.js",
  "authors": [
    "Rob Ferguson"
  ],
  "license": "MIT",
  "moduleType": [],
  "homepage": "https://github.com/Robinyo",
  "private": true,
  "ignore": [
    "**/.*",
    "node_modules",
    "bower_components",
    "test",
    "tests"
  ],
  "dependencies": {
    "angular": "~1.4.8"
  }
}
Now let's create an index.html file (in the /client folder) which will serve as the application's entry point:
<!DOCTYPE html>
<html>
  <head>
    <meta charset="utf-8" />
    <meta http-equiv="X-UA-Compatible" content="IE=edge, chrome=1" />
    <meta name="viewport" content="width=device-width, initial-scale=1,
                maximum-scale=1, minimum-scale=1, user-scalable=no" />
    <title>my-2d-diagram-editor</title>

    <style>
     body {
        font-family: sans-serif;
        font-size: 1.2em;
        margin: 50px;
      }
    </style>
  </head>
  <body ng-app="my-2d-diagram-editor">
    <div ng-controller="HelloWorldController as hello">
      <h1>Hello {{hello.name.first}} {{hello.name.last}}!</h1>
      <input ng-model="hello.name.first"></input>
      <input ng-model="hello.name.last"></input>
    </div>

    <script src="bower_components/angular/angular.js"></script>
    <script src="app/app.js"></script>
    <script src="app/hello-world-controller.js"></script>
  </body>
</html>
An Application Module (app.js) in the /app folder:
(function() {

  'use strict';

  angular.module('my-2d-diagram-editor', []);

})();
And, a Hello World Controller (hello-world-controller.js) in the /app folder:
(function() {

  'use strict';

  angular.module('my-2d-diagram-editor', []).
    controller('HelloWorldController', HelloWorldController);

  HelloWorldController.$inject = ['$log'];

  function HelloWorldController($log) {

    $log.info('HelloWorldController');

    var hello = this;

    hello.name = { first: "Rob", last: "Ferguson" };
  }

})();
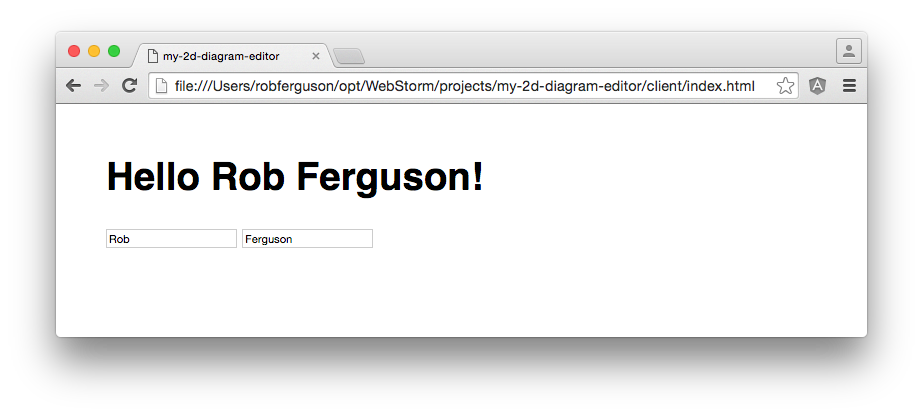
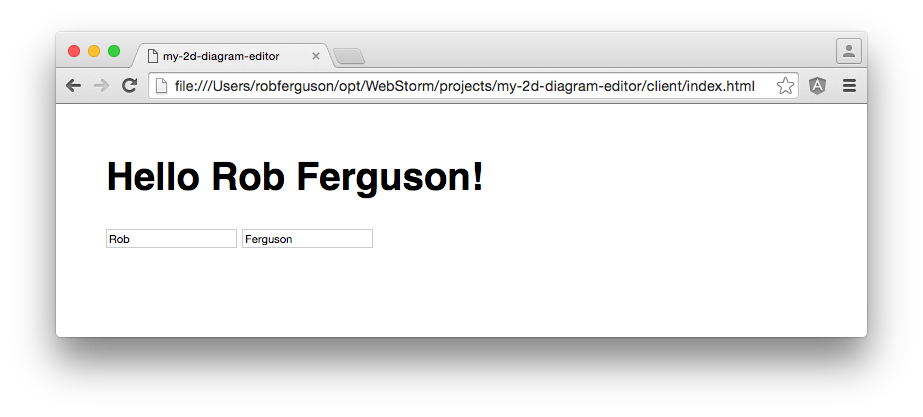
Now open index.html in a browser and you will see Angular's two-way data binding in action:

Managing your source code with Git
Now, is probably a good time to check in the source code we have created so far. I'm going to use Git and a public GitHub repository.
I followed the steps in this post to create a repository for: My 2D Diagram Editor
What's Next
In the next post, I'll create the layout for my 2D diagram editor.
References:
- AngularJS [dot] org: The PhoneCat Tutorial
- John Papa's: angularjs-style-guide
- John Papa's: AngularJS Modular Demo
- Todd Motto's: angularjs-style-guide
- Minko Gechev's: angularjs-style-guide
