Keycloak is an open source Identity and Access Management solution that supports:
- Single Sign On
- OpenID Connect, OAuth 2.0 and SAML 2.0
- LDAP and Active Directory
- User Federation, Identity Brokering and Social Login
- Centralised User Management
Serendipity uses OpenID Connect to secure applications and services.
OpenID Connect and OAuth 2.0
OpenID Connect (OIDC) is an authentication protocol, based on the OAuth 2.0 family of specifications. It enables you to use one set of credentials to login to multiple applications.
Authorization Code Flow
The Authorization Code Flow is a browser-based protocol that makes heavy use of browser redirects. To obtain an access token an application must redirect users to Keycloak's authorization endpoint.
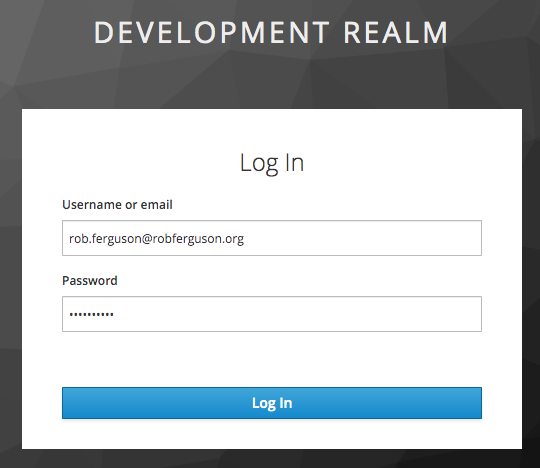
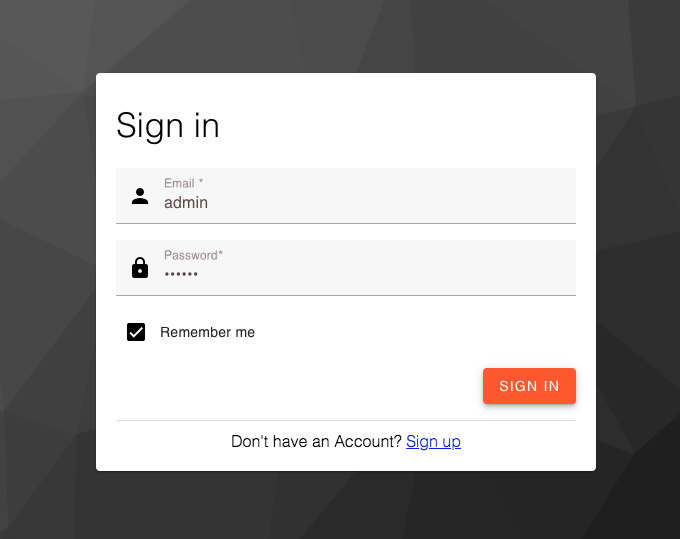
However, Keycloak's look and feel:

is quite different to Serendipity's:
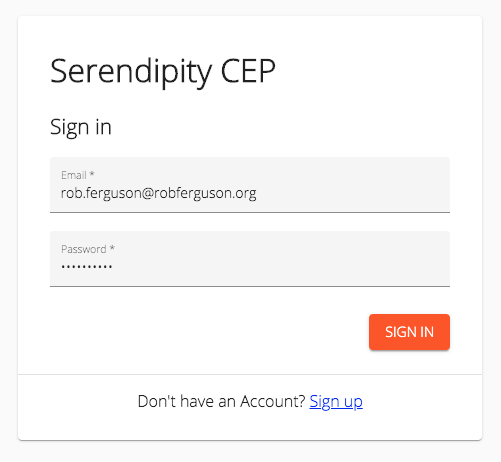
So I thought I'd take a look at Keycloak's support for themes.
Themes
Keycloak provides theme support which means that you can change the look and feel of Keycloak's web pages and email templates.
Creating a Theme
Keycloak's Server Developer guide recommends that when you create a theme you start by extending an existing theme.
So I created a project directory for my new theme:
mkdir serendipity-keycloak-theme
Launched the Keycloak Docker image:
cd serendipity-keycloak-theme

docker run -d --name keycloak \
  -p 10001:8080 \
  -v ~/workspace/Robinyo/serendipity-keycloak-theme:/serendipity-keycloak-theme \
  -e KEYCLOAK_USER=admin \
  -e KEYCLOAK_PASSWORD=secret \
  jboss/keycloak:9.0.2
And then I copied the default Keycloak theme:
docker cp keycloak:/opt/jboss/keycloak/themes/keycloak ./theme
For example:
├── /serendipity-keycloak-theme
     └── /theme
           └── /account
           └── /admin
           └── /common
           └── /email
           └── /login
                 └── /resources
                       └── /css
                       └── /img
                 ├── theme.properties
           └── /welcome
Keycloak's Server Developer guide also recommends that while your creating a theme you should disable caching so that you can preview your changes as you make them.
So I copied the Keycloak Docker image's standalone-ha.xml:
docker cp keycloak:/opt/jboss/keycloak/standalone/configuration/standalone-ha.xml .
And updated it as follows:
<theme>
  <staticMaxAge>-1</staticMaxAge>
  <cacheThemes>false</cacheThemes>
  <cacheTemplates>false</cacheTemplates>

  ...

</theme>
Docker
Build a Docker Image
To work with our new theme we need to create a Docker image that includes our updated Keycloak configuration, for example:
FROM jboss/keycloak:9.0.2

ADD ./standalone-ha.xml /opt/jboss/keycloak/standalone/configuration/standalone-ha.xml
To build an image, use the following command:
docker build -t robinyo/keycloak .
Note: Replace robinyo with your Docker Hub username.
Run the Image
Now we can launch our updated image:
docker container run -d --name keycloak \
  -p 10001:8080 \
  --mount type=bind,source=/Users/robferguson/workspace/Robinyo/serendipity-keycloak-theme/theme,target=/opt/jboss/keycloak/themes/serendipity \
  -e KEYCLOAK_USER=admin \
  -e KEYCLOAK_PASSWORD=secret \
  robinyo/keycloak
Because we want to preview our changes as we make them we'll use a bind mount to mount our theme directory into the container.
Note: The name of the target directory (serendipity) becomes the name of the theme.
Navigate to the Welcome page: http://localhost:10001
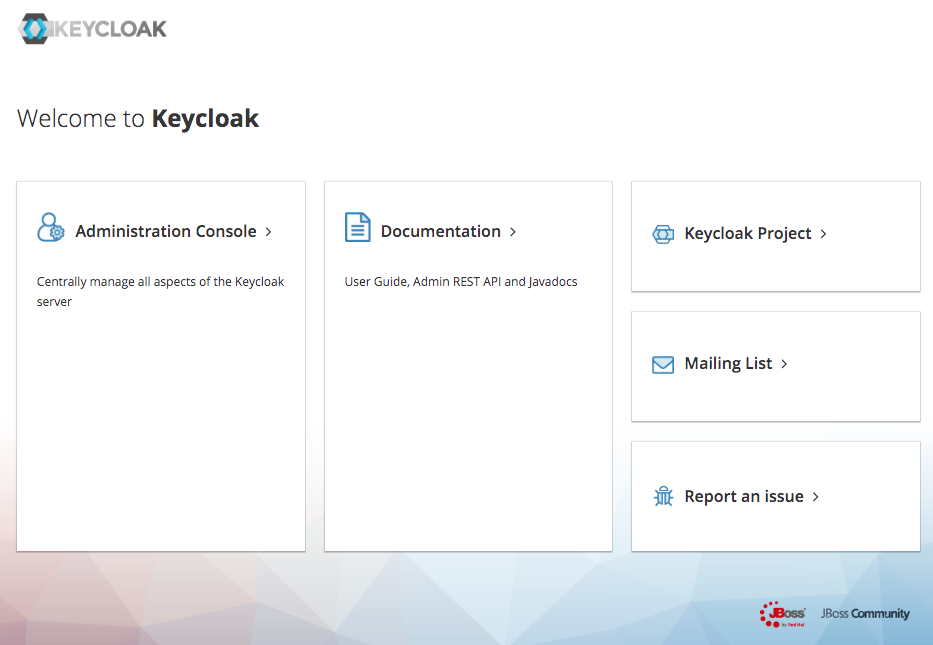
Then login to the Administration Console using the KEYCLOAK_USER (admin) and KEYCLOAK_PASSWORD (secret) credentials:
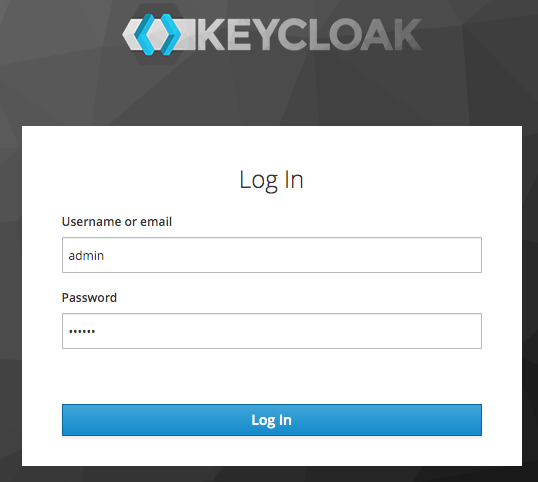
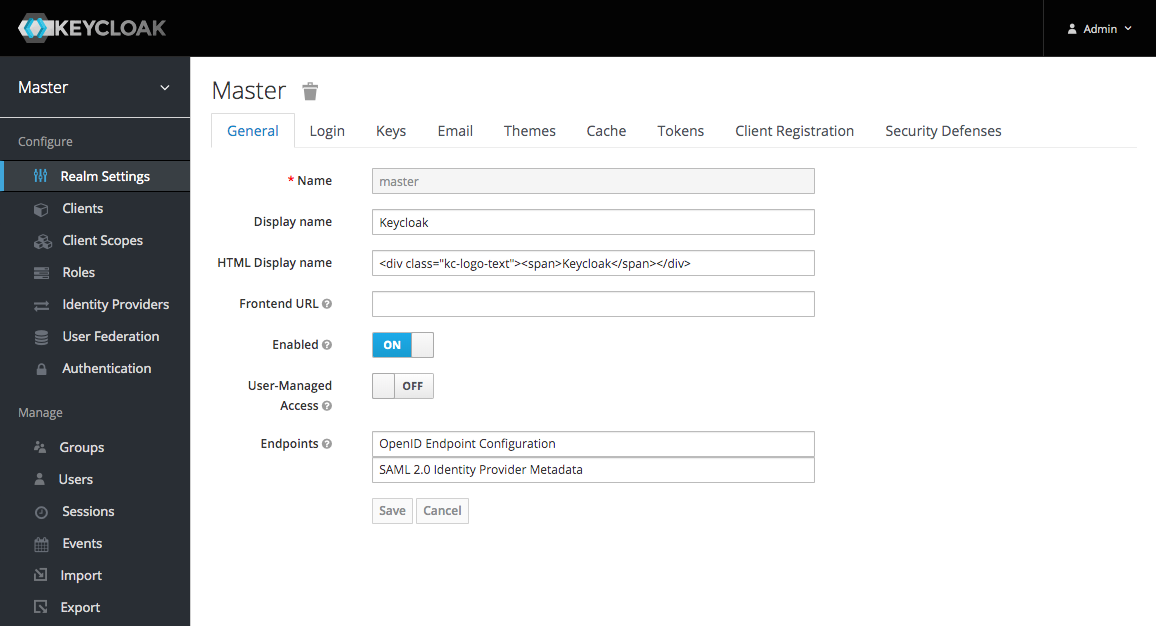
After you have logged in you will be forwarded to the Master realm:
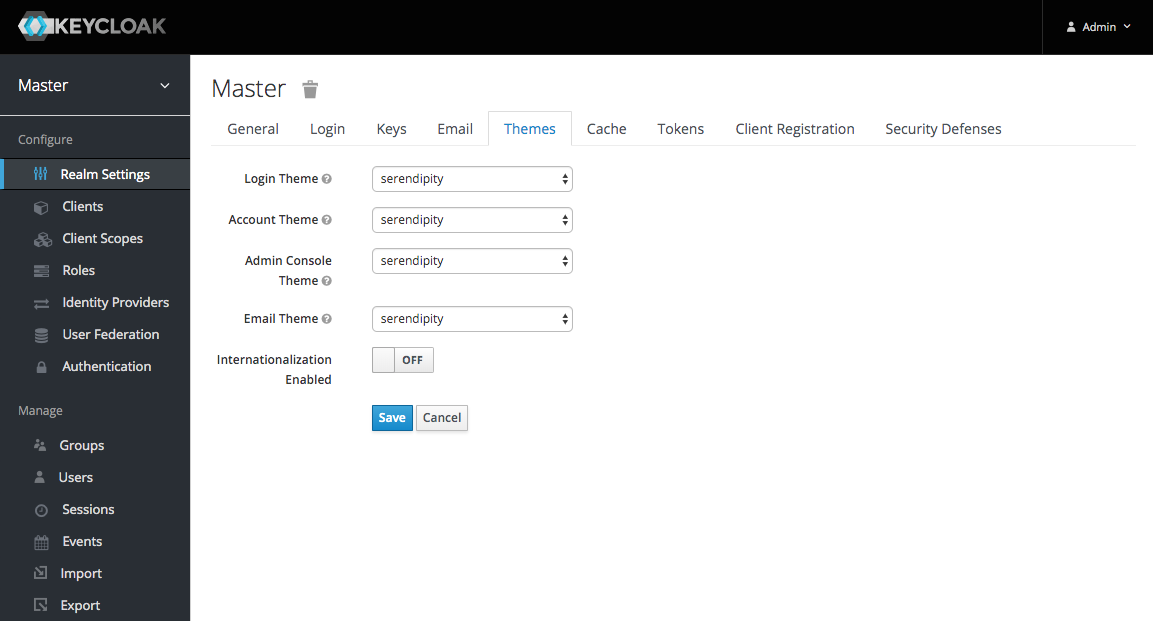
Now click on the 'Themes' tab and select a theme:
What's Next
In the next post, we'll use Material Components for the Web to change the look and feel of Keycloak's Login templates:
Source Code:
- GitHub: Serendipity Keycloak Theme
- GitHub: Serendipity the open source Customer Engagement Platform
- GitHub: The REST API for the Serendipity Customer Engagement Platform
References:
- Docker docs: Bind mounts