WebStorm is an IDE that aims to make life easier for JavaScript developers.
In this post, we'll install WebStorm (9.0.1) and then generate the scaffolding for a new AngularJS project using Yeoman.
WebStorm Prerequisites
- Mac OSX 10.5 or higher
- Java 6
Yeoman Prerequisites
- Xcode Command Line Tools
- Homebrew (the missing package manager for OSX)
- Node.js
Note: This post will walk you through the steps required to install Yeoman (Grunt and Bower).
Install WebStorm
Download WebStorm, mount it and then copy WebStorm to your Applications folder:

For easy access drag it to the Dock:

Create a scaffold
Now we're ready to launch WebStorm and setup a new project:
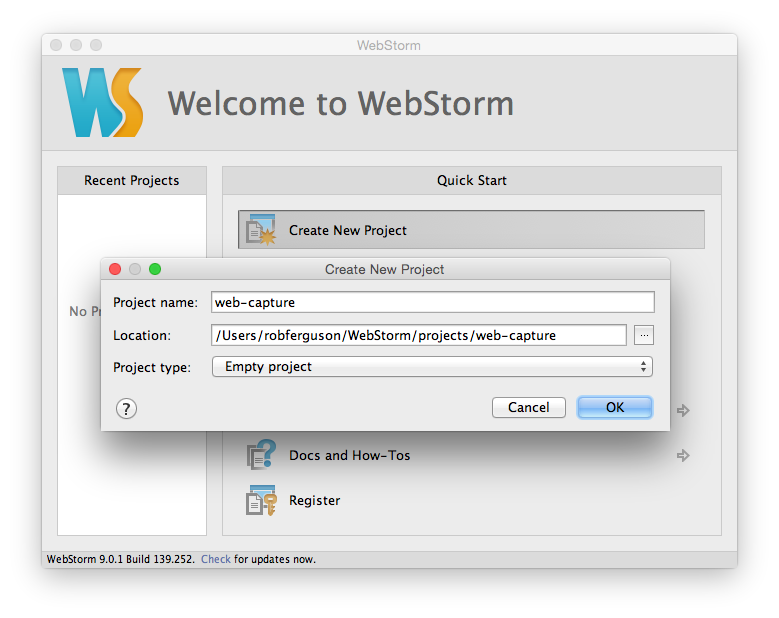
Choose a project name, a location and select "Empty project", then click OK:
![]()
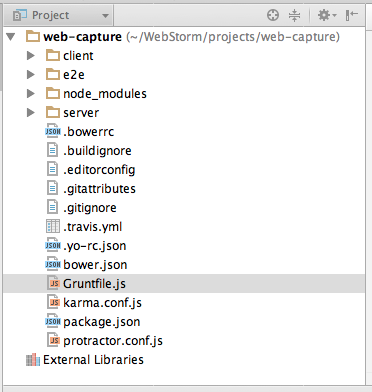
Now that we have a shiny new (albeit empty) project, we'll use Yeoman to generate some scaffolding.
If you take a look at the list of official Yeoman generators you'll notice that there are quite a few AngularJS generators to choose from. I like the angular-fullstack generator, so lets use WebStorm's Terminal to install it:
npm install -g generator-angular-fullstack
Now we can use it to create the scaffolding for our project:
yo angular-fullstack
Out of the box, the generator will create an AngularJS client with an Express (Node.js) server that uses MongoDB (a MEAN stack). Yeoman will also run bower install and npm install which will install any required dependencies:
The server will try to connect to MongoDB so we need to open a new OSX Terminal session and start the MongoDB daemon:
ulimit -n 1024 && mongod --config /usr/local/etc/mongod.conf
Now, we'll use Grunt (from the WebStorm Terminal) to launch the newly scaffolded application:
grunt serve
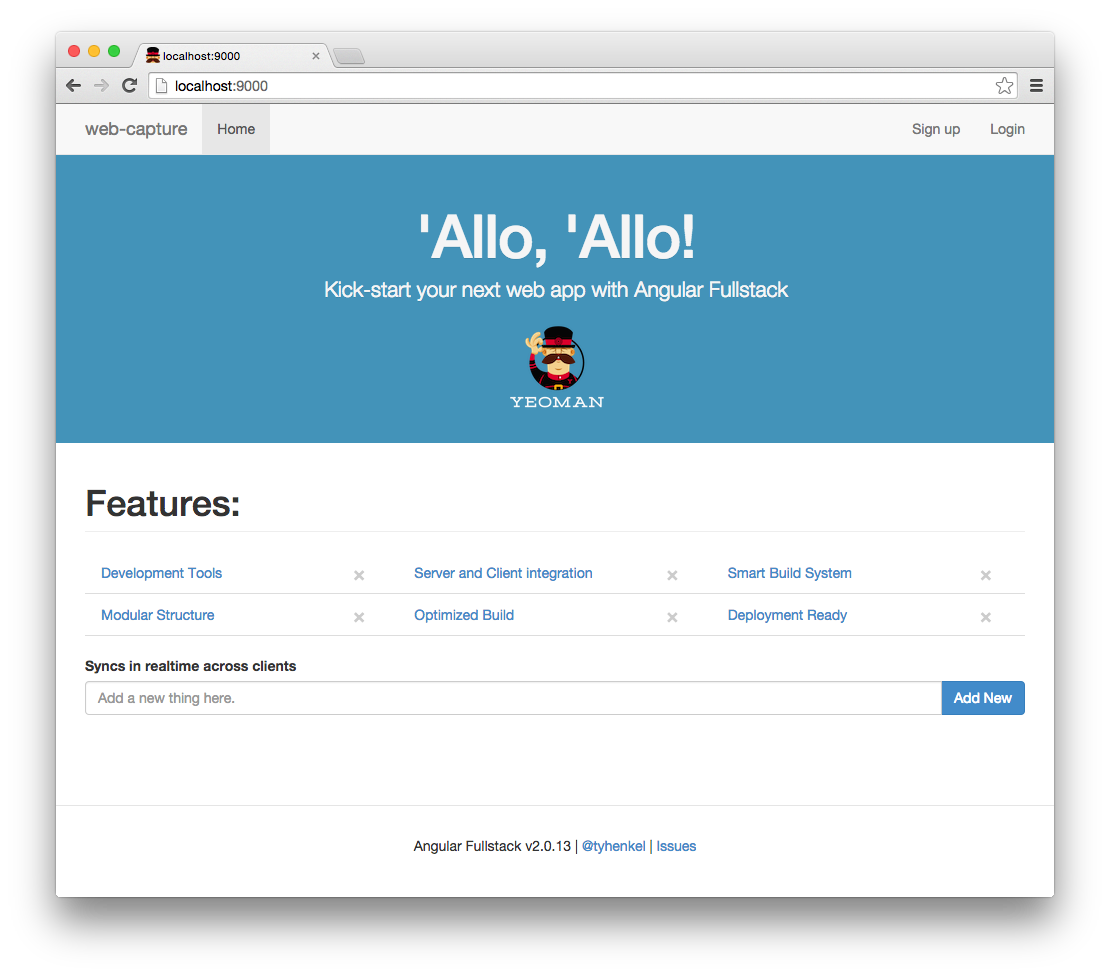
Grunt will start the Express server and open the application in your default browser: