Ionic is a framework for developing hybrid mobile apps that leverages AngularJS and Cordova, and includes mobile-optimised HTML, CSS and JS components.
In this post, we'll install the Ionic framework and generate the scaffolding for a new project.
Install Node.js
This post will walk you through the steps required to install Homebrew and Node. Alternately, you can upgrade Node.js using the following commands:
brew doctor
brew update
brew upgrade node
Install the Command Line tools
To install the Ionic and Cordova command line tools, enter the following command:
npm install -g cordova ionic
Create a scaffold
Now, we can use the command line tools (which are also referred to as the CLI or Command Line Interface) to generate the scaffolding for a new project, for example:
ionic start myApp tabs
And, we can use the CLI to launch the newly scaffolded application:
cd myApp
ionic serve
The new project will be opened in your default browser:

You can also use the command line tools to add support for a platform, for example:
ionic platform add ios
ionic build ios
ionic emulate ios
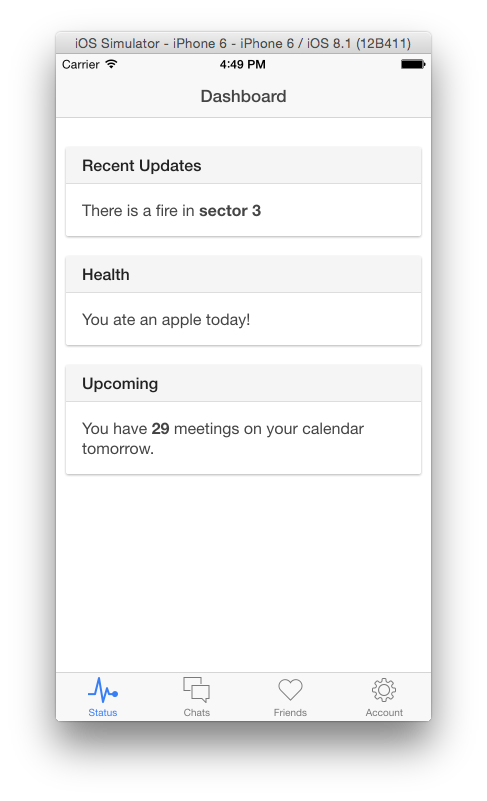
And, the new project will be opened in the iOS Simulator:

Note: I also needed to install gulp:
npm install -g gulp
The command line application launcher for the iOS Simulator:
npm install -g ios-sim
And, run bower install (bower.json) and npm install (package.json) to install any required dependencies.
References:
- The Ionic framework: Getting Started Guide
- Jonathan Cochran: What I learned building an App with the Ionic framework