
I'd like to add support for Single Sign On to Serendipity, so I thought I'd take a look at Keycloak.
Keycloak
Keycloak is an open source Identity and Access Management solution that supports:
- Single Sign On (SSO)
- OpenID Connect (OIDC), OAuth 2.0 and SAML 2.0
- LDAP and Active Directory
- User Federation, Identity Brokering and Social Login
- Centralised User Management
Getting Started
The easiest way to get started with Keycloak is to use a Docker image, for example:
docker pull jboss/keycloak
docker run -d --name keycloak \
  -p 10001:8080 \
  -v ~/workspace/Robinyo/serendipity:/serendipity \
  -e KEYCLOAK_USER=admin \
  -e KEYCLOAK_PASSWORD=secret \
  jboss/keycloak
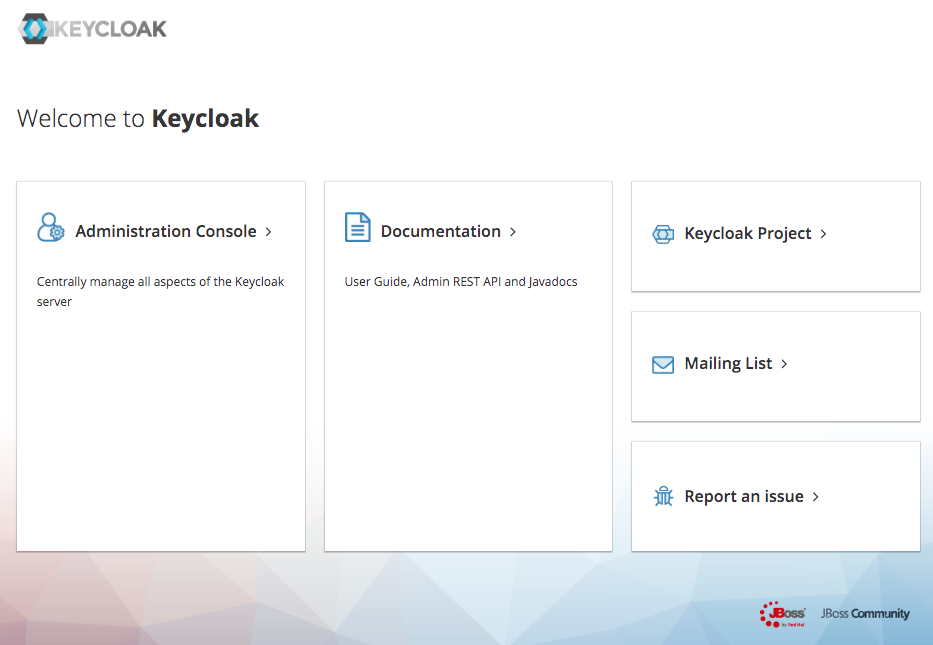
Navigate to the Welcome page: http://localhost:10001
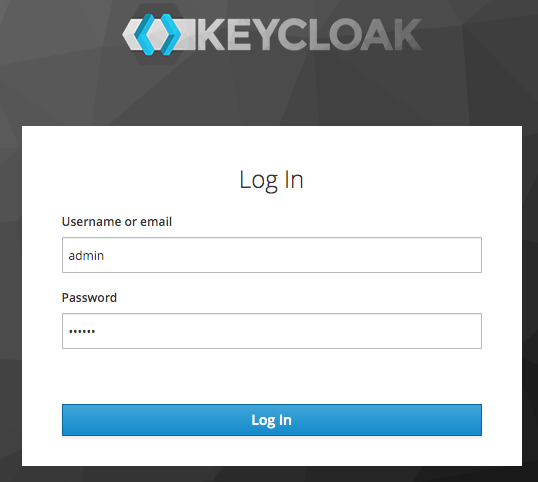
Then login to the Administration Console using the KEYCLOAK_USER and KEYCLOAK_PASSWORD credentials:
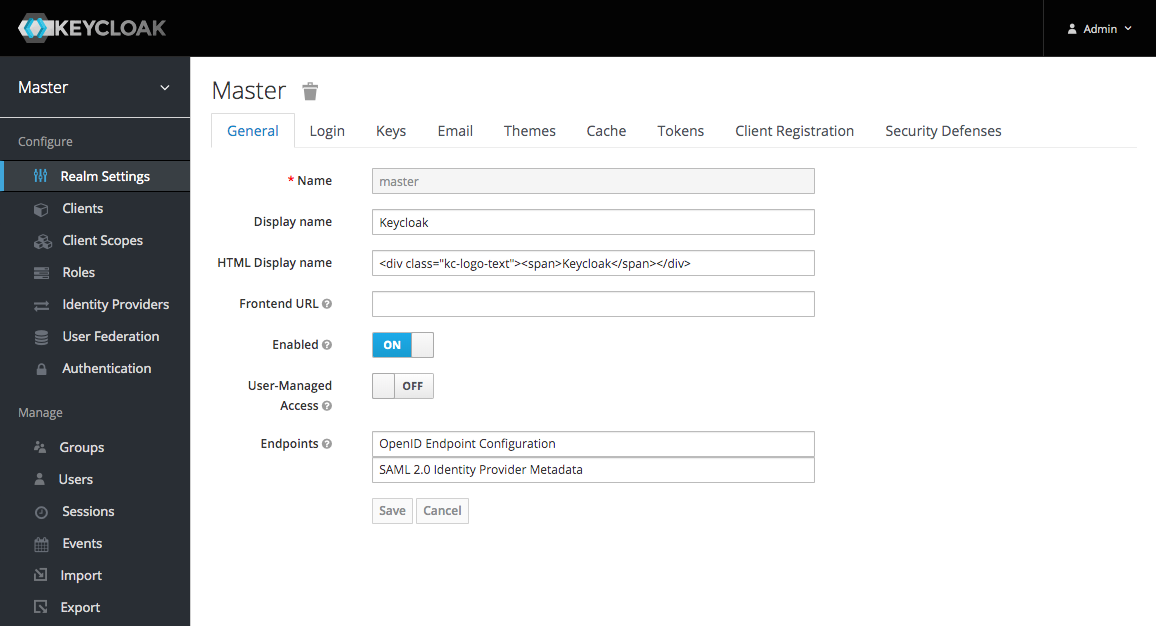
After you have logged in you will be forwarded to the Master realm:
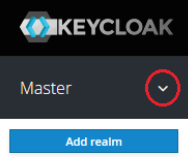
Creating a New Realm
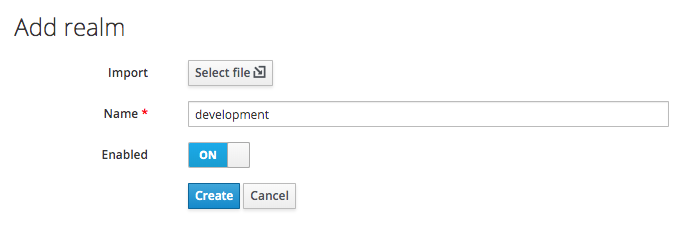
The Master realm should only be used to create and manage other realms. To create a new realm, click 'Add realm' from the Master drop-down menu:
Enter a Name:

Then click the 'Create' button:

Creating a New User
To create a new user in the development realm click 'Users' in the sidemenu and then click the 'Add user' button:

Enter a Username, check 'Email Verified' (as we haven't configured Keycloak's email settings) and then click the 'Save' button. Now click on the 'Credentials' tab and enter a Password:
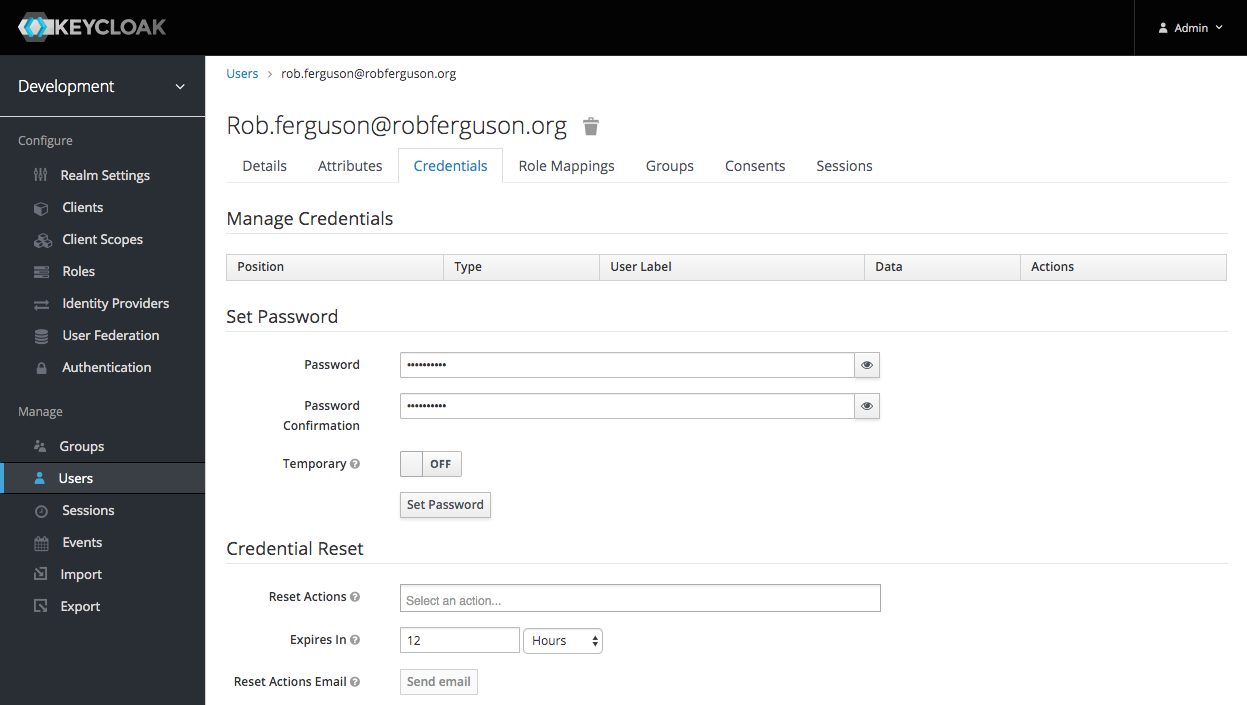
Uncheck 'Temporary' and then click the 'Set Password' button.
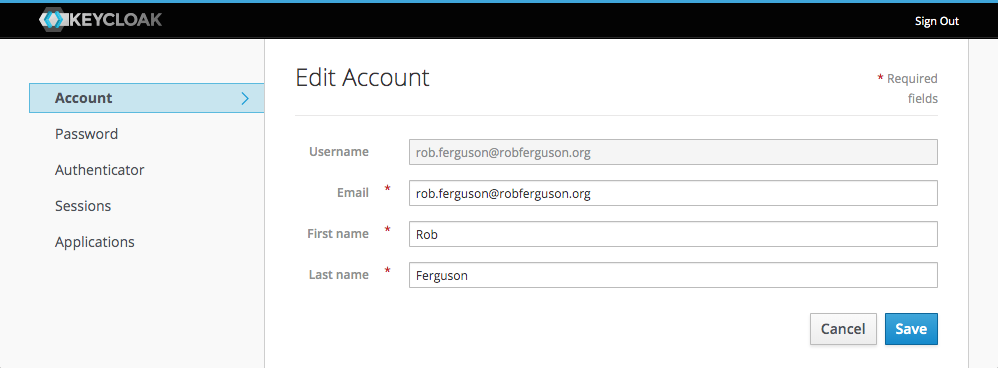
After you have created a new user, sign out and then navigate to the User Account Service: http://localhost:10001/auth/realms/development/account and try logging in using the new user's credentials:

After you have logged in you will be forwarded to the User Account Service page:
Creating a New Client
Every application that interacts with Keycloak is considered to be a client.
To create a new client in the development realm click 'Clients' in the sidemenu and then click the 'Create' button:

Enter a Client ID and then click the 'Save' button:
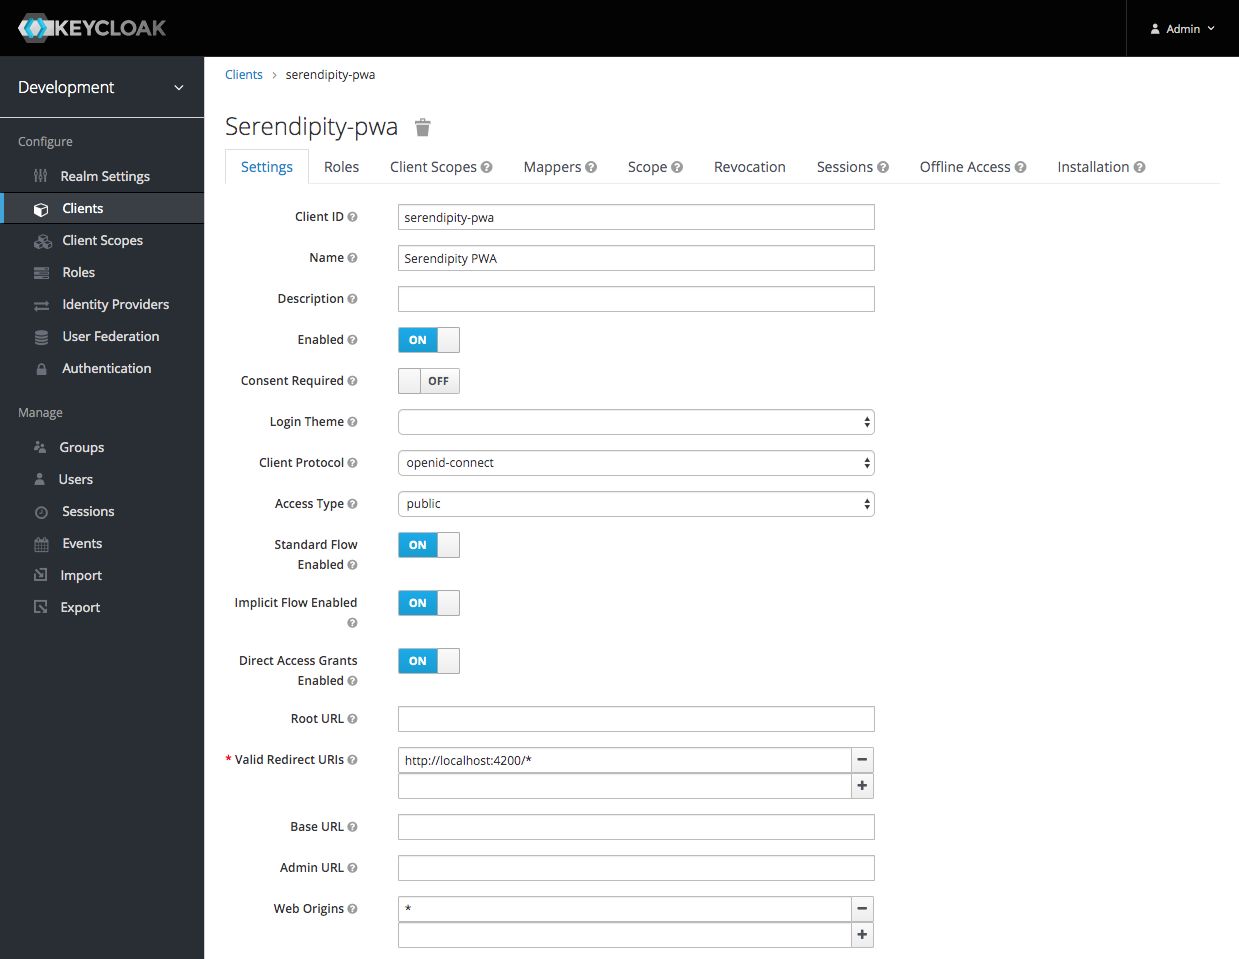
We'll be using OpenID Connect to interact with Keycloak and as Serendipity is a Progressive Web App (PWA) the 'Access Type' should be public. Check 'Standard Flow Enabled', 'Implicit Flow Enabled' and 'Direct Access Grants Enabled', enter a Valid Redirect URI (e.g., http://localhost:4200/*), enter a valid Web Origins (e.g., *) and then click the 'Save' button.
Note: Standard Flow is Keycloak's name for the OpenID Connect Authorization Code Flow.
OpenID Connect and OAuth 2.0
OpenID Connect (OIDC) is an authentication protocol, based on the OAuth 2.0 family of specifications. It enables you to use one set of credentials to login to multiple applications.
Endpoints
We can discover the endpoints exposed by Keycloak using the following command:
curl http://localhost:10001/auth/realms/development/.well-known/openid-configuration
You should see output like:
{
    "issuer": "http://localhost:10001/auth/realms/development",
    "authorization_endpoint": "http://localhost:10001/auth/realms/development/protocol/openid-connect/auth",
    "token_endpoint": "http://localhost:10001/auth/realms/development/protocol/openid-connect/token",
    "token_introspection_endpoint": "http://localhost:10001/auth/realms/development/protocol/openid-connect/token/introspect",
    "userinfo_endpoint": "http://localhost:10001/auth/realms/development/protocol/openid-connect/userinfo",
    "end_session_endpoint": "http://localhost:10001/auth/realms/development/protocol/openid-connect/logout",
    "jwks_uri": "http://localhost:10001/auth/realms/development/protocol/openid-connect/certs",
    "check_session_iframe": "http://localhost:10001/auth/realms/development/protocol/openid-connect/login-status-iframe.html",

    ...

}
Authorization Code Flow
The Authorization Code Flow is a browser-based protocol that makes heavy use of browser redirects to obtain an identity token and an access token.
Requesting authorization
The user should be sent to a URL to authenticate:
http://localhost:10001/auth/realms/development/protocol/openid-connect/auth?response_type=code&client_id=serendipity-pwa&redirect_uri=http://localhost:4200/authorization-code/callback
For example:
Example response:
http://localhost:4200/authorization-code/callback?session_state=04c1e2e4-e6a2-460f-841a-83ef532b01d8
&code=3bffbda8-1453-4e2c-8edb-bffd096c40b4.04c1e2e4-e6a2-460f-841a-83ef532b01d8.e3e6990e-7c61-48a3-93e0-ee1bbc3724a4
Requesting an access token
To request an access token, use the following curl command (where code is the authorization code you received when you requested authorization):
curl -X POST -H "Content-Type: application/x-www-form-urlencoded" -d "grant_type=authorization_code&code=3bffbda8-1453-4e2c-8edb-bffd096c40b4.04c1e2e4-e6a2-460f-841a-83ef532b01d8.e3e6990e-7c61-48a3-93e0-ee1bbc3724a4&redirect_uri=http://localhost:4200/authorization-code/callback&client_id=serendipity-pwa&client_secret=Password12" http://localhost:10001/auth/realms/development/protocol/openid-connect/token
Example response:
{
    "access_token": "eyJhbGciOiJSUzI1NiIsInR5cCIgOiAiSldU ...",
    "expires_in": 300,
    "refresh_expires_in": 1800,
    "refresh_token": "eyJhbGciOiJIUzI1NiIsInR5cCIgOiAiSld ...",
    "token_type": "bearer",
    "not-before-policy": 0,
    "session_state": "04c1e2e4-e6a2-460f-841a-83ef532b01d8",
    "scope": "email profile"
}
Implicit Flow
The Implicit Flow is similar to the Authorization Code Flow, however, there are fewer requests and no refresh tokens involved.
Requesting authorization
The user should be sent to a URL to authenticate:
http://localhost:10001/auth/realms/development/protocol/openid-connect/auth?response_type=token&client_id=serendipity-pwa&redirect_uri=http://localhost:4200/implicit/callback
For example:
Example response:
http://localhost:4200/implicit/callback#session_state=71a1c19e-7f17-4d54-a18b-5f58801b6cee&access_token=eyJhbGciOiJSUzI1NiIsInR5cCIgOiAiSldUIiwia2lkIiA6ICI1RS1qR0lsRGRwZ2puaEp6YmRTM1hYZVpXWkNtUlVCODVTbmZwN&token_type=bearer&expires_in=900
The Admin REST API
Authenticating
export ACCESS_TOKEN=$(curl -X POST 'http://localhost:10001/auth/realms/master/protocol/openid-connect/token' \
  -H "Content-Type: application/x-www-form-urlencoded" \
  -d "username=admin" \
  -d 'password=secret' \
  -d 'grant_type=password' \
  -d 'client_id=admin-cli' | jq -r '.access_token')
Note: I set the admin-cli Access Type to confidential.
Basic Operations
curl -X GET 'http://localhost:10001/auth/admin/realms/development/users' \
  -H "Accept: application/json" \
  -H "Authorization: Bearer $ACCESS_TOKEN" | jq .
Output:
{
  "id": "35129fce-98de-47e6-85cc-cdb81b46c0d2",
  "createdTimestamp": 1578541188081,
  "username": "rob.ferguson",
  "enabled": true,
  "totp": false,
  "emailVerified": false,
  "firstName": "Rob",
  "lastName": "Ferguson",
  "email": "rob.ferguson@robferguson.org",
  "federationLink": "b02e5323-0ea4-442c-ba59-5e997d0c5f94",
  "attributes": {
    "LDAP_ENTRY_DN": [
      "uid=rob.ferguson,ou=users,dc=flowable,dc=org"
    ],
    "LDAP_ID": [
      "rob.ferguson"
    ],
    "modifyTimestamp": [
      "20200109033948Z"
    ],
    "createTimestamp": [
      "20200109033948Z"
    ]
  },
  "disableableCredentialTypes": [],
  "requiredActions": [],
  "notBefore": 0,
  "access": {
    "manageGroupMembership": true,
    "view": true,
    "mapRoles": true,
    "impersonate": true,
    "manage": true
  }
}
The Admin CLI
We have been using the Administration Console to perform administrative tasks, you can also perform those tasks from the command line.
Installing the Admin CLI
The Keycloak Server distribution includes the Admin CLI:
docker exec -it keycloak /bin/bash

$ export KEYCLOAK_HOME=/opt/jboss/keycloak
$ export PATH=$PATH:$KEYCLOAK_HOME/bin
$ kcadm.sh
Authenticating
The Admin CLI works by making HTTP requests to Admin REST endpoints. Access to them is protected and requires authentication:
$ kcadm.sh config credentials --server http://localhost:8080/auth --realm master --user admin --client admin-cli
You will be prompted for the password:
Logging into http://localhost:8080/auth as user admin of realm master
$ Enter password:
Basic Operations
The Admin CLI allows you to perform CRUD operations (the create, get, update, and delete commands are mapped to the HTTP verbs POST, GET, PUT, and DELETE), for example:
$ kcadm.sh get users -r development
Sample output:
[ {
  "id" : "11002688-7294-4c6a-bc77-00aee83e8651",
  "createdTimestamp" : 1578020397775,
  "username" : "rob.ferguson",
  "enabled" : true,
  "totp" : false,
  "emailVerified" : true,
  "firstName" : "Rob",
  "lastName" : "Ferguson",
  "email" : "rob.ferguson@robferguson.org",
  "disableableCredentialTypes" : [ ],
  "requiredActions" : [ ],
  "notBefore" : 0,
  "access" : {
    "manageGroupMembership" : true,
    "view" : true,
    "mapRoles" : true,
    "impersonate" : true,
    "manage" : true
  }
} ]
Set password:
$ kcadm.sh set-password -r development --username rob.ferguson --new-password NoMoreSecrets
Export and Import
The jboss/keycloak Docker image supports the following databases: H2, MySQL, PostgreSQL, MariaDB, Oracle or Microsoft SQL Server. By default, it uses the embedded H2 database, so don't forget to export your database.
Export
To export your database into a single JSON file:
docker exec -it keycloak /opt/jboss/keycloak/bin/standalone.sh \
  -Djboss.socket.binding.port-offset=100 \
  -Dkeycloak.migration.action=export \
  -Dkeycloak.migration.provider=singleFile \
  -Dkeycloak.migration.file=/serendipity/keycloak-export.json
Import from the Command Line
Start with a blank canvas:
docker container stop keycloak
docker container rm keycloak

docker run -d --name keycloak \
  -p 10001:8080 \
  -v ~/workspace/Robinyo/serendipity:/serendipity \
  -e KEYCLOAK_USER=admin \
  -e KEYCLOAK_PASSWORD=secret \
  jboss/keycloak
To import from a (previously exported) file into your database:
docker exec -it keycloak /opt/jboss/keycloak/bin/standalone.sh \
  -Djboss.socket.binding.port-offset=100 \
  -Dkeycloak.migration.action=import \
  -Dkeycloak.migration.provider=singleFile \
  -Dkeycloak.migration.file=/serendipity/keycloak-export.json
When the import is complete use Ctrl-C to exit the session.
Import from the Administration Console
Start with a blank canvas:
docker container stop keycloak
docker container rm keycloak

docker run -d --name keycloak \
  -p 10001:8080 \
  -v ~/workspace/Robinyo/serendipity:/serendipity \
  -e KEYCLOAK_USER=admin \
  -e KEYCLOAK_PASSWORD=secret \
  jboss/keycloak
Navigate to the Welcome page: http://localhost:10001 and then login to the Administration Console using the KEYCLOAK_USER (admin) and KEYCLOAK_PASSWORD (secret) credentials.
To create a new realm, click 'Add realm' from the Master drop-down menu:
Enter a Name (development) and then click the 'Create' button.
Click 'Import' in the sidemenu and then select the file to import (keycloak-export.json):

Select 'Import from realm: development', 'If a resource exists: Skip' and then Click the 'Import' button.
It's only a partial import :( so we will need to use the Administration Console to:
- Configure the realm's Login settings
- Create a User Federation to OpenLDAP
- Create Serendipity's Client (OAuth 2.0) scopes
See: Serendipity's Developer Documentation - Import
What's Next
In the next post, I'll take a look at some implementations that provide OpenID Connect and OAuth 2.0 protocal support for browser-based applications.
Source Code:
- GitHub: Serendipity the open source Customer Engagement Platform
- GitHub: The REST API for the Serendipity Customer Engagement Platform
Resources:
- Keycloak: Forum
- Keycloak blog: What's Coming To Keycloak
- Keycloak blog: Introducing Keycloak.X