Papyrus is an Eclipse-based modelling environment that includes diagram editors for UML 2 and SysML as well as CSS stylesheet support.
In this post, we'll install Papyrus and then create a new modelling project and a colourful class diagram.
Prerequisites
- Java 8 Development Kit (for Mac OS X x64)
Install Eclipse
First, we need to download Eclipse:

I downloaded the Eclipse Modeling Tools for Mac OS X 64 Bit (Luna 4.4):
eclipse-modeling-luna-R-macosx-cocoa-x86_64.tar.gz
Now, we just need to unpack (open with the Archive Utility) the file, and move the eclipse folder into the Applications folder:

For easy access to Eclipse, open the eclipse folder and drag the Eclipse application to the Dock:

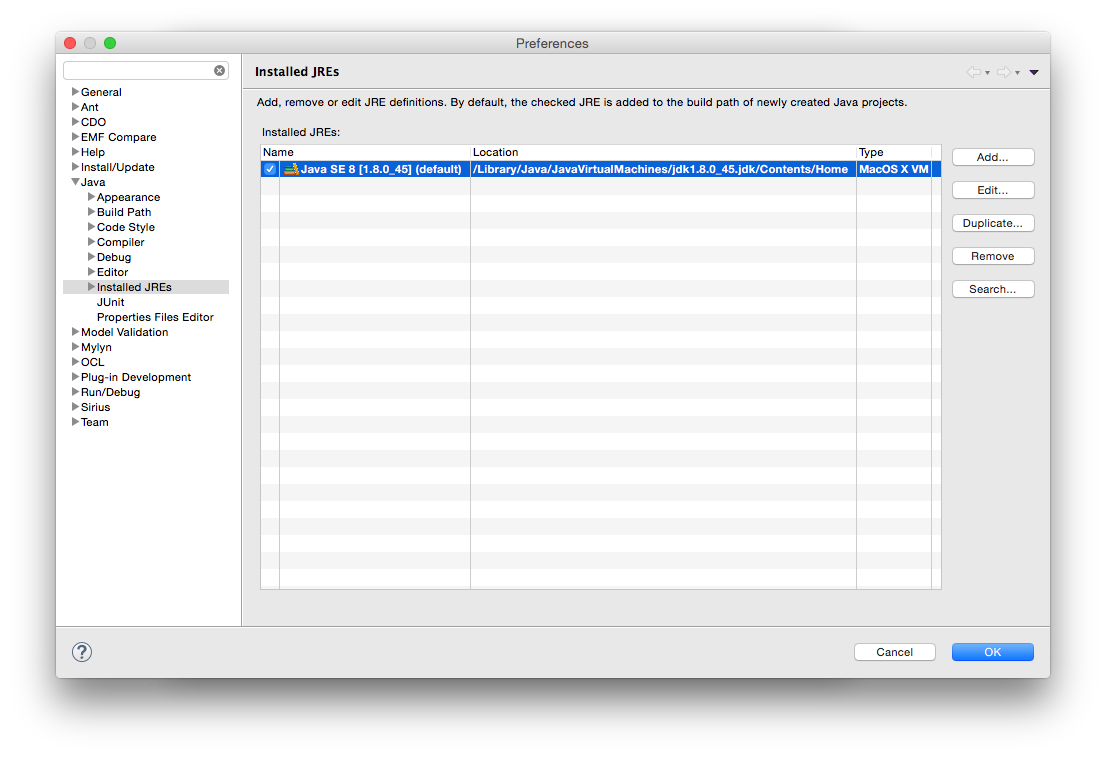
Launch Eclipse, go to Preferences and choose the default JRE for your project:
Install Papyrus
We've just installed Eclipse, but it's always a good idea to "Help" => "Check for Updates":
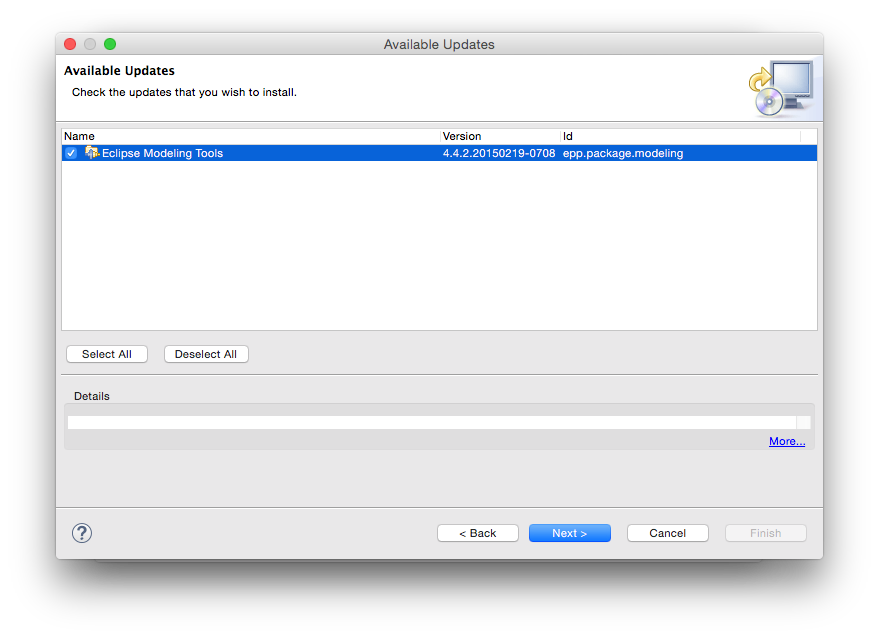
Check the items that you want to install, then click Finish. When prompted, accept the confirmations and then restart Eclipse. Now, we can use Eclipse's discovery interface ("Help" => "Install Modeling Components") to install Papyrus:
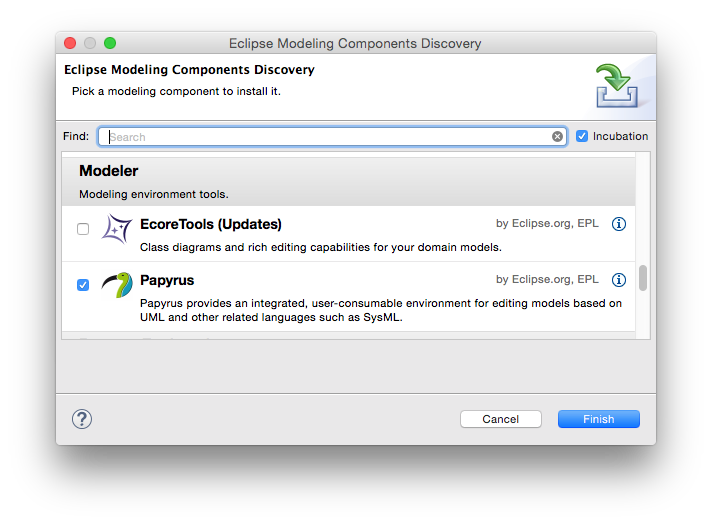
Check Papyrus, then click Finish. When prompted, accept the confirmations and then restart Eclipse.
Create a new Modelling Project
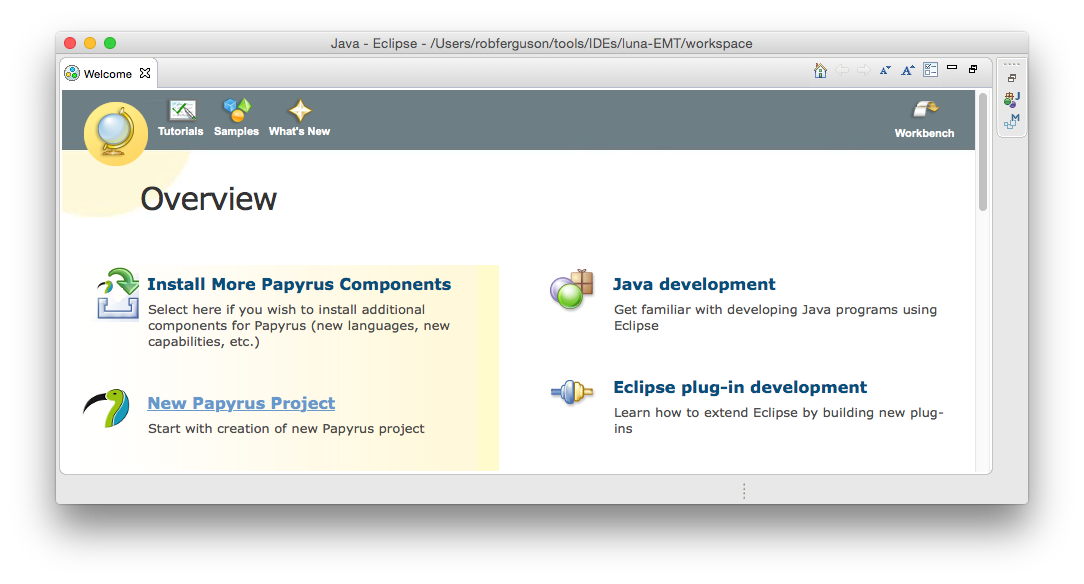
You can create a new modelling project by choosing "New Papyrus Project" on the Eclipse Welcome page:
Or by selecting "File" => "New" => "Other" and then choosing "Papyrus" => "Papyrus Project":
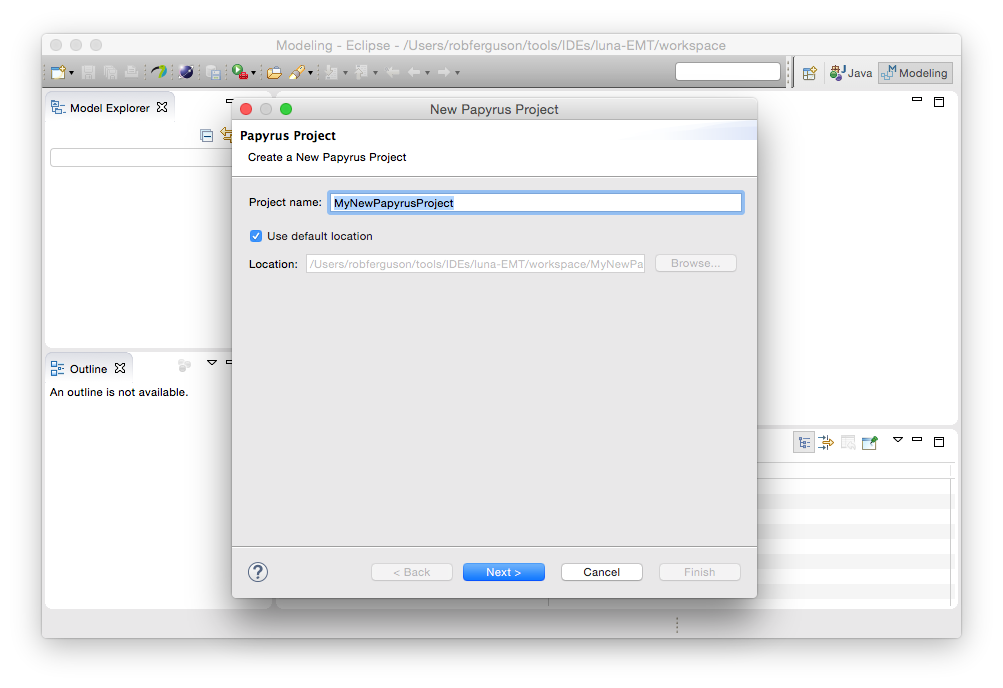
Enter a project name, choose a location then click Next:
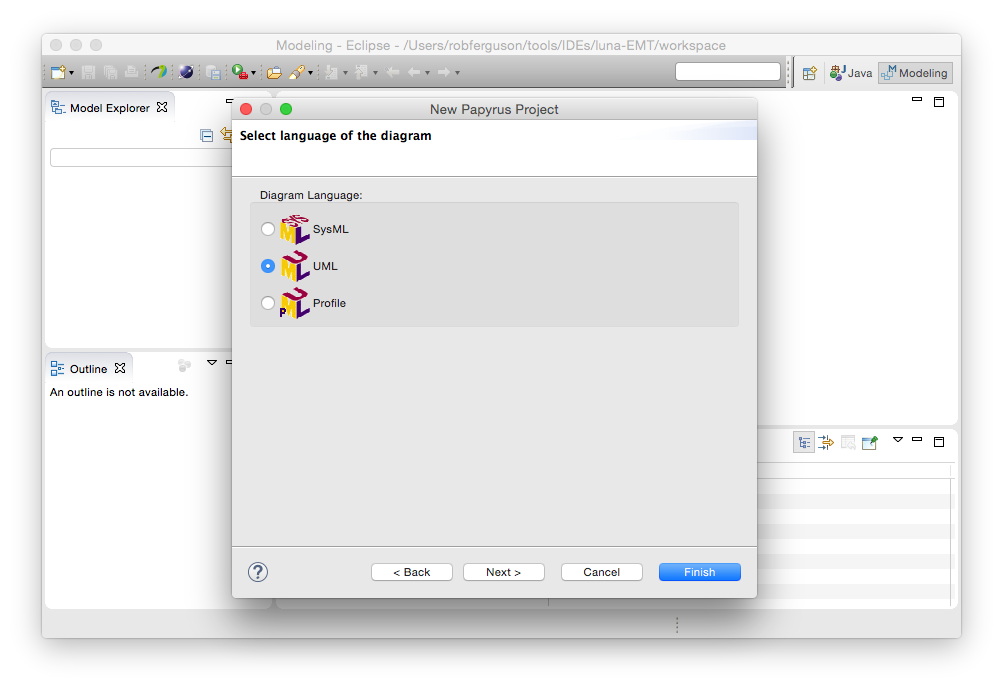
Choose "UML", then click Next:
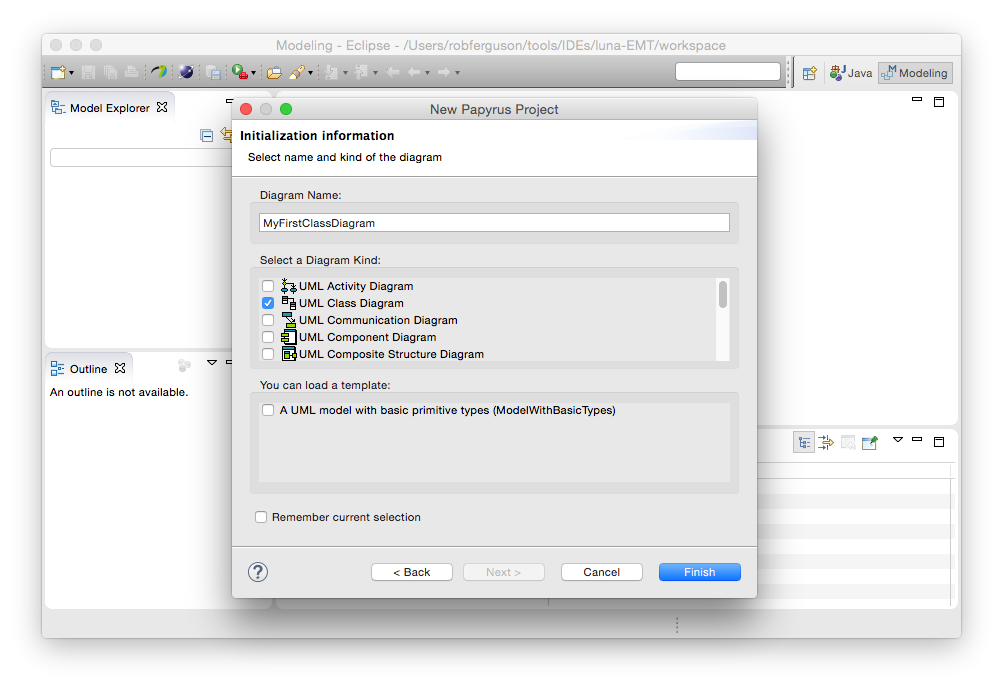
Let's start by creating a new Class Diagram, enter a diagram name choose "UML Class Diagram", then click Finish:

If you are familiar with Eclipse then you will already be familiar with the Papyrus modelling environment. The diagram editor includes a palette of nodes and edges, let's start by adding a "Class" node to the diagram:
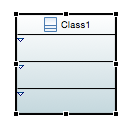
Select the "Class" node and then drag and drop it onto the diagram. Let's change the new classes name (the diagram editor supports in-place editing or you can use the "Properties" tab):
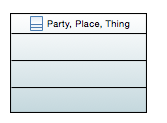
And, right-click to "Format" => "Fill Color":
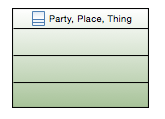
And, right-click to "Filters" => "Show/Hide Compartments":
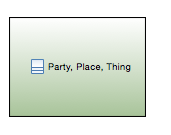
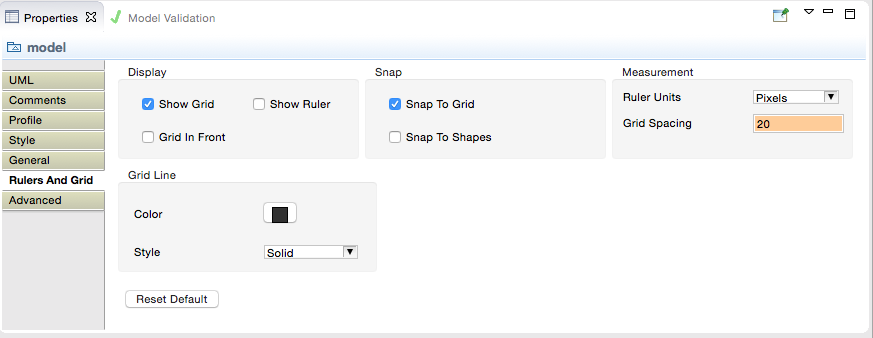
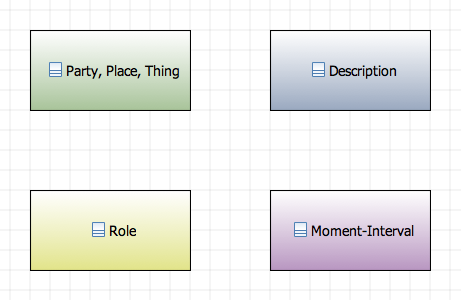
Now, before we add a few more "Class" nodes let's use the "Properties" tab to help us layout the diagram:
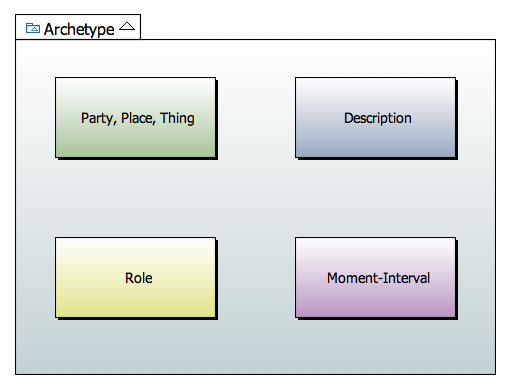
See, they're all lined up:
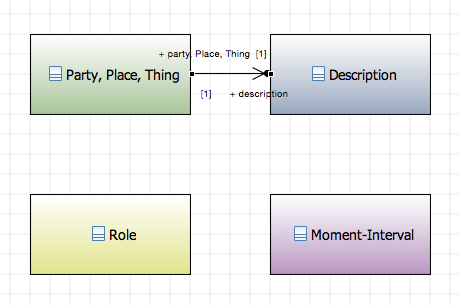
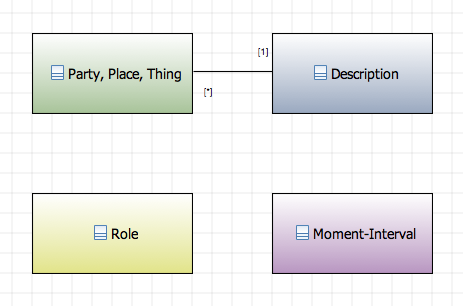
Now, let's add an "Association" to the diagram, select the "Association" edge from the diagram editors palette and select (click) the 'Party, Place, Thing' node and then select (click) the 'Description' node:
And, right-click to "Filters" => "Manage Connector Labels":
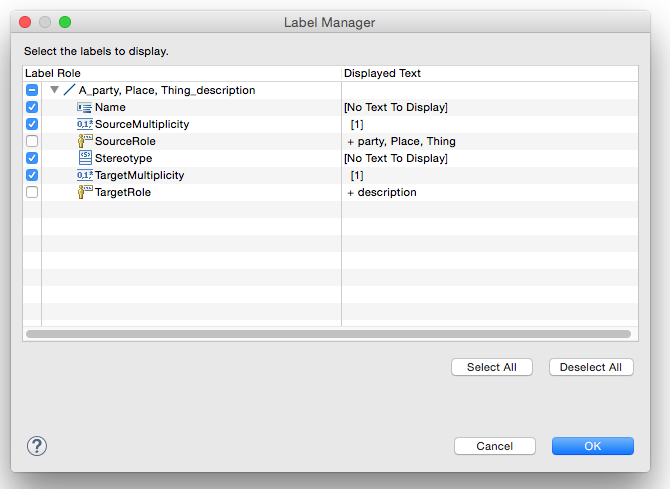
Uncheck the source and target role names then use the "Properties" tab to change the multiplicity:
Now, try adding a few more associations:
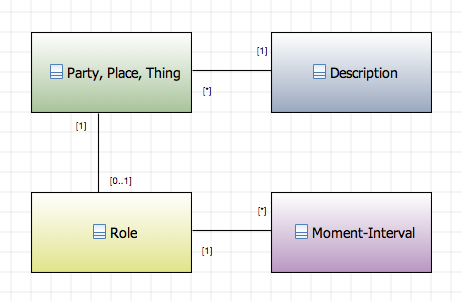
And, you've created your first UML Class Diagram with Papyrus. If you right-click on your model in the Model Explorer and select "New Diagram":

You'll see a list of the UML 2 structural (the static architecture) and behavioural (the dynamic architecture) modelling diagrams.
Note: Papyrus also provides comprehensive support for UML Profiles.