In a previous post, I wrote about Angular Material's toolbar and sidenav components.
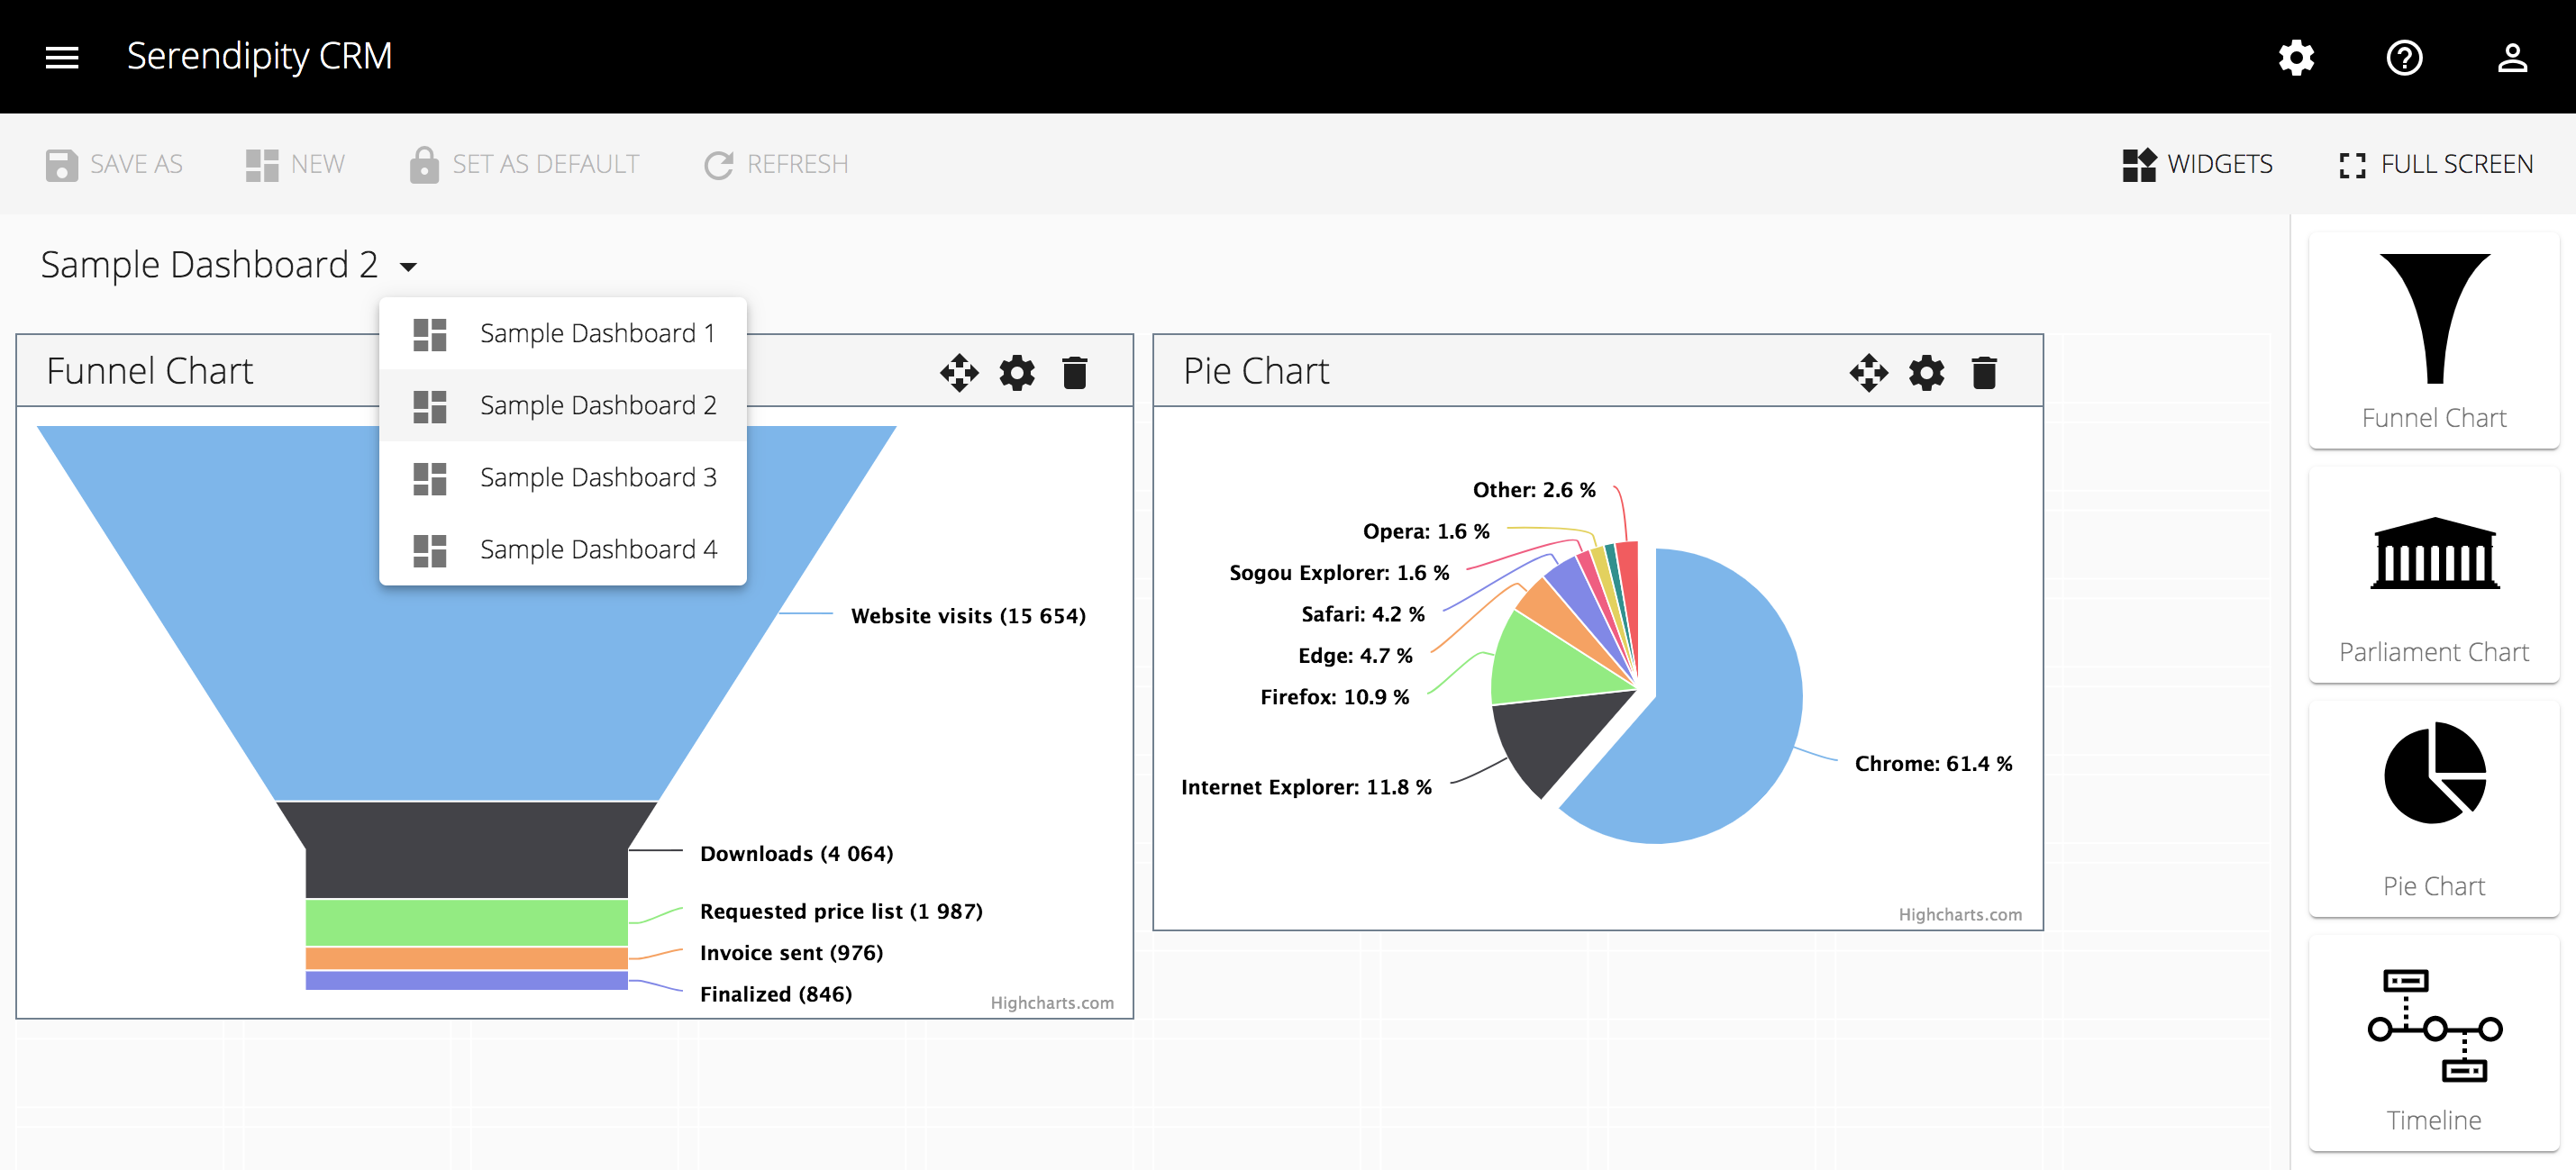
In this post, I'll walk you through the steps I followed in order to add Dashboard support to Serendipity:
Getting Started
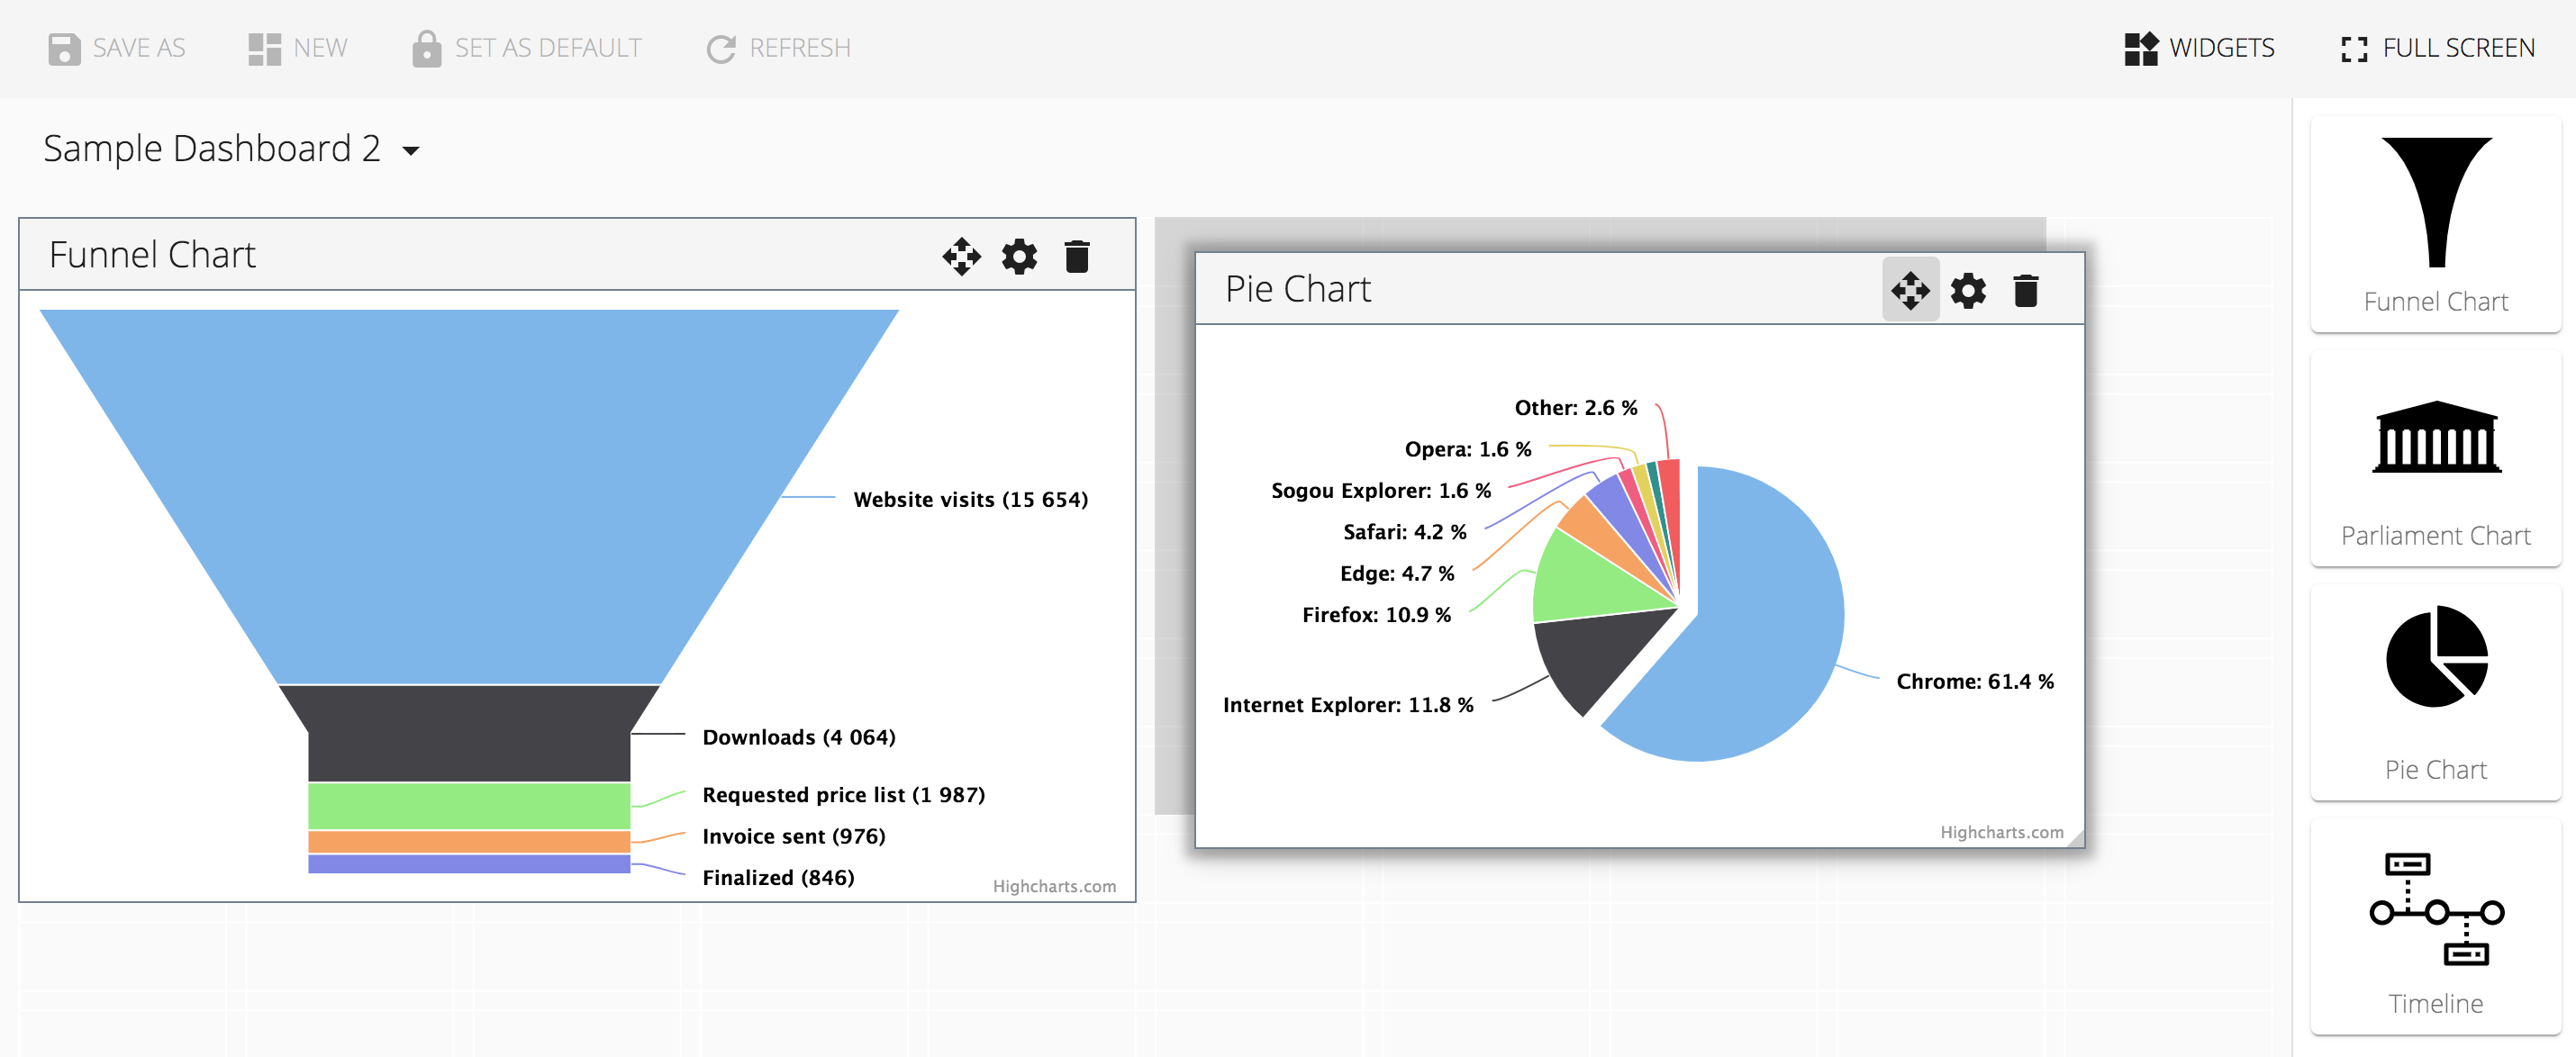
After a little research (see below) I decided to try Angular Gridster 2 (angular-gridster2). Angular Gridster 2 supports multi column and multi row layout, drag and move, drag and resize, drag and drop and more.
Step 1: Install Angular Gridster 2
I installed (the Angular 7 version of) Angular Gridster 2 using npm:
npm install angular-gridster2@7.2.0 --save
Step 2: Create a Dashboard Library
I used the Angular CLI to generate the scaffolding for a new library:
ng generate library dashboard --prefix=dashboard
Step 3: Import the Angular Gridster 2 module
I added the GridsterModule to the Dashboard module's imports array:
...

import { GridsterModule } from 'angular-gridster2';

@NgModule({
  imports: [

    ...

    GridsterModule
  ],
  declarations: [ DashboardComponent ],
  providers: [],
  exports: [ DashboardComponent ],
  entryComponents: []
})
export class DashboardModule {}
Step 4: Create a Dashboard Service
I generated the scaffolding for a new service:
ng generate service services/mocks/dashboard --project=dashboard
Note: To make it easier to switch between layout components and to use a familiar naming convention (i.e., Dashboard and Widget) I extended angular-gridster2's interfaces, for example:
export interface DashboardConfig extends GridsterConfig {}

export interface DashboardWidget extends DashboardItem {}

export interface Dashboard {
  id?: string;
  name?: string;
  widgets?: Array<DashboardWidget>;
}
I updated the Dashboard service as follows:
import { Injectable } from '@angular/core';
import { HttpClient } from '@angular/common/http';

import { Observable } from 'rxjs';
import { map } from 'rxjs/operators';

import { Dashboard } from '../../../models/models';

@Injectable({
  providedIn: 'root'
})
export class MockDashboardService {

  private readonly DASHBOARDS = 'assets/data/dashboards.json';

  constructor(protected httpClient: HttpClient) {}

  public getDashboards(): Observable<Dashboard[]> {

    return this.httpClient.get<Dashboard[]>(this.DASHBOARDS);
  }

  public getDashboard(dashboardId: string): Observable<Dashboard>  {

    return this.httpClient.get<Dashboard[]>(this.DASHBOARDS).pipe(
      map((dashboards: Dashboard[]) =>
        dashboards.find(dashboard => dashboard.id === dashboardId)));
  }

}
[

  {
    "id": "4",
    "name": "Sample Dashboard 4",
    "widgets": [
      {
        "id": "1",
        "name": "Timeline",
        "component": "timeline",
        "cols": 8,
        "rows": 6,
        "y": 0,
        "x": 0
      }
    ]
  }

]
Step 5: Create a Dashboard Component
I used the Angular CLI to generate the scaffolding for a new component:
ng generate component components/dashboard --project=dashboard
I updated the Dashboard component's template as follows:
<gridster [options]="options">

  <ng-container *ngFor="let item of items">

    <gridster-item [item]="item">

      <!-- Your content goes here -->

    </gridster-item>

  </ng-container>

</gridster>
And, I used the options input property to configure the Dashboard component's Gridster instance:
...

import { MockDashboardService } from '../../services/mocks/dashboard/mock-dashboard.service';

@Component({
  selector: 'dashboard',
  templateUrl: './dashboard.component.html',
  styleUrls: ['./dashboard.component.scss']
})
export class DashboardComponent implements OnInit {

  @Input() dashboardId: string;

  public options: DashboardConfig;
  public items: DashboardWidget[];

  protected subscription: Subscription;

  ...

  constructor(private dashboardService: MockDashboardService) {}

  public ngOnInit() {

    this.options = {
      disablePushOnDrag: true,
      draggable: { enabled: true },
      gridType: GridType.Fit,
      resizable: { enabled: true }
    };

    this.subscribe();

  }

  protected subscribe() {

    this.subscription = this.dashboardService.getDashboard(this.dashboardId).subscribe(data => {
      this.items = data.widgets;
    });

  }

}
Now all we need to do is add our new Dashboard directive to a host component and we're good to go:
<dashboard [dashboardId]="dashboardId"></dashboard>
Check out the demo on Firebase Hosting: Serendipity
What's Next
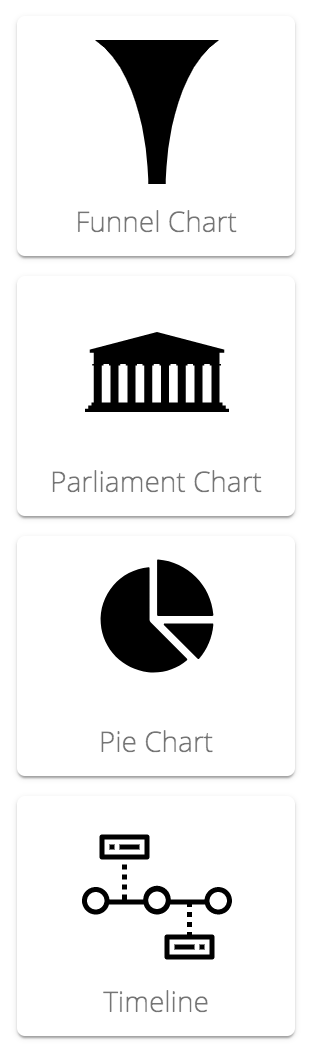
In the next post, I'll walk you through the steps I followed in order to add support for Dashboard Widgets and a Widget Tool Palette:
Source Code:
- GitHub: Serendipity
Research:
- GitHub: gridster.js
- GitHub: Angular Gridster - gridster-like widgets for AngularJS
- GitHub: gridstack.js
- GitHub: cube.js