
In this post, I'll walk you through the steps I followed when building a Hybrid Mobile App using version 3 of the Ionic Framework and then running it as a desktop application using Electron.
Prerequisites
- Homebrew (the missing package manager for macOS)
- Node.js (which includes npm, the Node Package Manager)
- Git
Homebrew
This post will walk you through the steps required to install Homebrew.
It's always a good idea to check for updates:
brew update
Node.js
To install Node we'll use Homebrew:
brew install node
Alternately, to update (upgrade) Node run the following command:
brew upgrade node
You can check the version by running the following command:
node -v
You should see output like:
v8.9.0
You can check your npm version by running the following command:
npm -v
You should see output like:
5.5.1
Git
To install Git we'll use Homebrew:
brew install git
Alternately, to update (upgrade) Git run the following command:
brew upgrade git
You can check the version by running the following command:
git --version
You should see output like:
git version 2.15.0
The Ionic Framework
We'll install Ionic globally using npm:
npm install -g ionic@latest
Alternately, to update Ionic run the following command:
npm update -g ionic@latest
You can check the version by running the following command:
ionic -v
You should see output like:
3.16.0
Create a scaffold
Ionic includes several templates that you can use to create scaffolding for new projects. We'll use the blank template and the --no-cordova command line flag (because we won't be using any plugins):
ionic start big-top --no-cordova blank
ionic start will create the directory structure and placeholders for your new project:
├── /big-top
    └── /node_modules            - Packages managed by npm
    └── /resources               - Placeholder resources
    └── /src                     - Angular scripts
        ├── index.html
    └── /www                     - Ionic's 'dist' folder
    ├── package.json
Note: I've only included the directories and files discussed in this post.
ionic start will also install any required npm modules (in the /node_modules directory).
Building your Application
Ionic 3 uses npm scripts (configured in the project's package.json file) for build management. To build our newly scaffolded application:
cd big-top
ionic build
Testing in a Browser
To test the application:
ionic serve
ionic serve (i.e., "ionic:serve": "ionic-app-scripts serve") will start a local development server (with built in file system watching support integrated with LiveReload) and open the application in your default browser:

Electron
To quote Electron's Quick Start guide:
Electron enables you to create desktop applications with pure JavaScript by providing a runtime with rich native (operating system) APIs.
We'll install Electron globally using npm:
npm install -g electron
A basic Electron application requires just three files:
- main.js
- package.json
- index.html
main.js
main.js is responsible for launching the application and creating a browser window to render HTML. Electron refers to this file as the application's main process.
We'll use the electron-quick-start projects's main.js and update it as follows:
...

const startUrl = process.env.ELECTRON_START_URL || url.format({
  pathname: path.join(__dirname, '/../www/index.html'),
  protocol: 'file:',
  slashes: true
});

// Open the DevTools.
// mainWindow.webContents.openDevTools();

...
We need to update the path.join() method's second paramater ('/../www/index.html') as our main.js is located in the /big-top/electron directory and our index.html in the /big-top/src directory.
You can comment out the call to mainWindow.webContents.openDevTools() as the application's 'View' menu includes a 'Toggle Developer Tools' menu item.
The project's updated directory structure:
├── /big-top
    └── /electron
        ├── main.js
    └── /node_modules            - Packages managed by npm
    └── /resources               - Placeholder resources
    └── /src                     - Angular scripts
        ├── index.html
    └── /www                     - Ionic's 'dist' folder
    ├── package.json
package.json
package.json contains information about the application (often called metadata) and its dependencies. When we created the scaffolding for our new project it created a package.json file in the /big-top directory.
We need to update it as follows:
...

"main": "electron/main.js"

...
index.html
When we created the scaffolding for our new project it created an index.html file in the /big-top/src directory. Electron refers to this file as the application's renderer process.
We need to update it as follows:
<head>

  ...

  <!-- cordova.js required for cordova apps
  <script src="cordova.js"></script>
  -->

  ...

</head>
You can comment out cordova.js as we're not using any plugins.
Run your application
Now, let's try running the application to make sure it’s working as expected.
In a terminal run the following command:
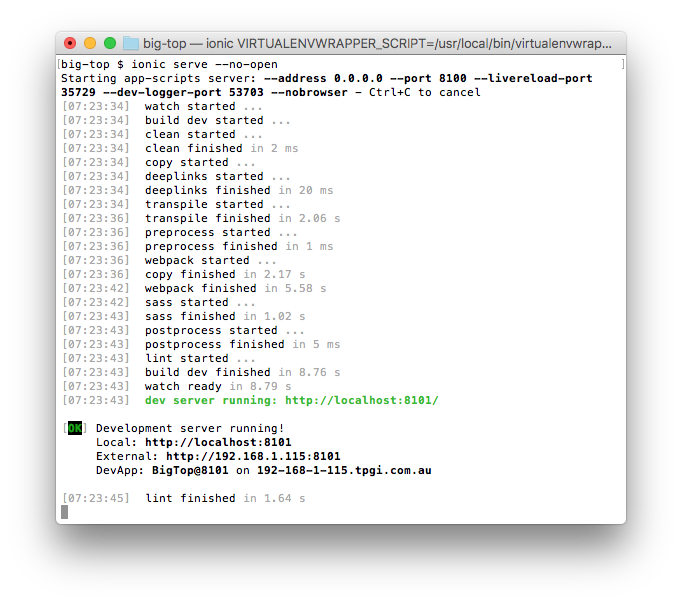
ionic serve --no-open
You should see output like:
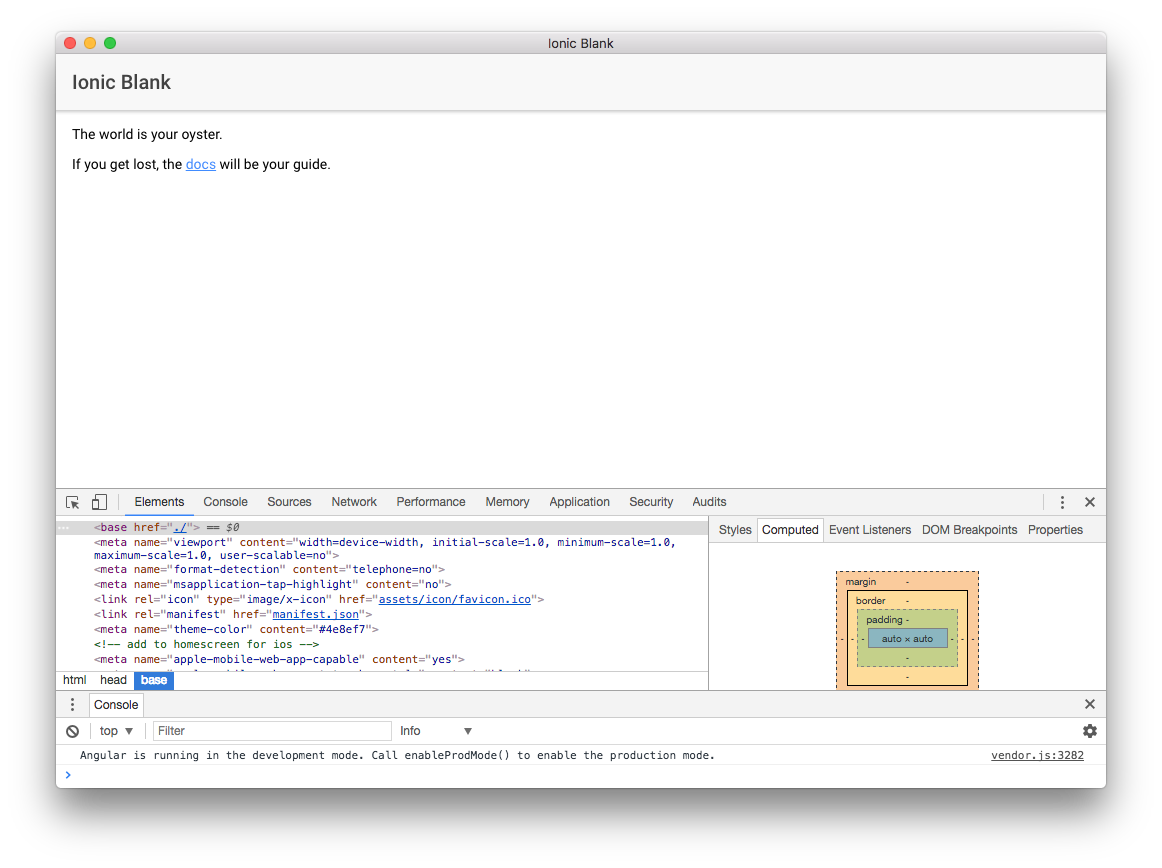
In another terminal run the following command:
electron .
You should see output like:
Note: I've called the application 'Big Top' as I'm planning to use some of the Ionic Conference App's sample code in future posts.
What's Next
In the next post, I'll walk you through the steps required to package and build a ready for distribution Electron application with "auto update" support using electron-builder.
Source Code:
- GitHub: The Big Top App
Electron Resources:
- Electron docs: Quick Start
- GitHub Pages: Angular on Electron, part 1
- GitHub Pages: Angular on Electron, part 2
- Medium: How to build an Electron app using create-react-app
Electron Boilerplates:
- GitHub: electron-quick-start
- GitHub: electron-react-boilerplate
Ionic Resources:
- Ionic Framework docs: Get started with the Ionic Framework
- Ionic Framework blog: Ionic 3 has arrived
- Ionic Framework blog: Build Awesome Desktop Apps with Ionic’s NEW Responsive Grid
- Ionic Framework blog: New Split Pane and more
- GitHub: Ionic App Scripts
Ionic Boilerplates:
- GitHub: Ionic Conference App
- GitHub: Ionic Conference App with JWT authentication
- GitHub: Ionic Boilerplate