
In the last few posts I have written about Apache Sling, a REST-based web framework, that makes it easy to build content-oriented applications (e.g., websites and related services).
In this post, I'll walk you through the steps I followed when generating the scaffolding for an application that supports larger screen sizes (i.e., desktops) with version 3 of the Ionic Framework.
Prerequisites
- Node.js (which includes npm, the Node Package Manager)
The Ionic Framework
Ionic 3 combines Angular 4, bespoke user interface components and Apache Cordova to help developers build hybrid mobile applications. Version 3 of the Ionic Framework includes improved support for desktop applications, including a new responsive grid system and split pane support.
To install the Ionic Framework's Command Line Interface (CLI) we'll use npm:
sudo npm install -g ionic@latest
Alternately, to update Ionic:
sudo npm update –g ionic@latest
To check the Ionic CLI version:
ionic -v
You should see output like:
2.2.3
Create a scaffold
Ionic includes several templates that you can use to create scaffolding for new projects. We'll use the blank template and the --no-cordova command line flag (because we won't be using any plugins):
ionic start author --no-cordova blank
ionic start will create the directory structure and placeholders for your new project:
├── /author
    └── /node_modules            - Packages managed by npm
    └── /resources               - Placeholder resources
    └── /src                     - Angular scripts
        └── /app
            ├── app.component.ts
            ├── app.html
            ├── app.module.ts
            ├── app.scss
            ├── main.ts
        └── /assets
            └── /icon
                ├── favicon.ico
        └── /pages
            └── /home
                ├── home.html
                ├── home.scss
                ├── home.ts
        └── /theme
            ├── variables.scss
        ├── declarations.d.ts
        ├── index.html
        ├── manifest.json
        ├── service-worker.js
    └── /www                     - The 'dist' folder
    ├── config.xml
    ├── ionic.config.json
    ├── package.json
    ├── tsconfig.json
    ├── tslint.json
ionic start will also install any required npm modules (in the /node_modules directory).
Building your Application
Ionic 3 uses npm scripts (configured in the project's package.json file) for build management. To build our newly scaffolded application:
cd author
ionic build [--prod]
Note: By default the build task produces dev builds (a build that does not include Ahead of Time (AoT) compilation or minification). To force a prod build you need to use the --prod command line flag.
Testing in a Browser
To test the application:
ionic serve
ionic serve (i.e., "ionic:serve": "ionic-app-scripts serve") will start a local development server (with built in file system watching support integrated with LiveReload) and open the application in your default browser:
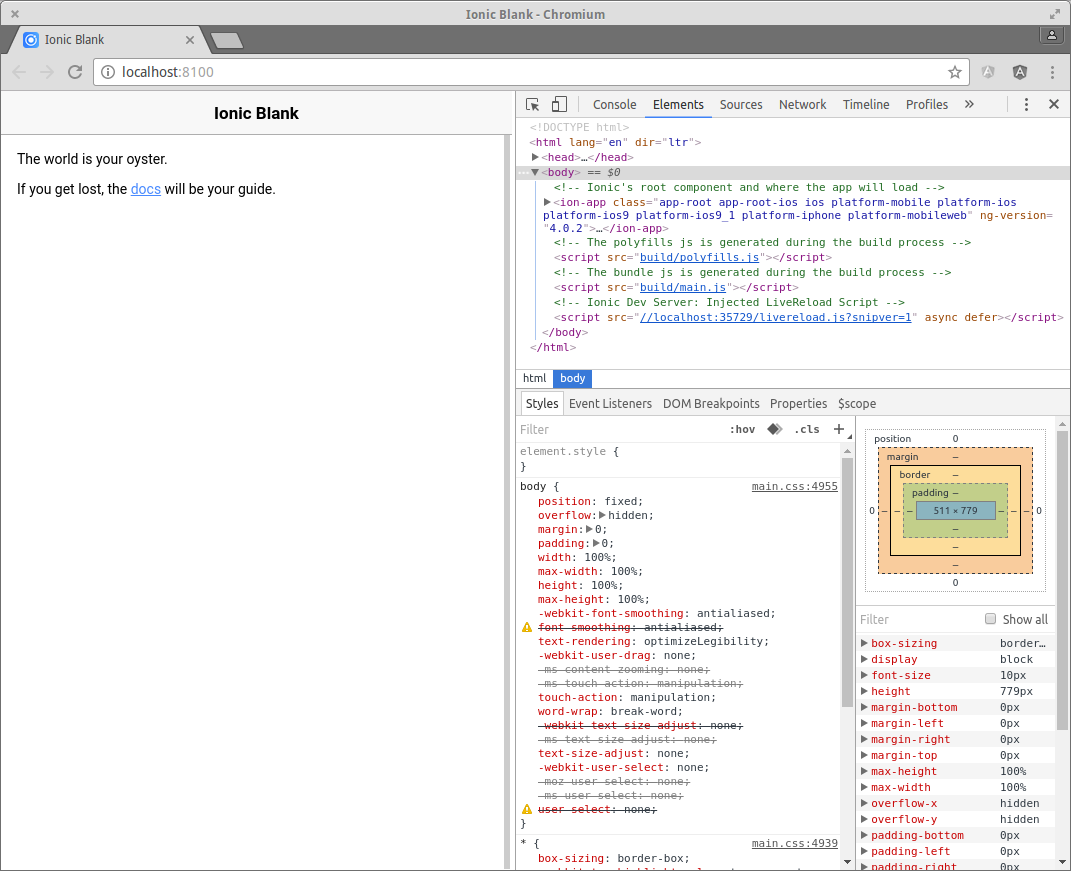
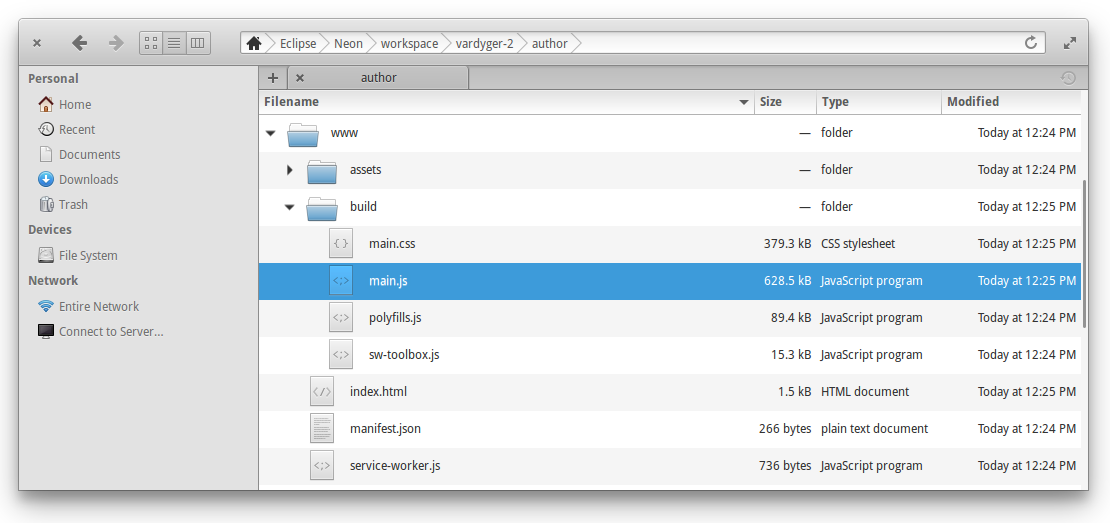
The file sizes look pretty good too:
And the split pane component makes it easy to create a multi-view layout:


Note: If your not sure which version of the Ionic Framework your using:
ionic info
You should see output like:
Your system information:

Cordova CLI: 6.5.0
Ionic Framework Version: 3.1.0
Ionic CLI Version: 2.2.3
Ionic App Lib Version: 2.2.1
Ionic App Scripts Version: 1.3.6
ios-deploy version: Not installed
ios-sim version: Not installed
OS: Linux 4.4
Node Version: v6.10.3
Xcode version: Not installed
Managing your source code with Git
Now is probably a good time to check in the source code we have created so far. I'm going to use Git and a public GitHub repository.
I followed the steps in this post to create a repository for: The Vardyger 2 Publishing Platform.
What's Next
In the next post, I'll walk you through the steps I followed when building a Hybrid Mobile App using version 3 of the Ionic Framework and then running it as a desktop application using Electron.
References:
- NodeSource: How to install/upgrade Node.js
- Ionic Framework docs: Get started with the Ionic Framework
- Ionic Framework blog: Ionic 3 has arrived
- Ionic Framework blog: Build Awesome Desktop Apps with Ionic’s NEW Responsive Grid
- Ionic Framework blog: New Split Pane and more
- GitHub: Ionic App Scripts